Manage notifications
This guide helps you manage notification settings in TaskFord, including Inbox, Email, and Browser alerts, so you can control which updates you receive and how you receive them.
Notification settings allow you to control which activities you are notified about and where you receive those notifications. These settings are personal and apply only to your own TaskFord account.
TaskFord lets you manage notifications for your Inbox, Email, and Browser, with separate preferences for each workspace you belong to.
Access notification settings
To access your notification settings:
- Click your profile picture in the top-right corner.
- Choose Account from the drop-down menu.
- Select Notifications from the left-hand menu to adjust your preferences.
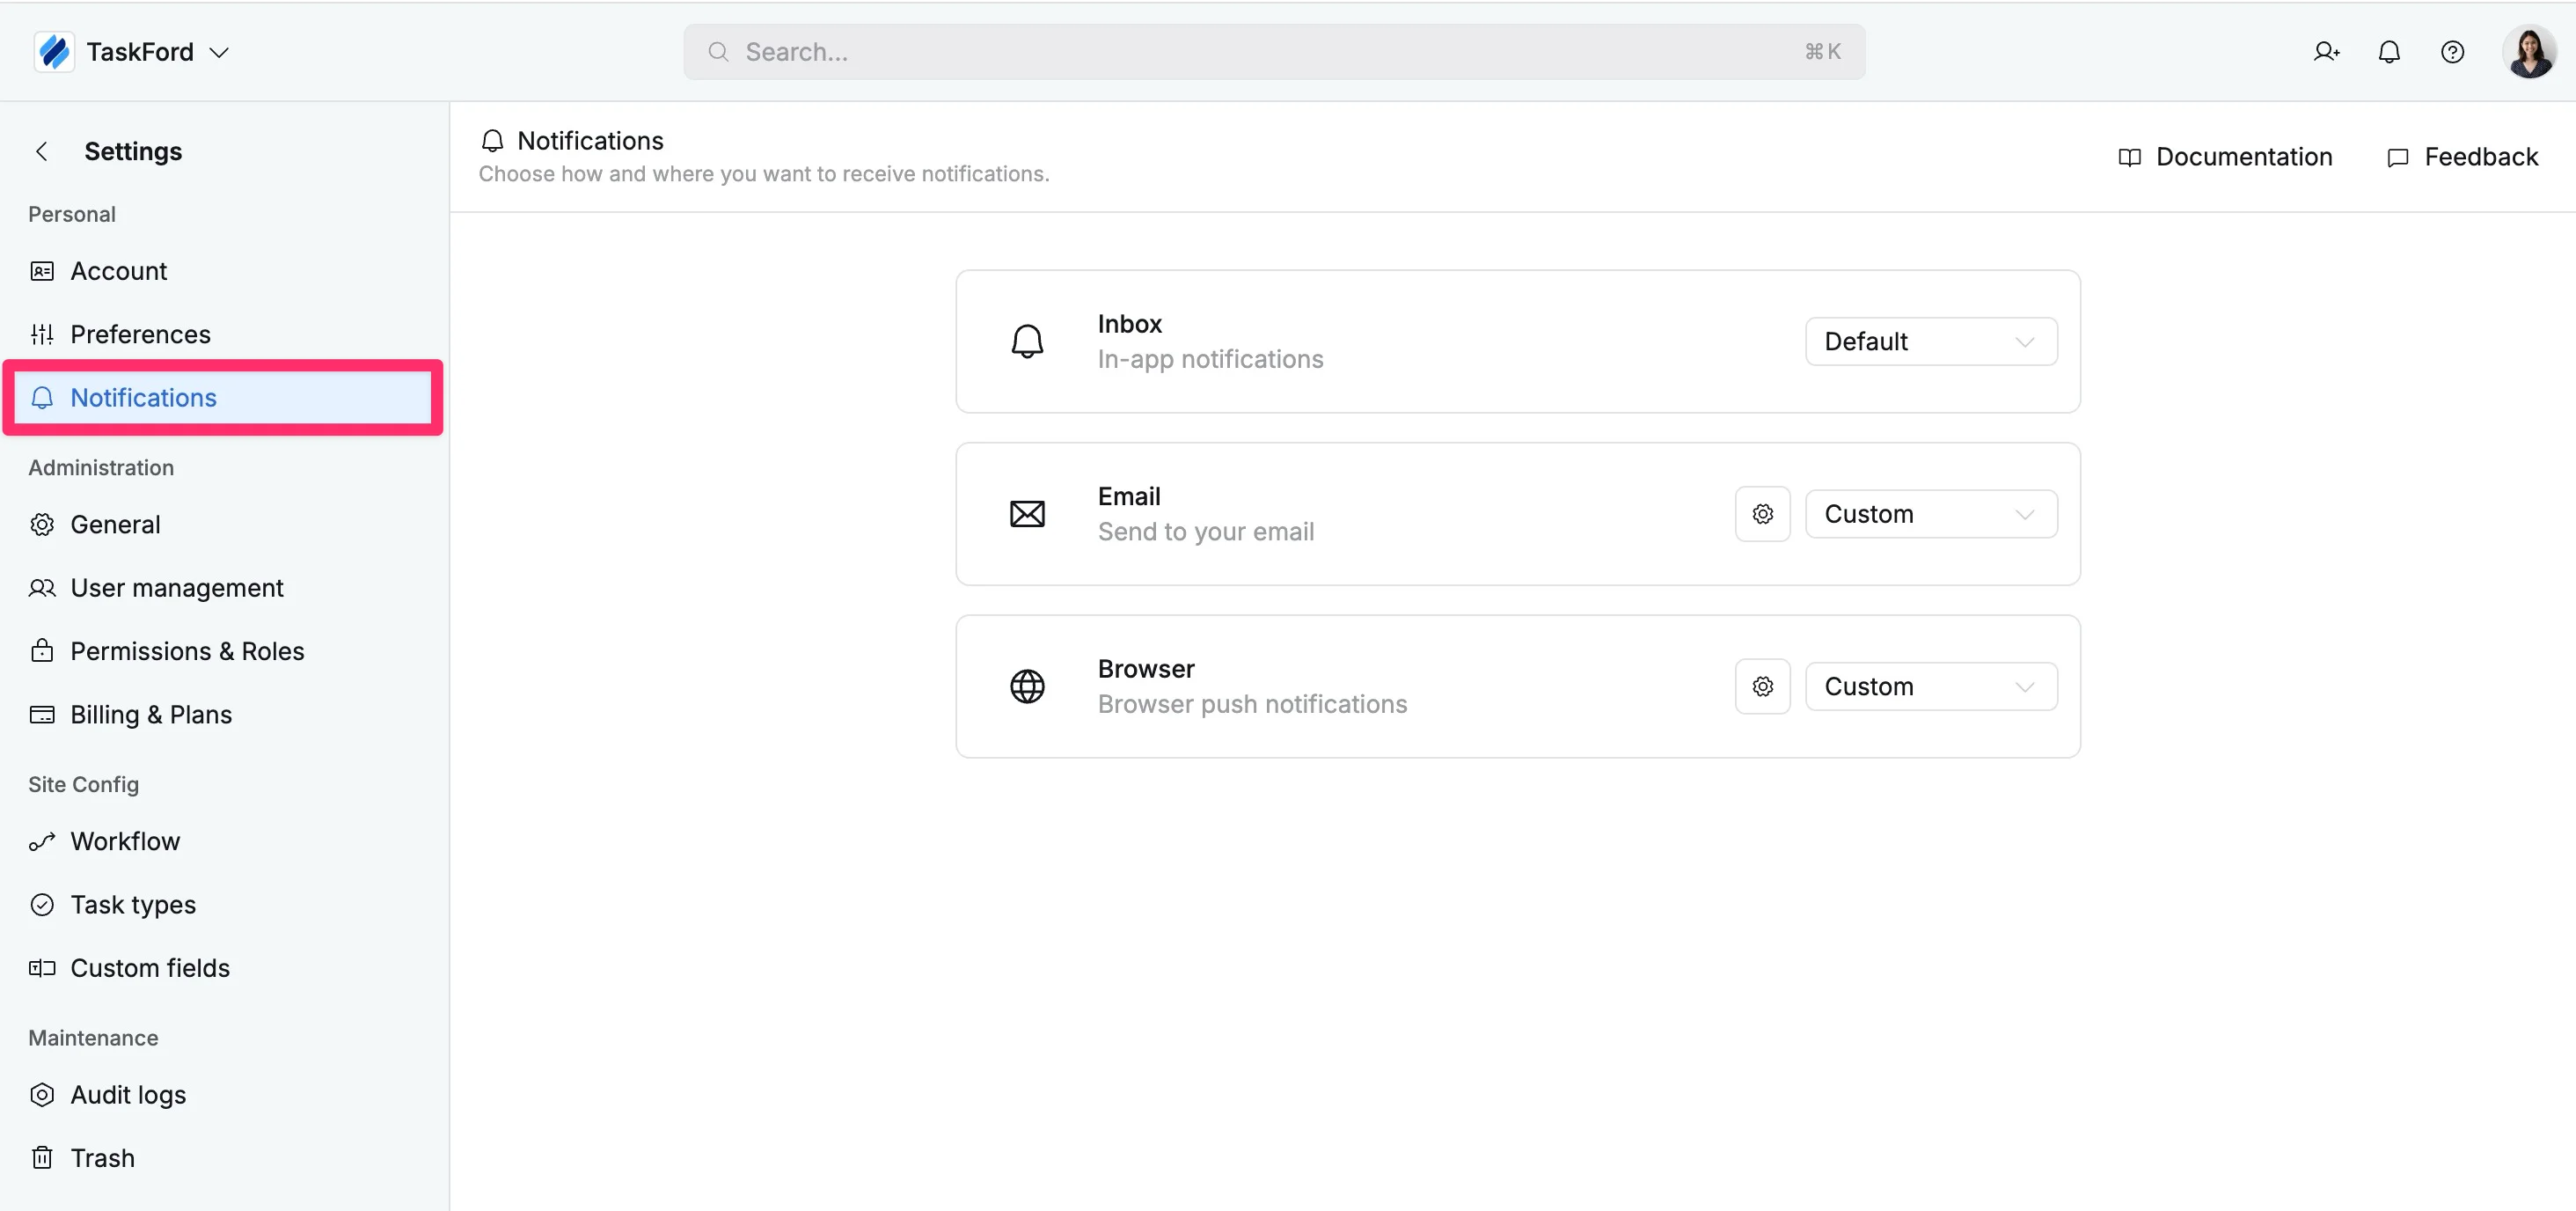
From here, you can control which activities you are notified about and where you receive those updates.
Notification channels
TaskFord provides three notification channels. You can configure each channel independently based on how you prefer to receive updates.
| Channel | Description | Options |
|---|---|---|
| Inbox | Inbox notifications appear directly within TaskFord and help you stay updated while working in the platform. | Default – Receive standard notifications for common activities. Custom – Choose exactly which events appear in your inbox. |
| Email notifications send updates to the email address linked to your TaskFord account. This is useful if you want to stay informed when you are not actively using the app. | Default – Receive recommended email updates for important activity. Custom – Select specific events that trigger an email. Disable notifications – Stop receiving all email notifications. |
|
| Browser | Browser notifications appear as real-time pop-up alerts on your computer, even when TaskFord is running in a background tab. | Default – Receive standard browser alerts for important activity. Custom – Choose which events trigger pop-up notifications. Disable notifications – Turn off all browser pop-up alerts. |
Notification events
When using Custom settings, you can choose which activities send notifications.
Some events are marked as required, meaning they cannot be turned off because they relate directly to actions that affect you.
| Section | Event | Description | Required |
|---|---|---|---|
| Task Comments | Comments where I’m @mentioned | You are mentioned in a task comment. | ✔ |
| New comments | A new comment is added to a task. | ||
| Reactions | A reaction is added to a task comment. | ||
| Task Activity | New task created | A new task is created. | |
| Subtask created | A subtask is added. | ||
| Task deleted | A task is removed. | ||
| Task assigned to me | A task is assigned to you. | ✔ | |
| Status changes | The status of a task is updated. | ✔ | |
| Priority changes | The priority of a task is changed. | ||
| Summary changes | The task title is edited. | ||
| Description changes | The task description is updated. | ||
| Description where I’m @mentioned | You are mentioned in the task description. | ✔ | |
| Schedule changes | Start date or due date is changed. | ||
| Custom field changes | A custom field is updated. | ||
| Attachment changes | A file is added or removed. | ||
| Link dependency changes | Task dependencies are added or updated. | ||
| Documents | Documents where I’m @mentioned | You are mentioned in a document. | ✔ |
| Member Invitations | Board invitation | You are invited to join a board. | |
| Board role change | A board role has been changed. | ||
| Portfolio invitation | You are invited to join a portfolio. | ||
| Timesheet | Timesheet submitted | A timesheet is submitted. | |
| Timesheet approved | A timesheet is approved. | ||
| Timesheet rejected | A timesheet is rejected. | ||
| Timesheet recalled | A timesheet is recalled. | ||
| Timesheet reopened | A timesheet is reopened. | ||
| Timesheet reminder | Timesheet reminder notification. | ✔ |
Customize notifications
Custom notification settings let you choose exactly which activities trigger alerts for each notification channel. This helps you stay informed about important updates while reducing unnecessary notifications.
You can customize Inbox, Email, and Browser notifications separately.
How to customize notifications:
- Go to Account settings.
- Select Notifications from the left-hand menu.
- Find the notification channel you want to customize (Inbox, Email, or Browser).
- Open the dropdown menu on the right side of that channel.
- Select Custom.
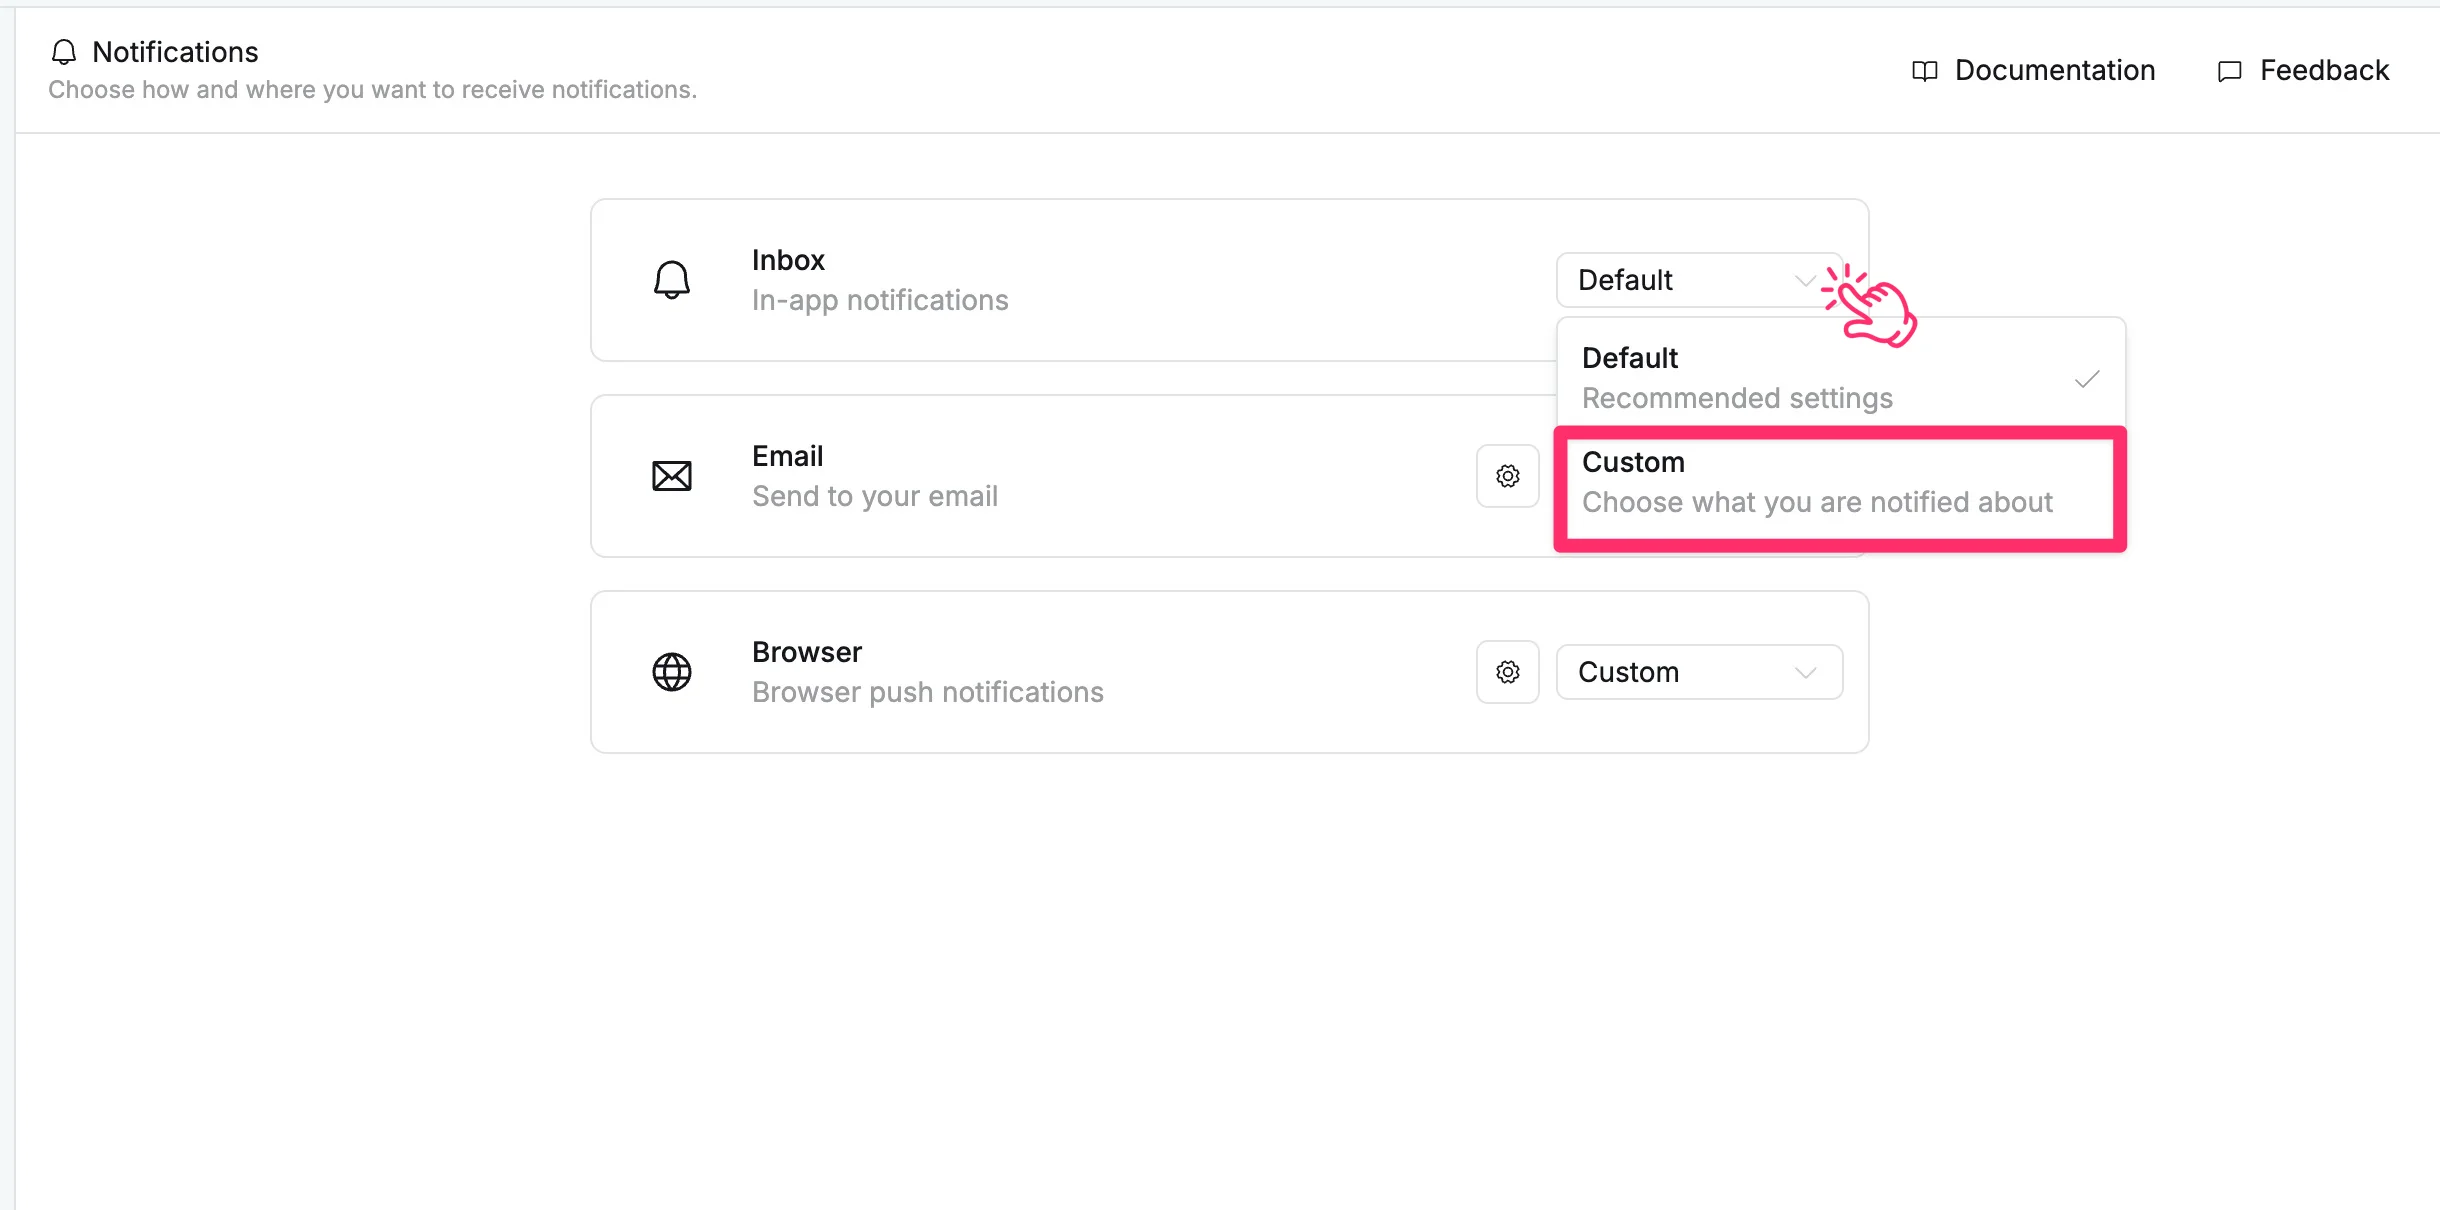
A settings window will open where you can choose notification events for that channel. Use the toggle switches next to each event to turn notifications ON or OFF.
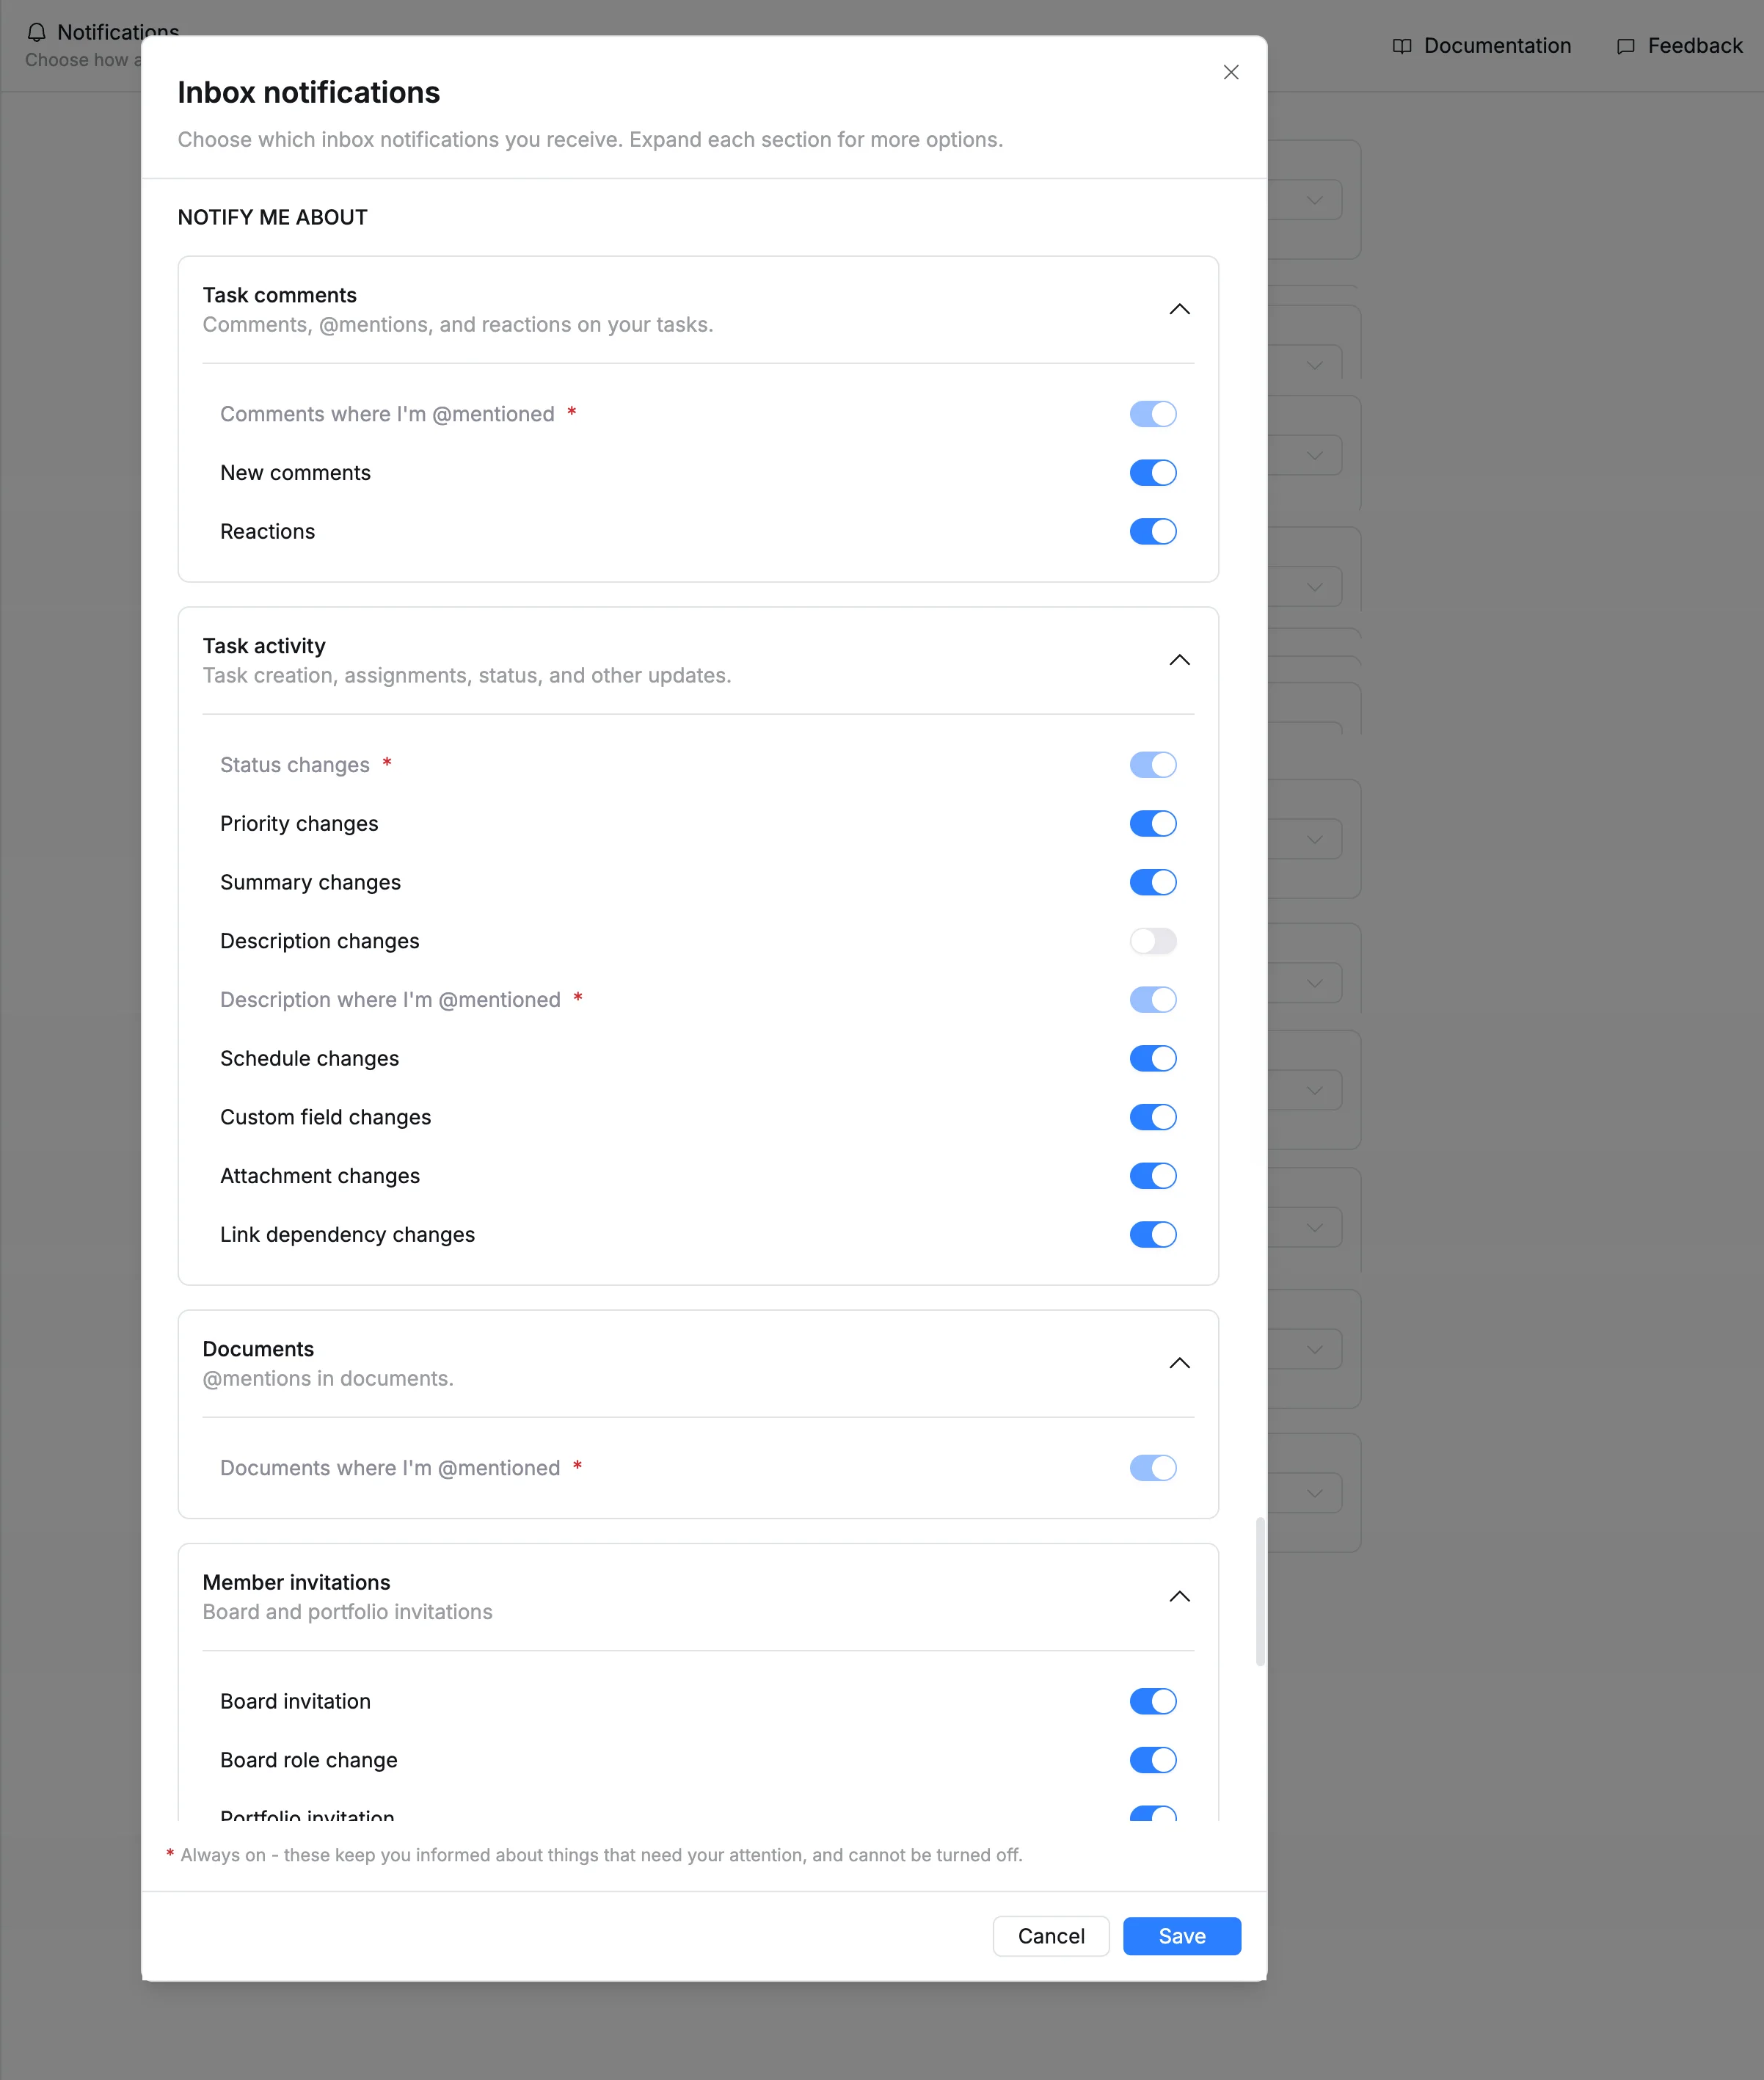
Some events are marked as required for this channel. These notifications are important activities that directly affect you and cannot be disabled.