How to Set Realistic Project Duration and Optimize Resource Needs
Learn how to set realistic project duration and optimize resources with expert tips on WBS, Gantt charts, and more for timely project success.
What is Project Duration?
Project Duration refers to the total time span required to complete a project, from its start date to its finish. It includes all phases of the project lifecycle, such as planning, execution, monitoring, and closing, as well as any buffers or contingency time added to account for unexpected delays or risks.
Project duration is typically measured in calendar days, weeks, or months, depending on the project’s scope and complexity.
Accurately defining the project duration is essential because it influences the allocation of resources, budget management, and the overall success of the project. A well-defined project duration helps stakeholders understand when to expect deliverables and sets clear expectations for timelines. It is influenced by several factors, including the project’s scope, the number of tasks, the complexity of the work involved, and the availability of resources.
The process of determining the project duration involves creating a project schedule, which breaks down tasks and milestones into manageable components, and estimating how long each task will take. This often requires considering potential risks, resource availability, and dependencies between tasks. A realistic project duration ensures that the project team can work efficiently, meet deadlines, and avoid resource bottlenecks.
How to Set Realistic Project Duration
Below is a step-by-step guide to setting a realistic duration for your project.
Step 1: Define the Project Scope Clearly
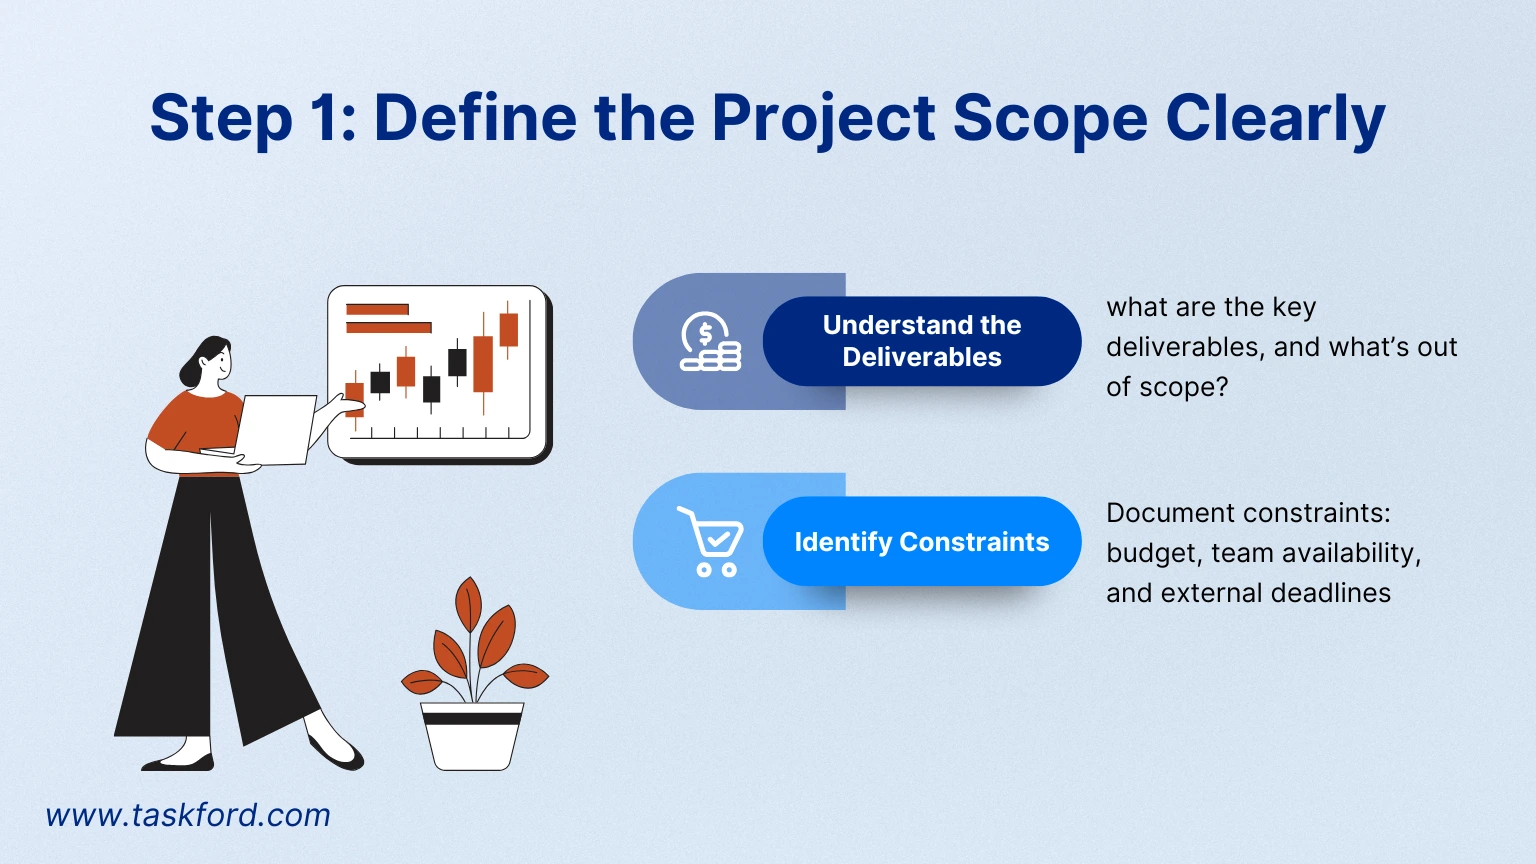
Understand the Deliverables
Before you can estimate how long a project will take, you need to know exactly what it entails. Start by defining the project scope—what are the key deliverables, and what’s out of scope? For example, if you’re building a website, are you responsible for just the design or also the content creation and hosting setup? A clear scope prevents scope creep, which can derail your timeline.
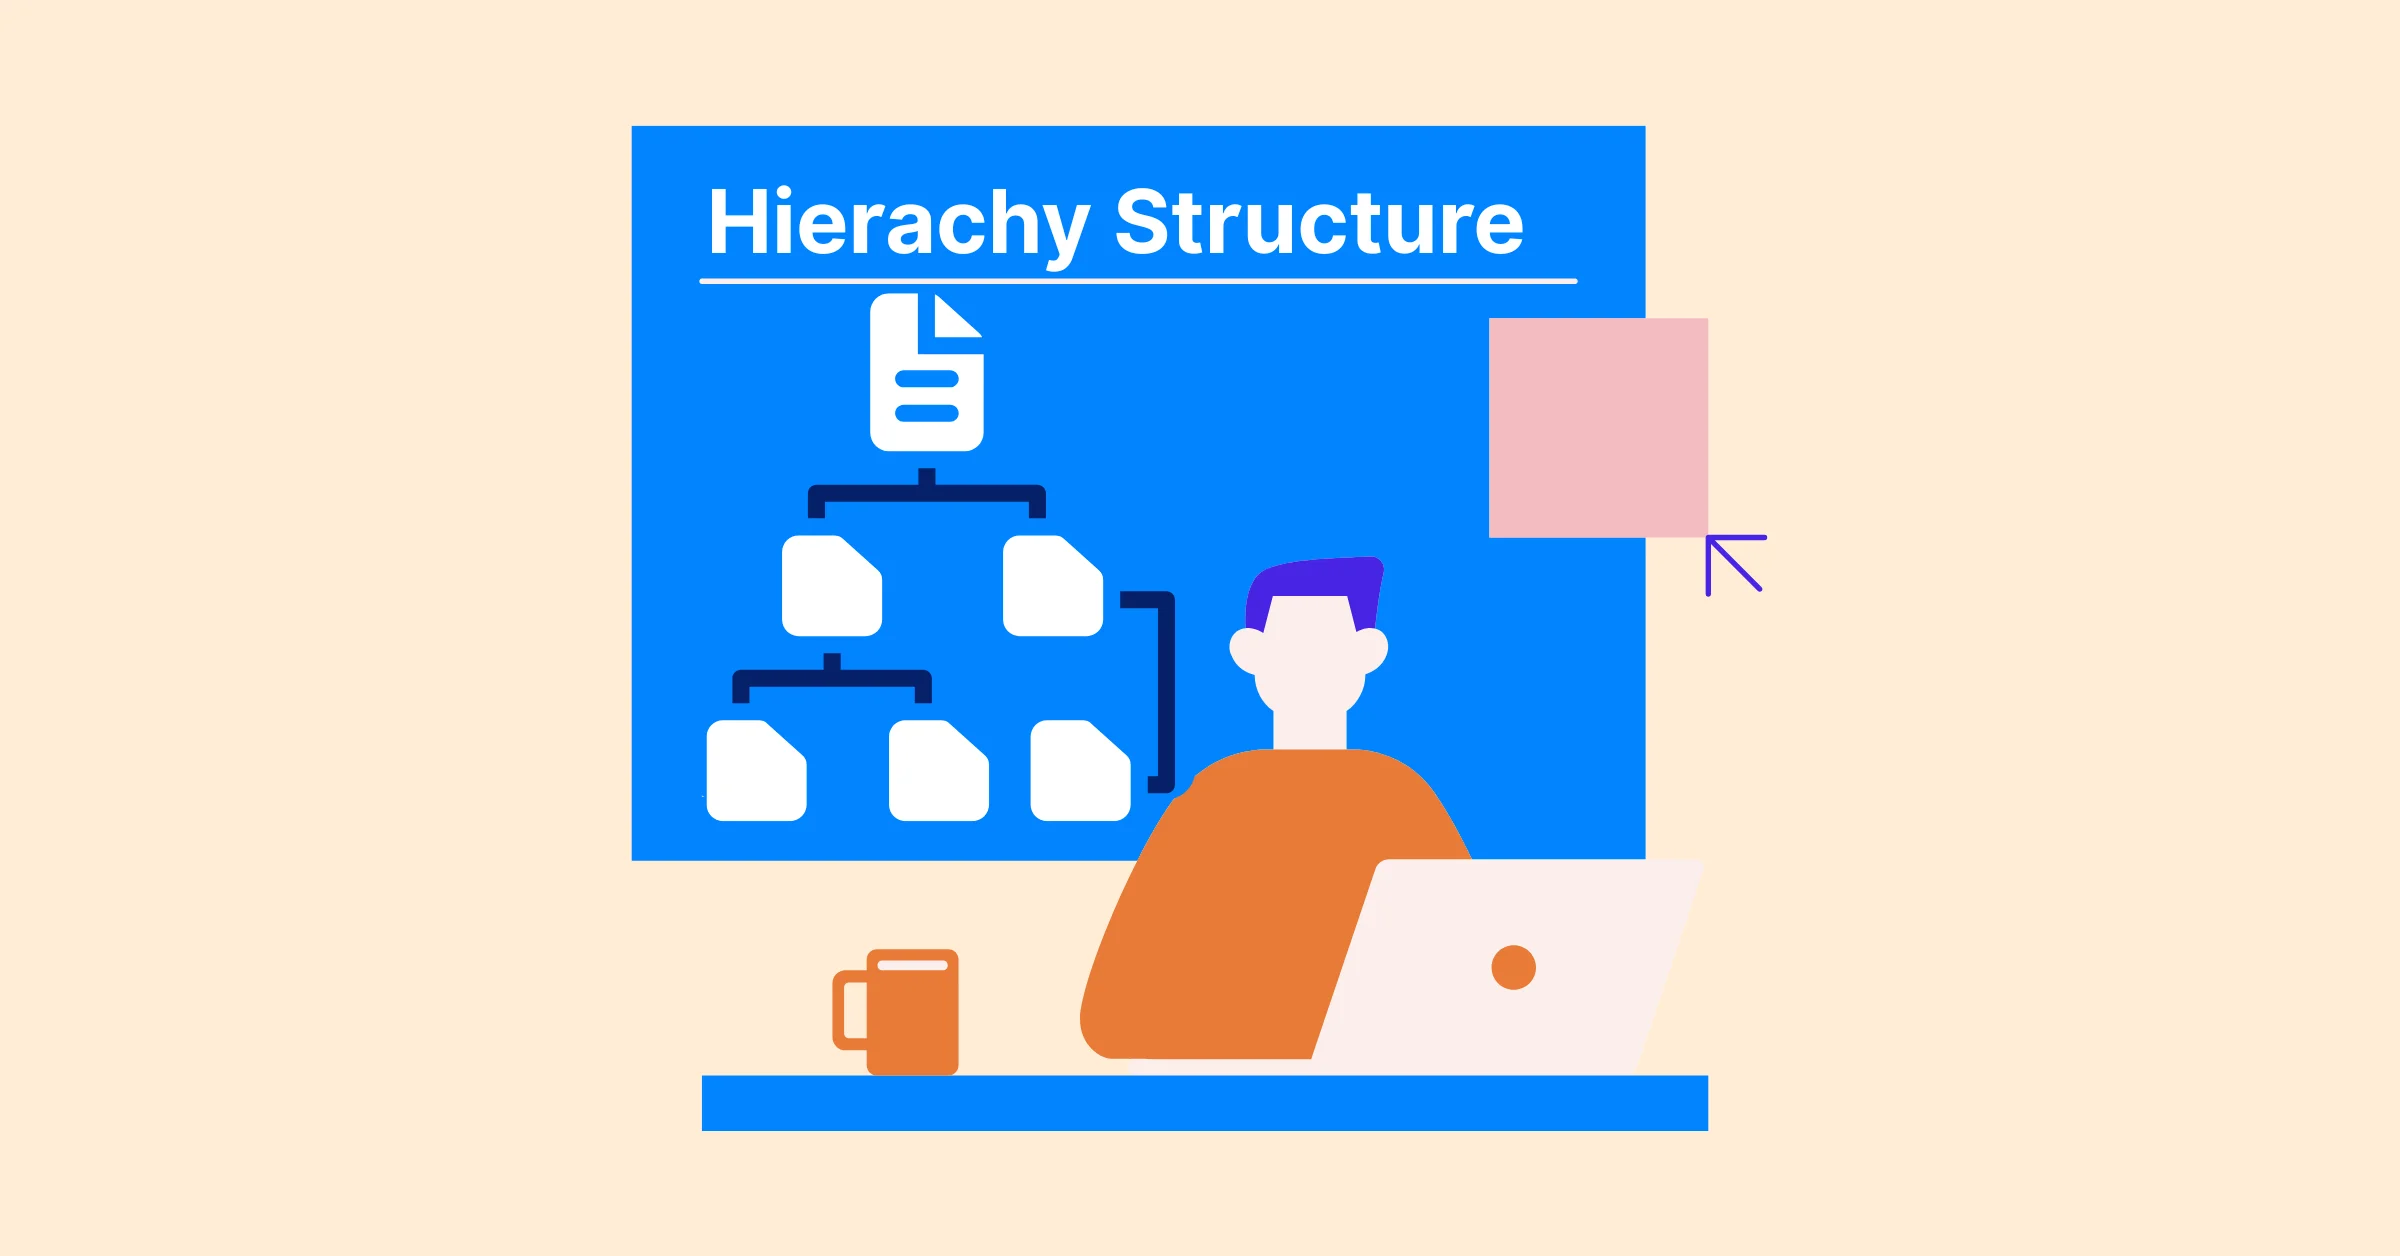
To nail this down, work with stakeholders to list all deliverables and break them into smaller tasks. This process ties into the concept of a Work Breakdown Structure (WBS), which organizes tasks hierarchically to make them easier to manage.
Identify Constraints
Every project has constraints, budget, team availability, and external deadlines. Document these early. For instance, if your client needs the project done by a specific date, that’s a hard deadline you’ll need to work backward from. Constraints shape your timeline and resource planning, so clarity here is non-negotiable.
Step 2: Break Down Tasks with a Work Breakdown Structure
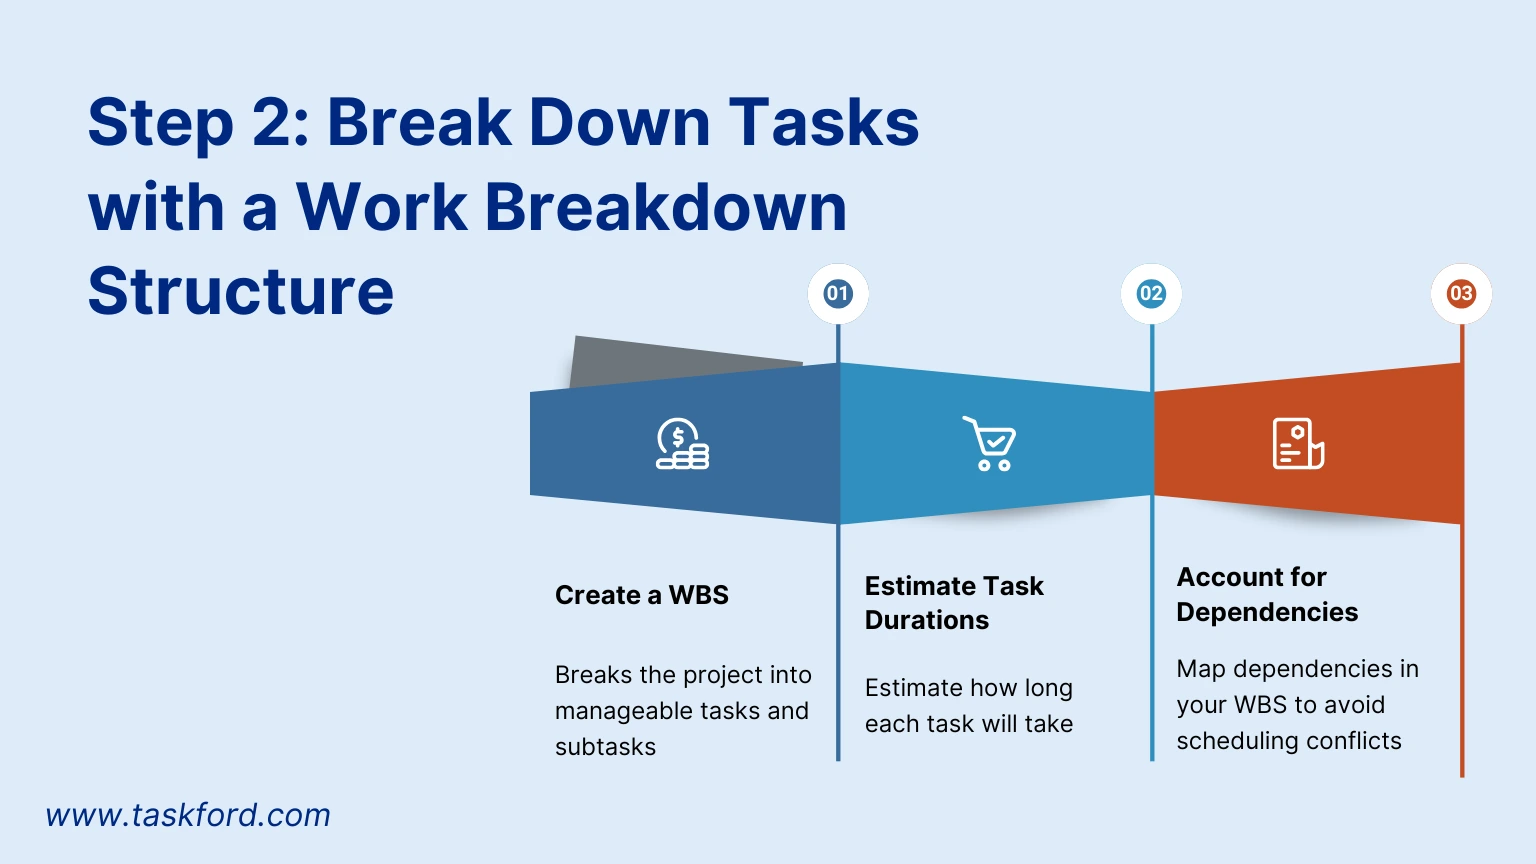
Create a WBS
A Work Breakdown Structure (WBS) is your roadmap for estimating project duration. It breaks the project into manageable tasks and subtasks, making it easier to assign durations and resources. For example, in a marketing campaign project, your WBS might include:
- Market research (e.g., surveys, competitor analysis)
- Content creation (e.g., blog posts, ads)
- Campaign launch (e.g., social media setup, email blasts)
Each task should be specific enough that you can estimate its duration and resource needs. A good WBS ensures nothing is overlooked and helps you spot dependencies, tasks that can’t start until others are finished.
Estimate Task Durations
Once your WBS is ready, estimate how long each task will take. Use these methods to make your estimates realistic:
- Historical Data: Look at similar past projects. If a previous website build took 120 hours, use that as a baseline.
- Expert Input: Ask team members who’ll do the work for their estimates. A developer might know a coding task takes 10 hours, not the 5 you assumed.
- Three-Point Estimation: For each task, calculate an optimistic (O), most likely (M), and pessimistic (P) duration. Then use the formula: (O + 4M + P) / 6 This gives a weighted average that accounts for uncertainty. For example, if coding a feature might take 8 hours (O), 10 hours (M), or 15 hours (P), the estimate is: (8 + 4*10 + 15) / 6 = 10.5 hours.
Account for Dependencies
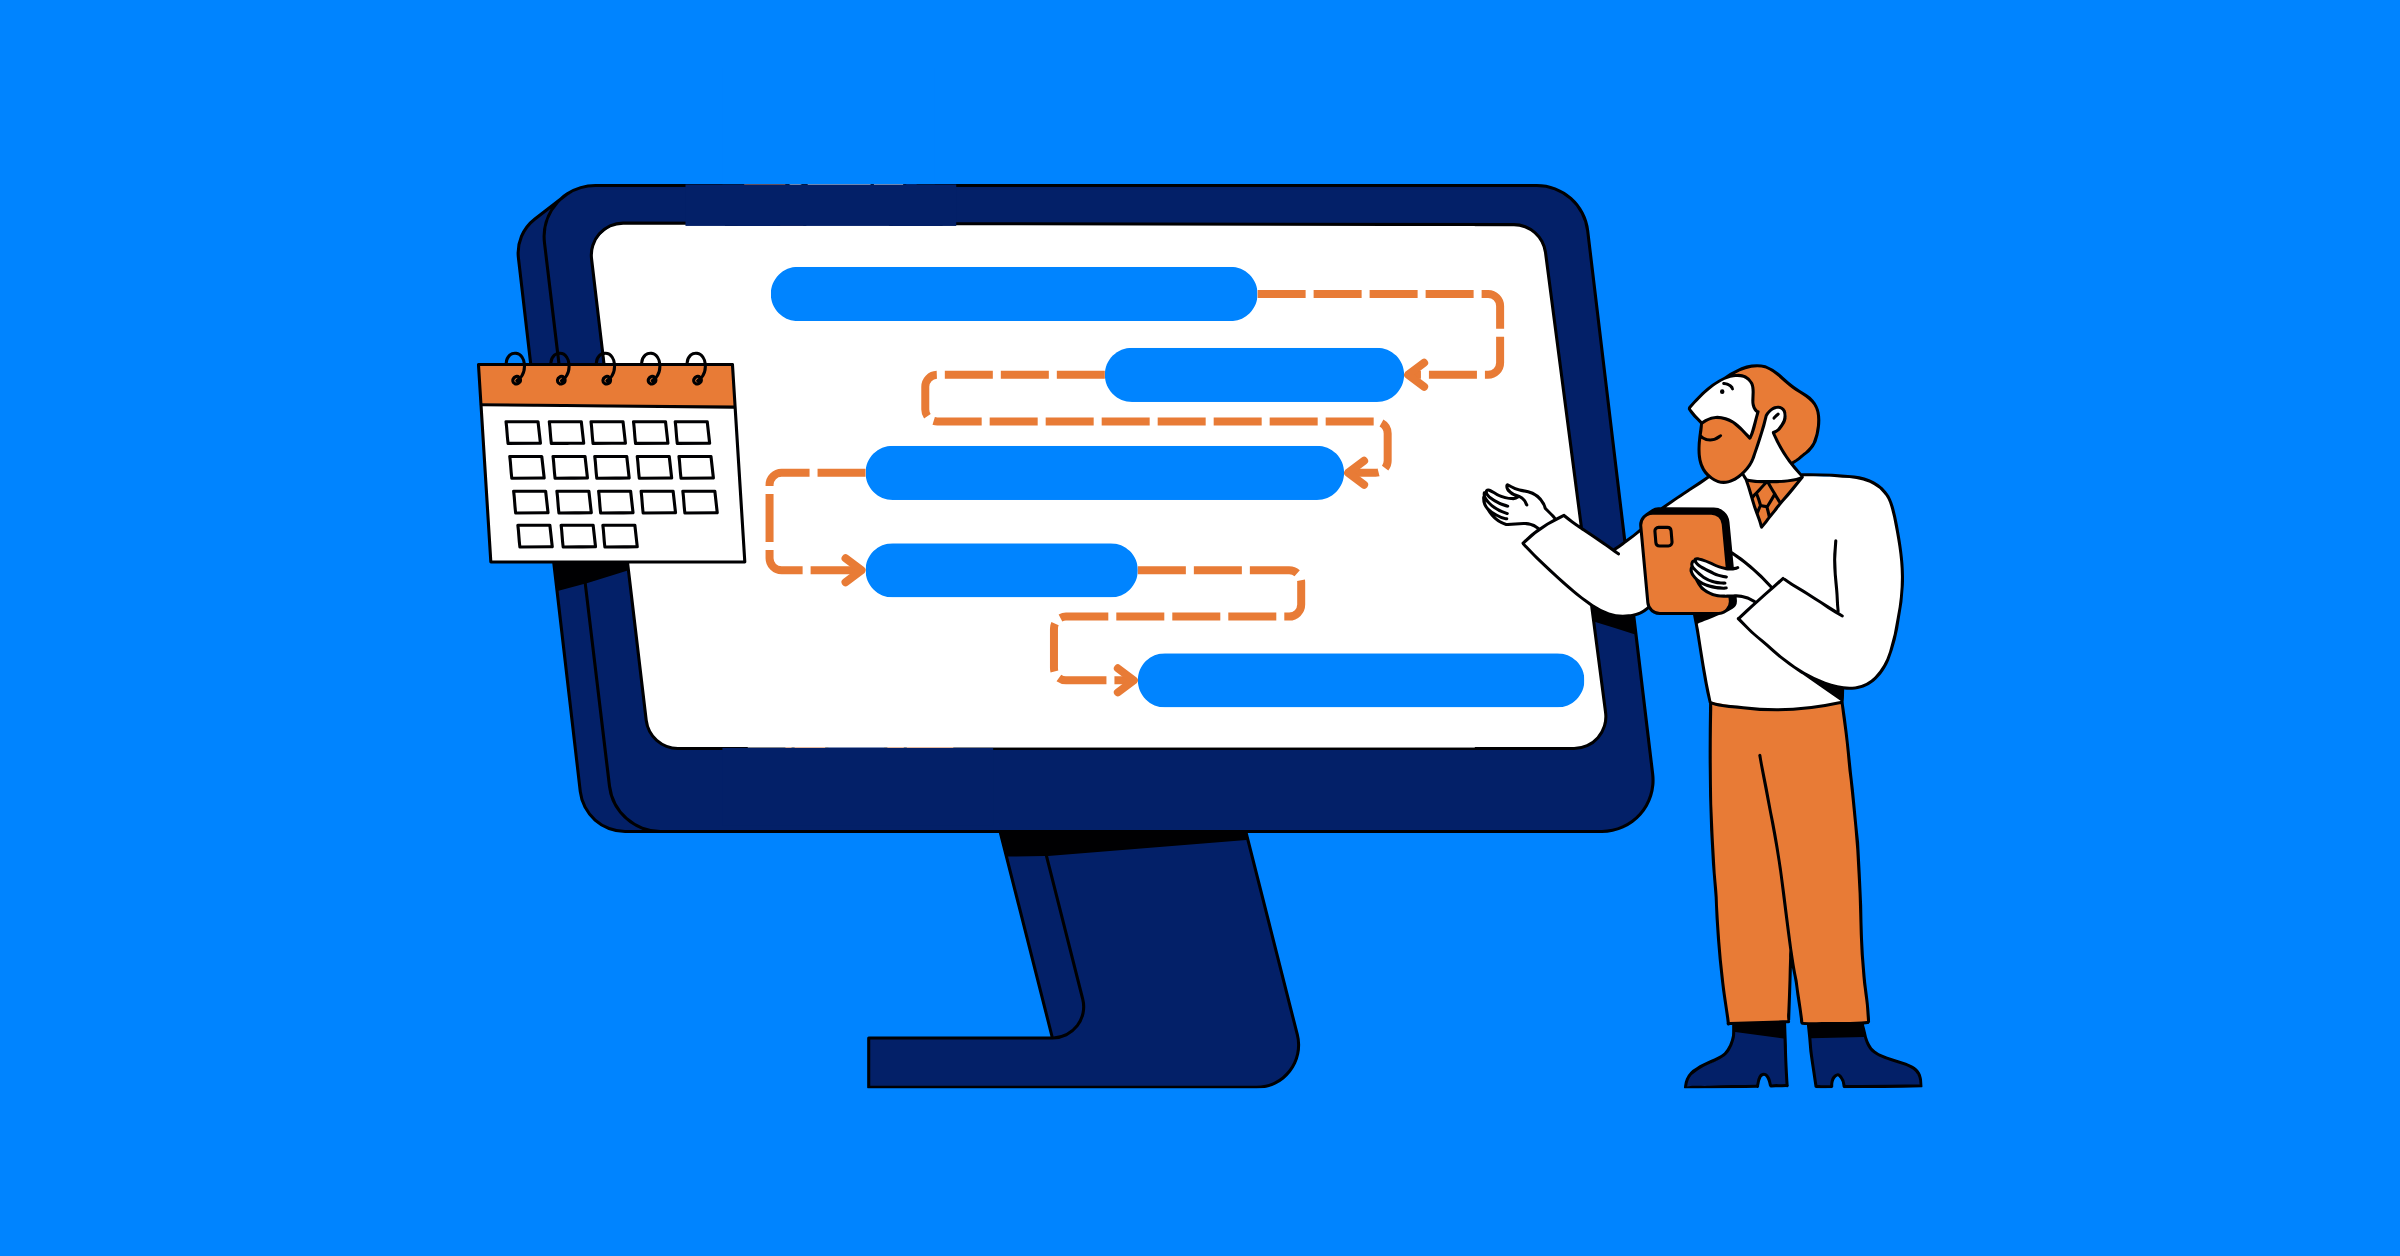
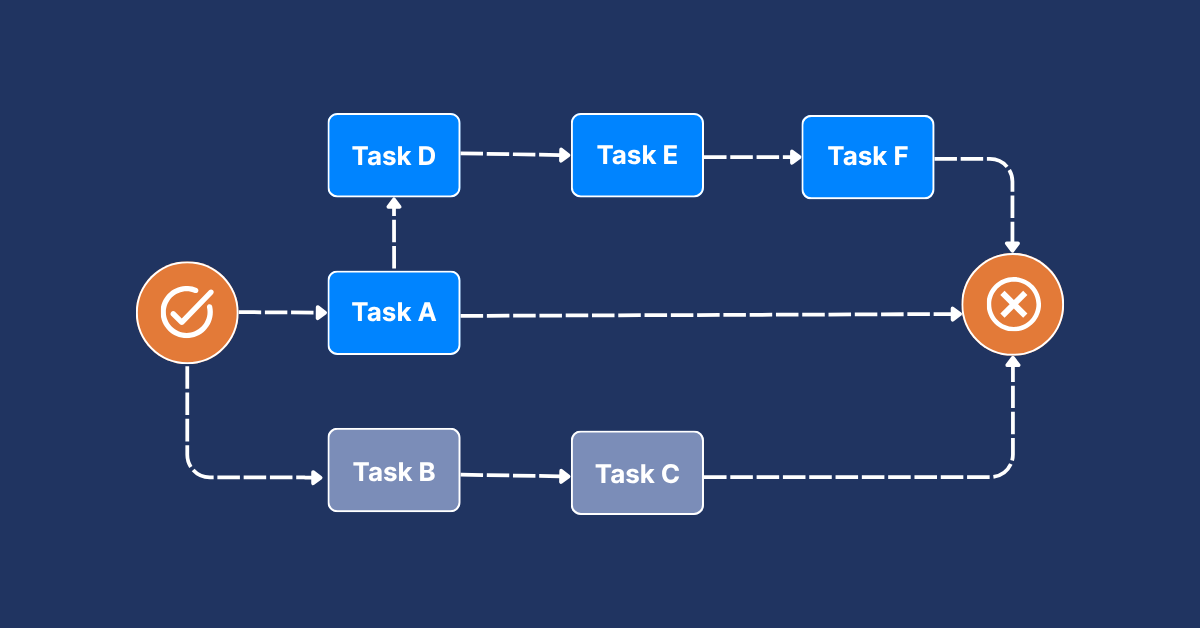
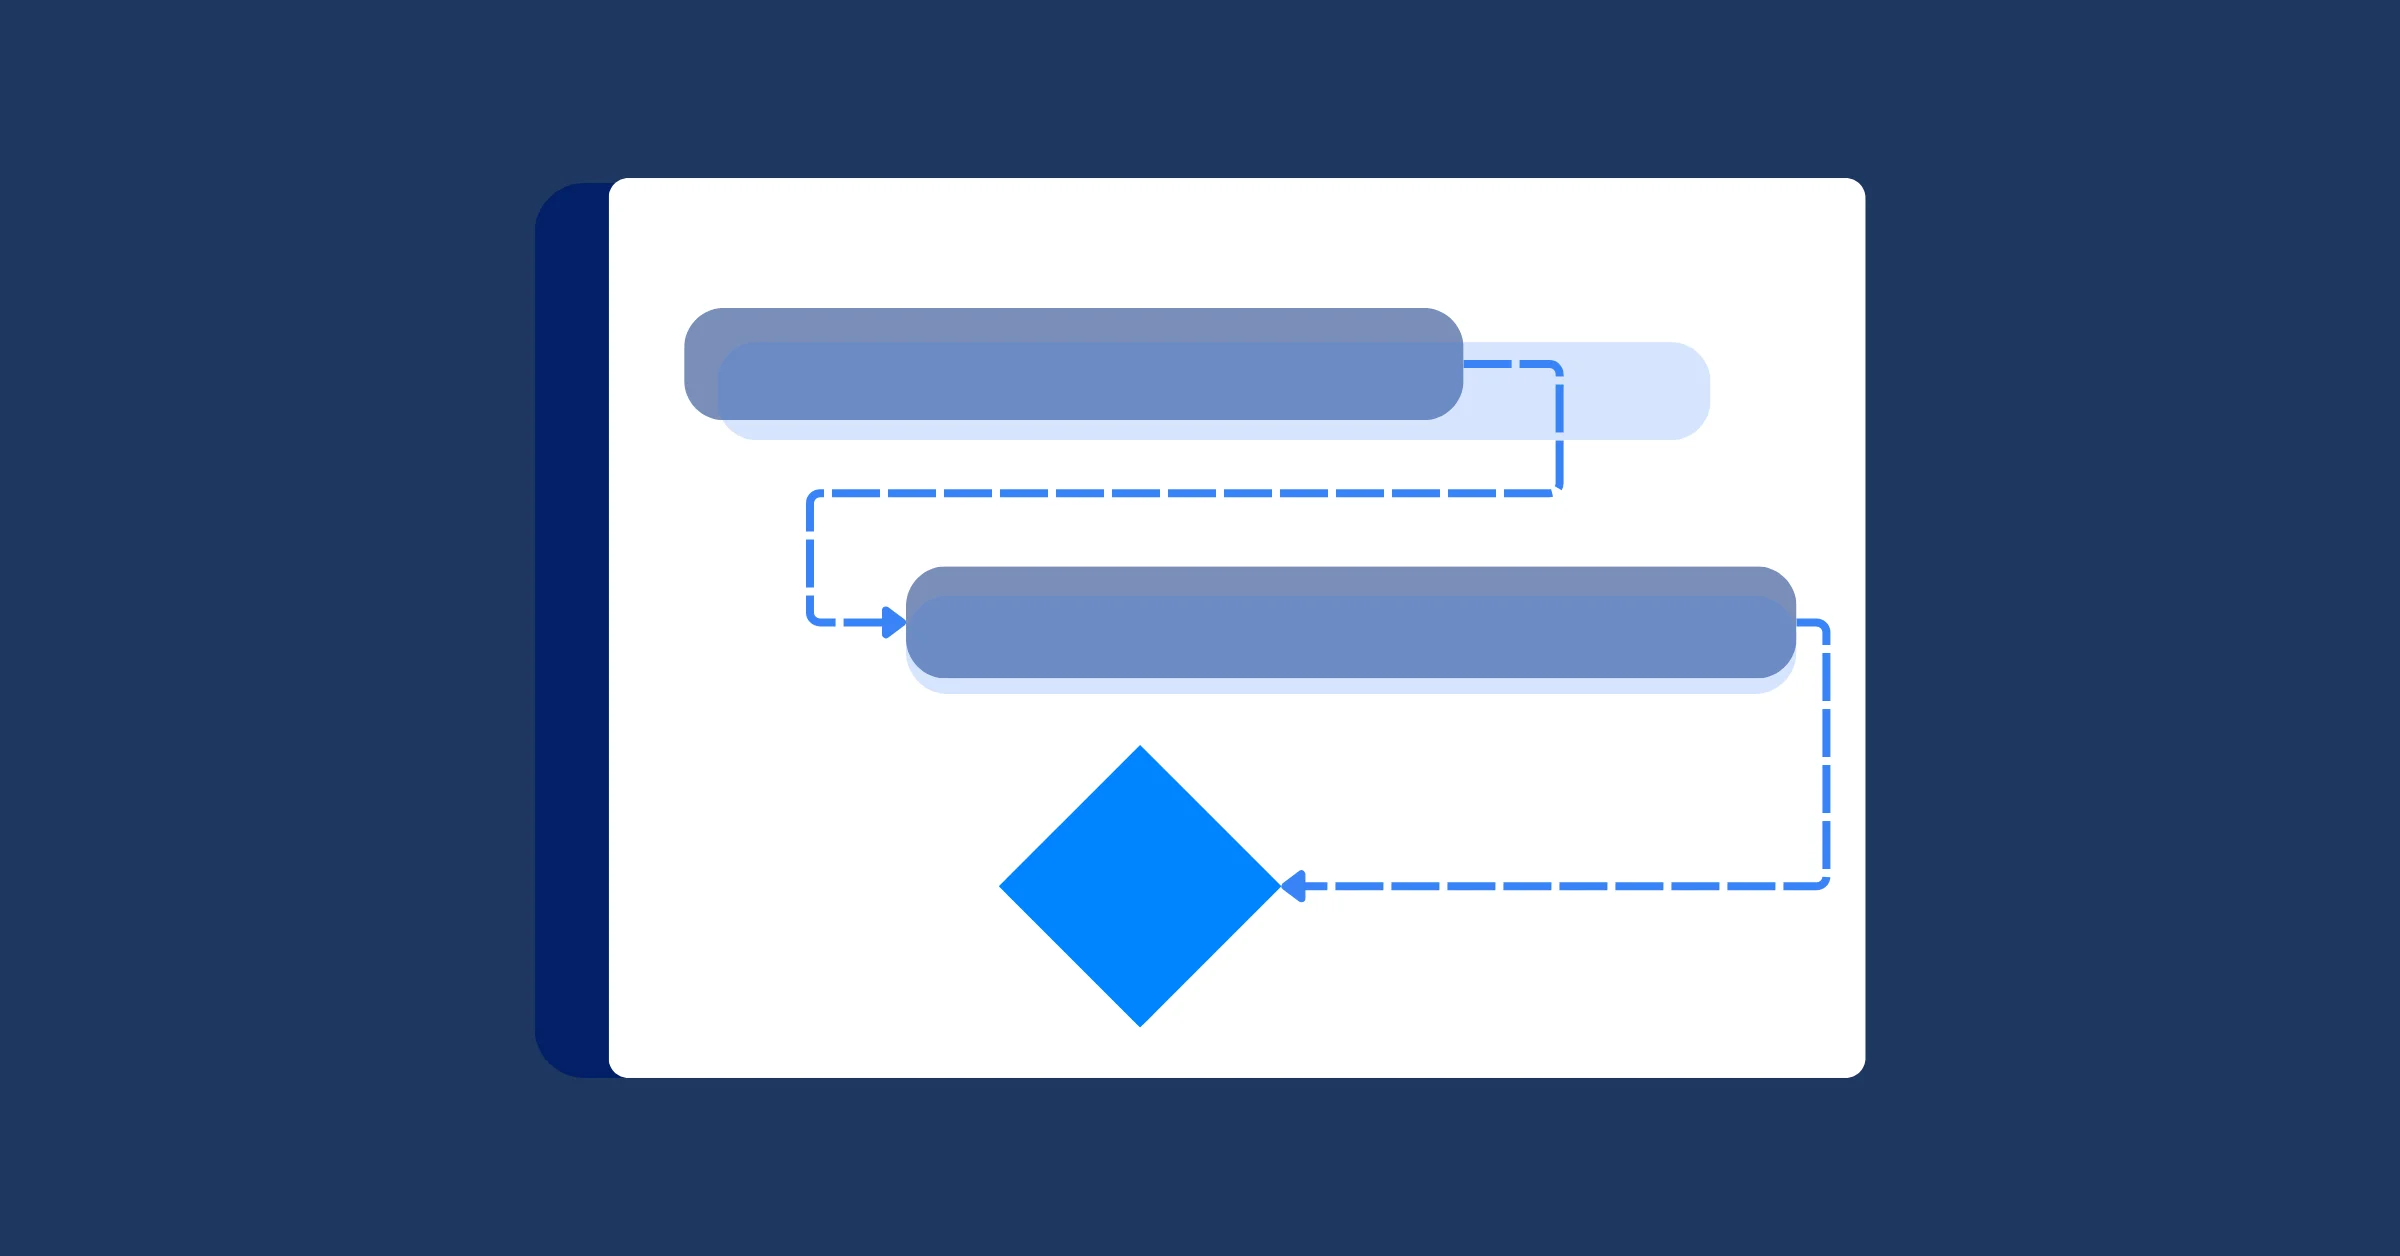
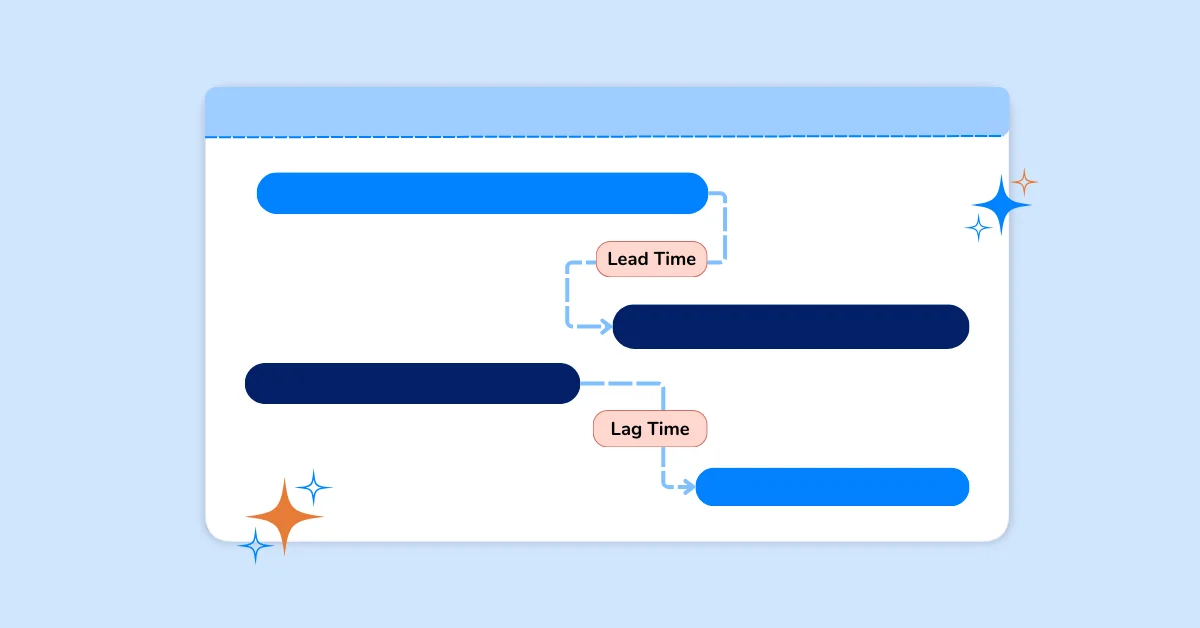
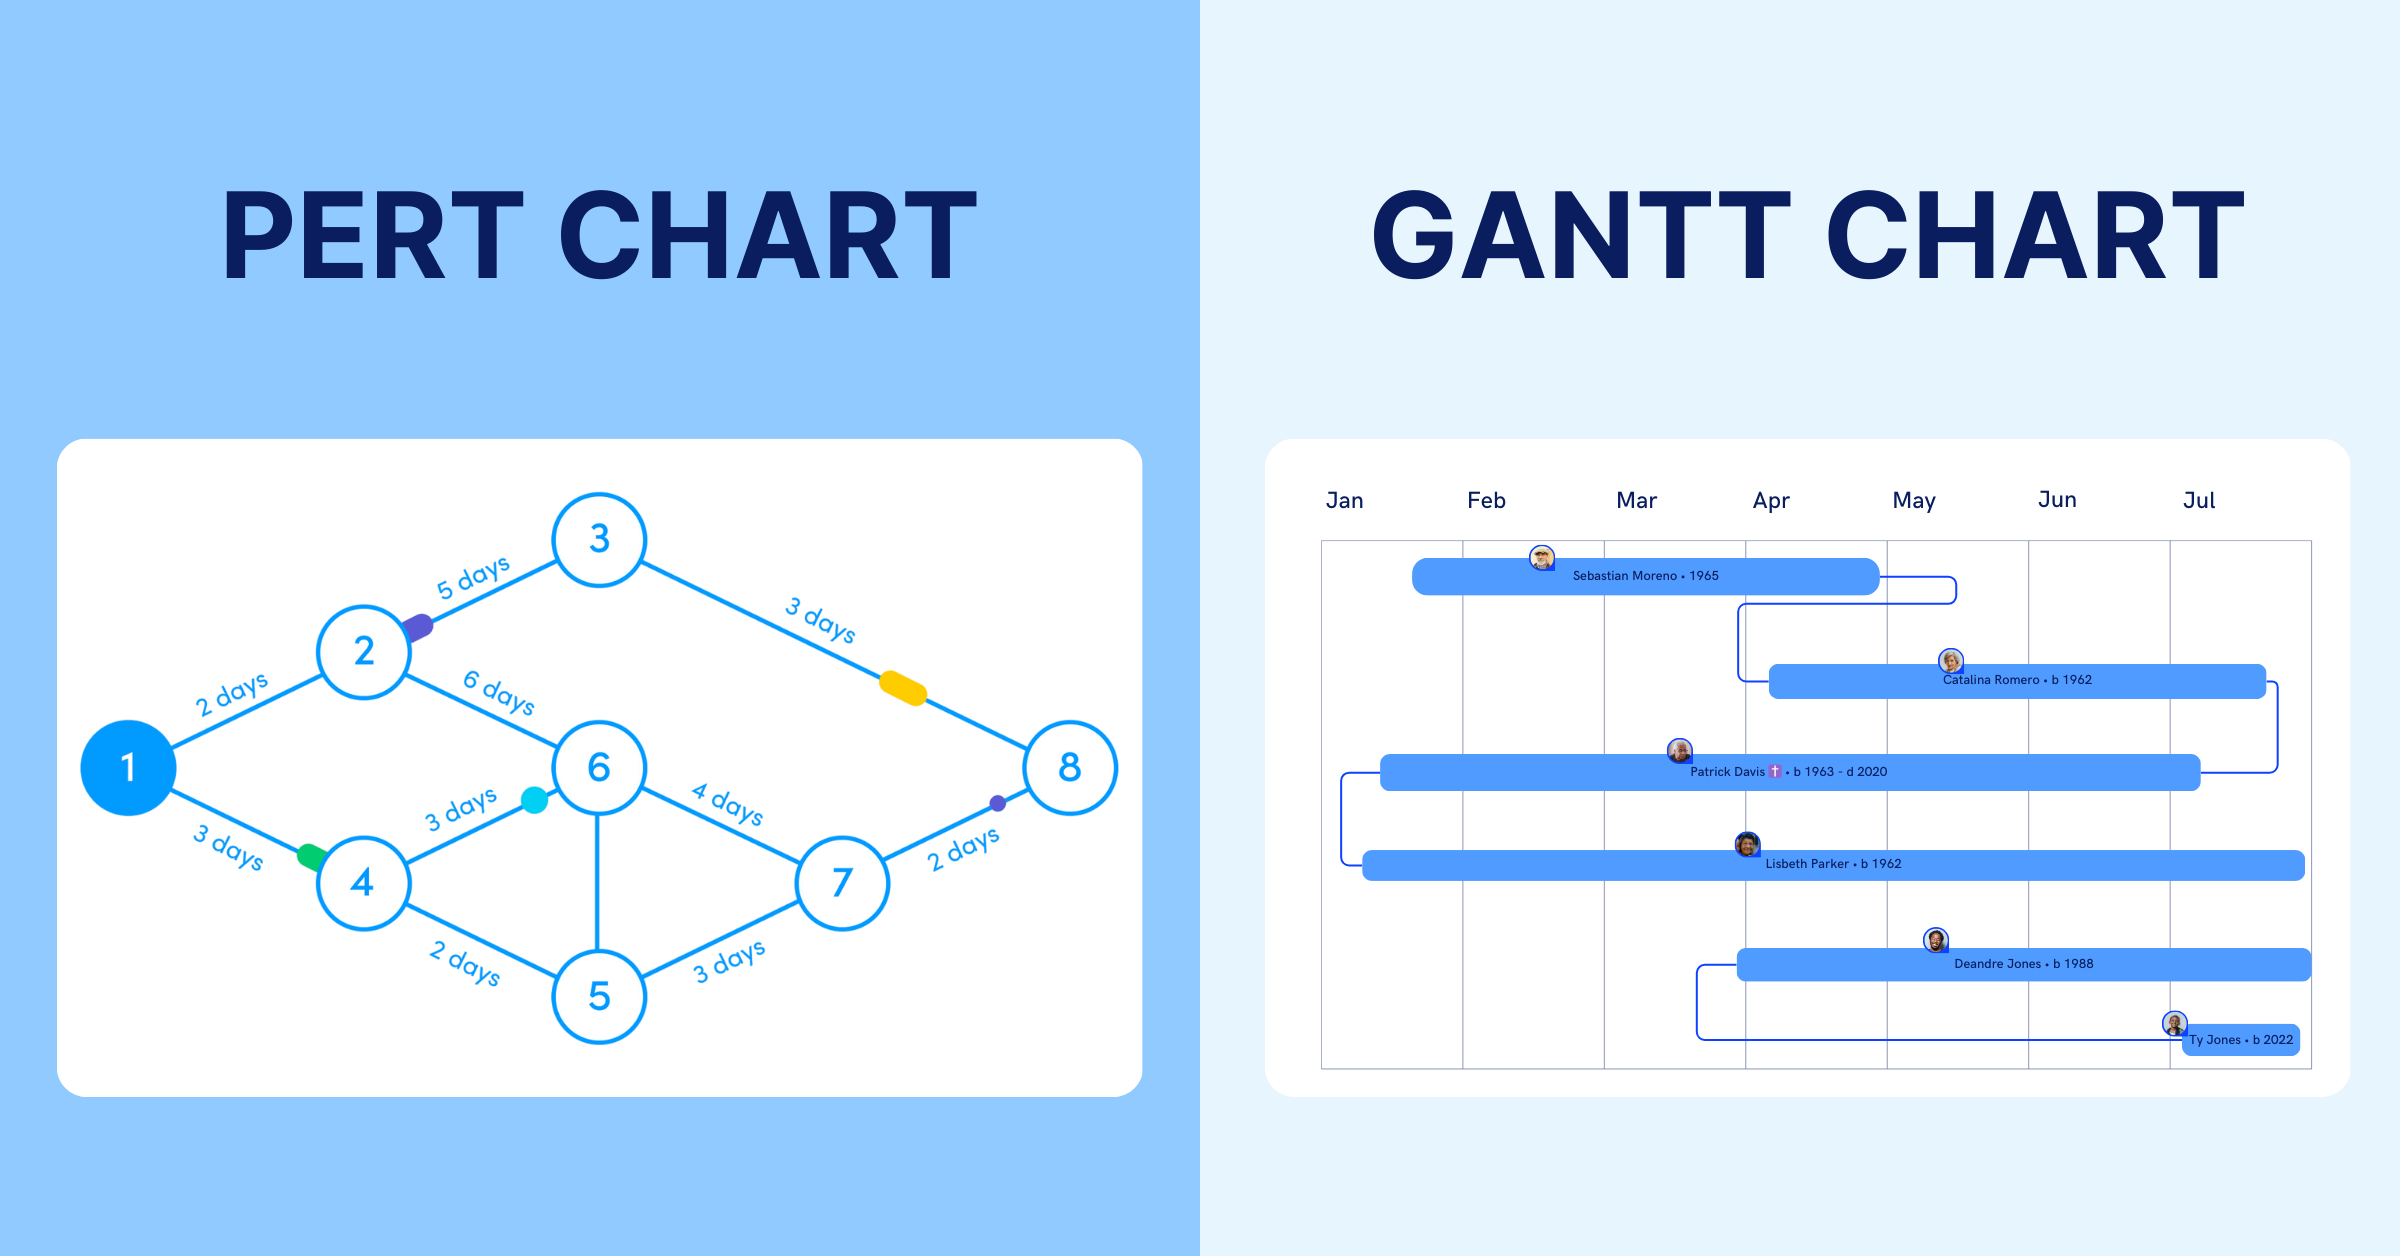
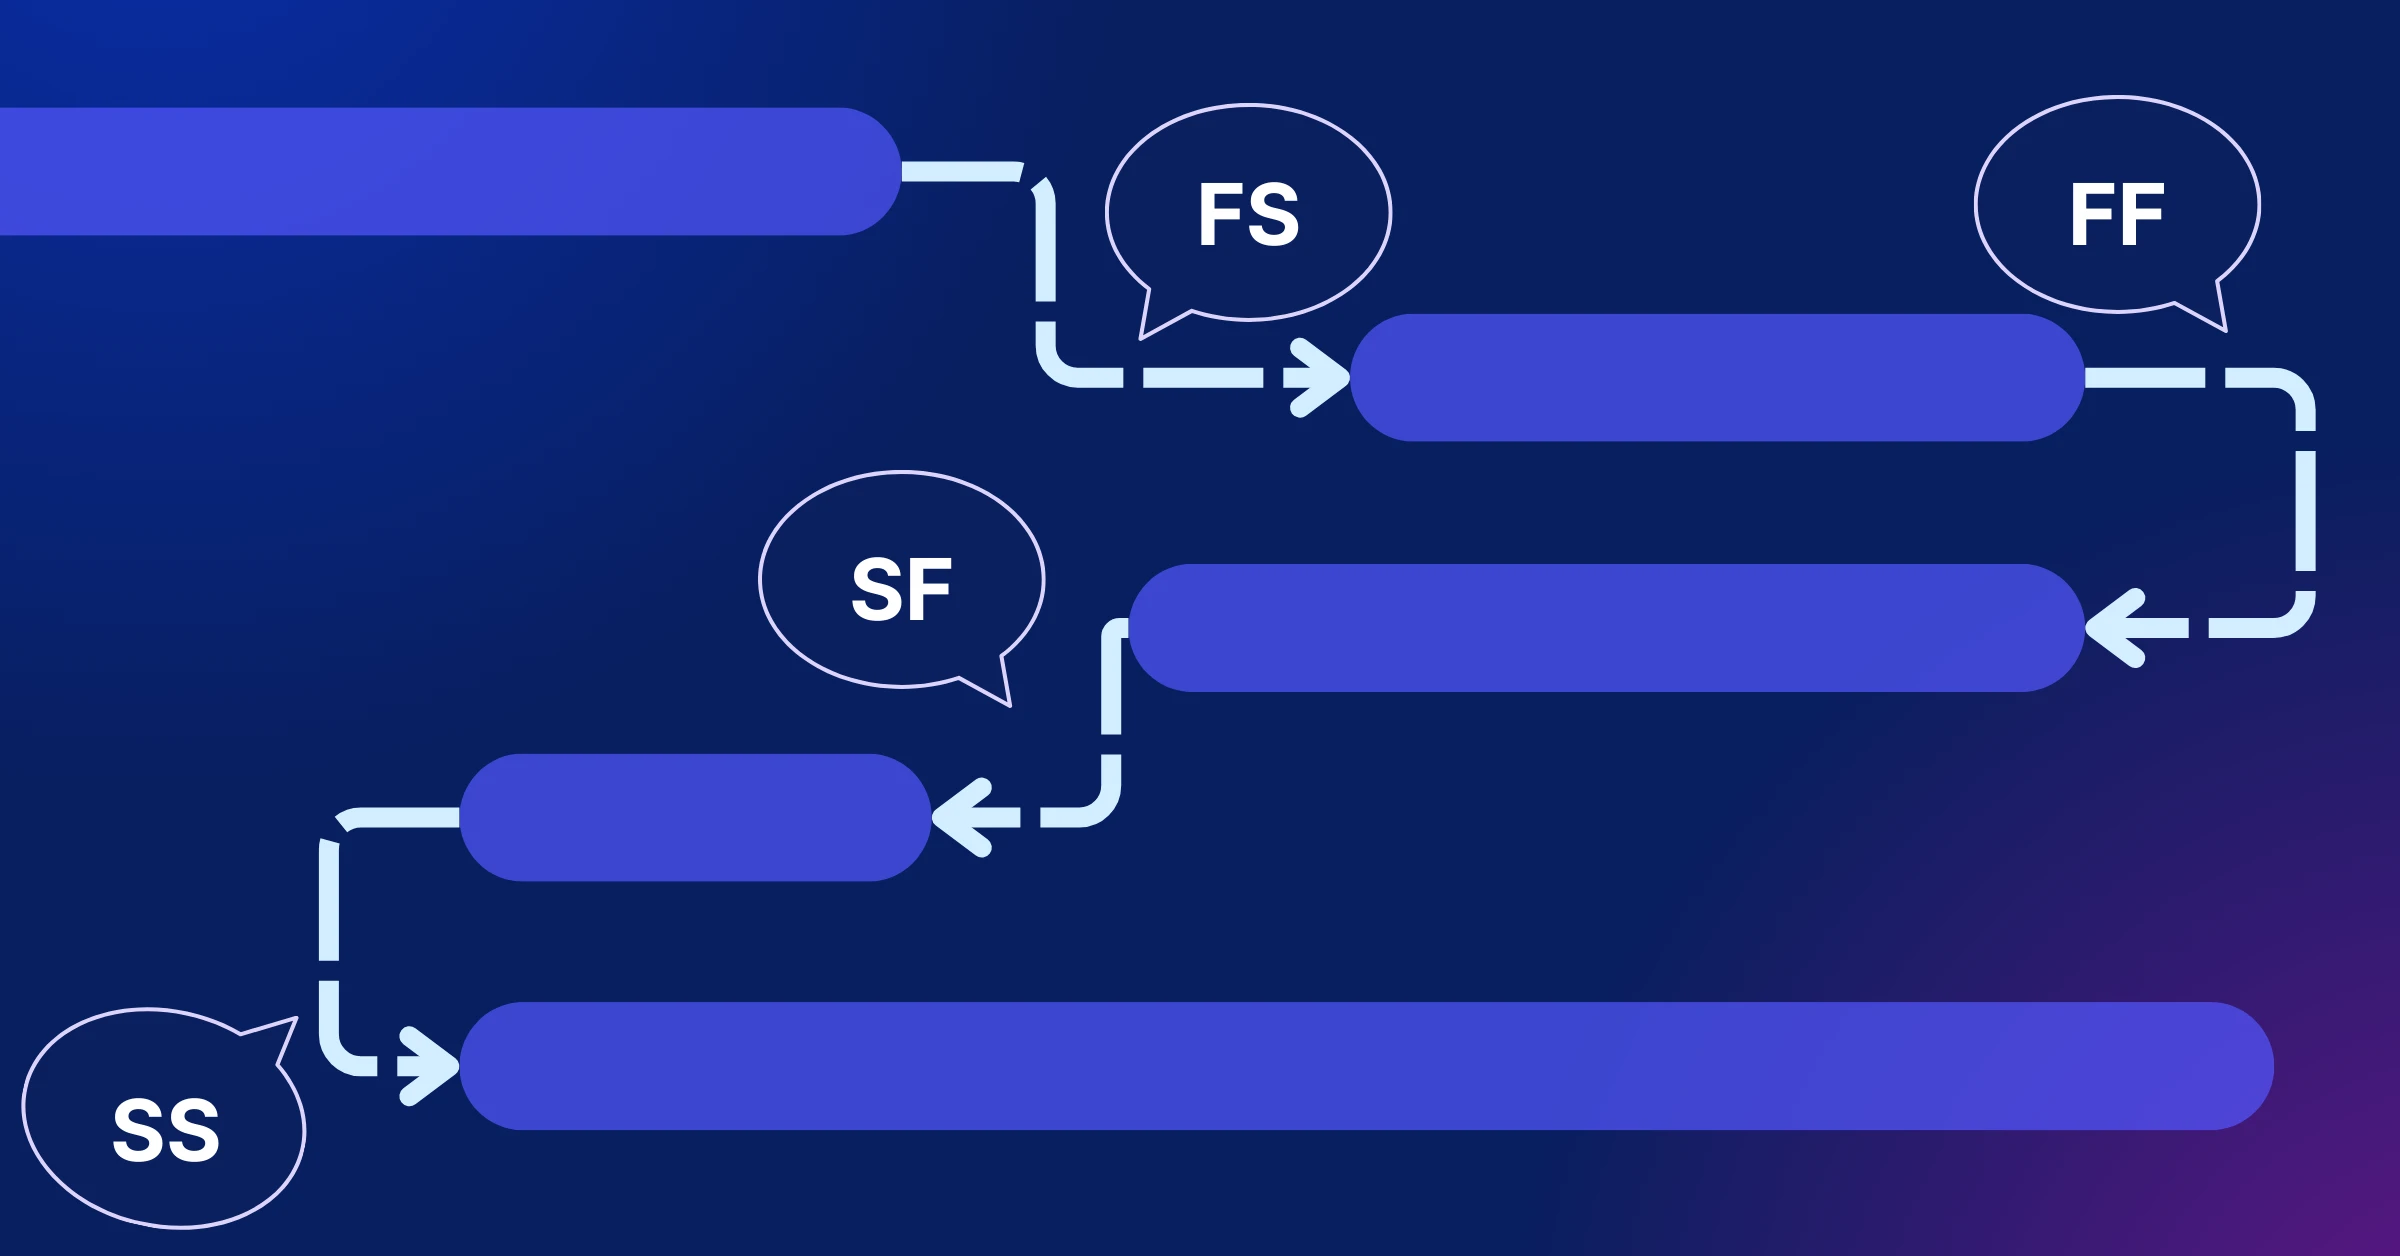
Some tasks depend on others. For instance, you can’t test a software feature until it’s coded. Map these dependencies in your WBS to avoid scheduling conflicts. Tools like Gantt Charts can visualize these relationships, showing which tasks run in parallel and which are sequential.
Step 3: Factor in Buffers for Uncertainty

No project goes exactly as planned. Unexpected delays, sick team members, client feedback, or technical issues can throw off your timeline. Build in buffers to handle these risks:
- Time Buffers: Add extra time to critical tasks or the overall project. A common rule is to add 10-20% of the total duration as a contingency.
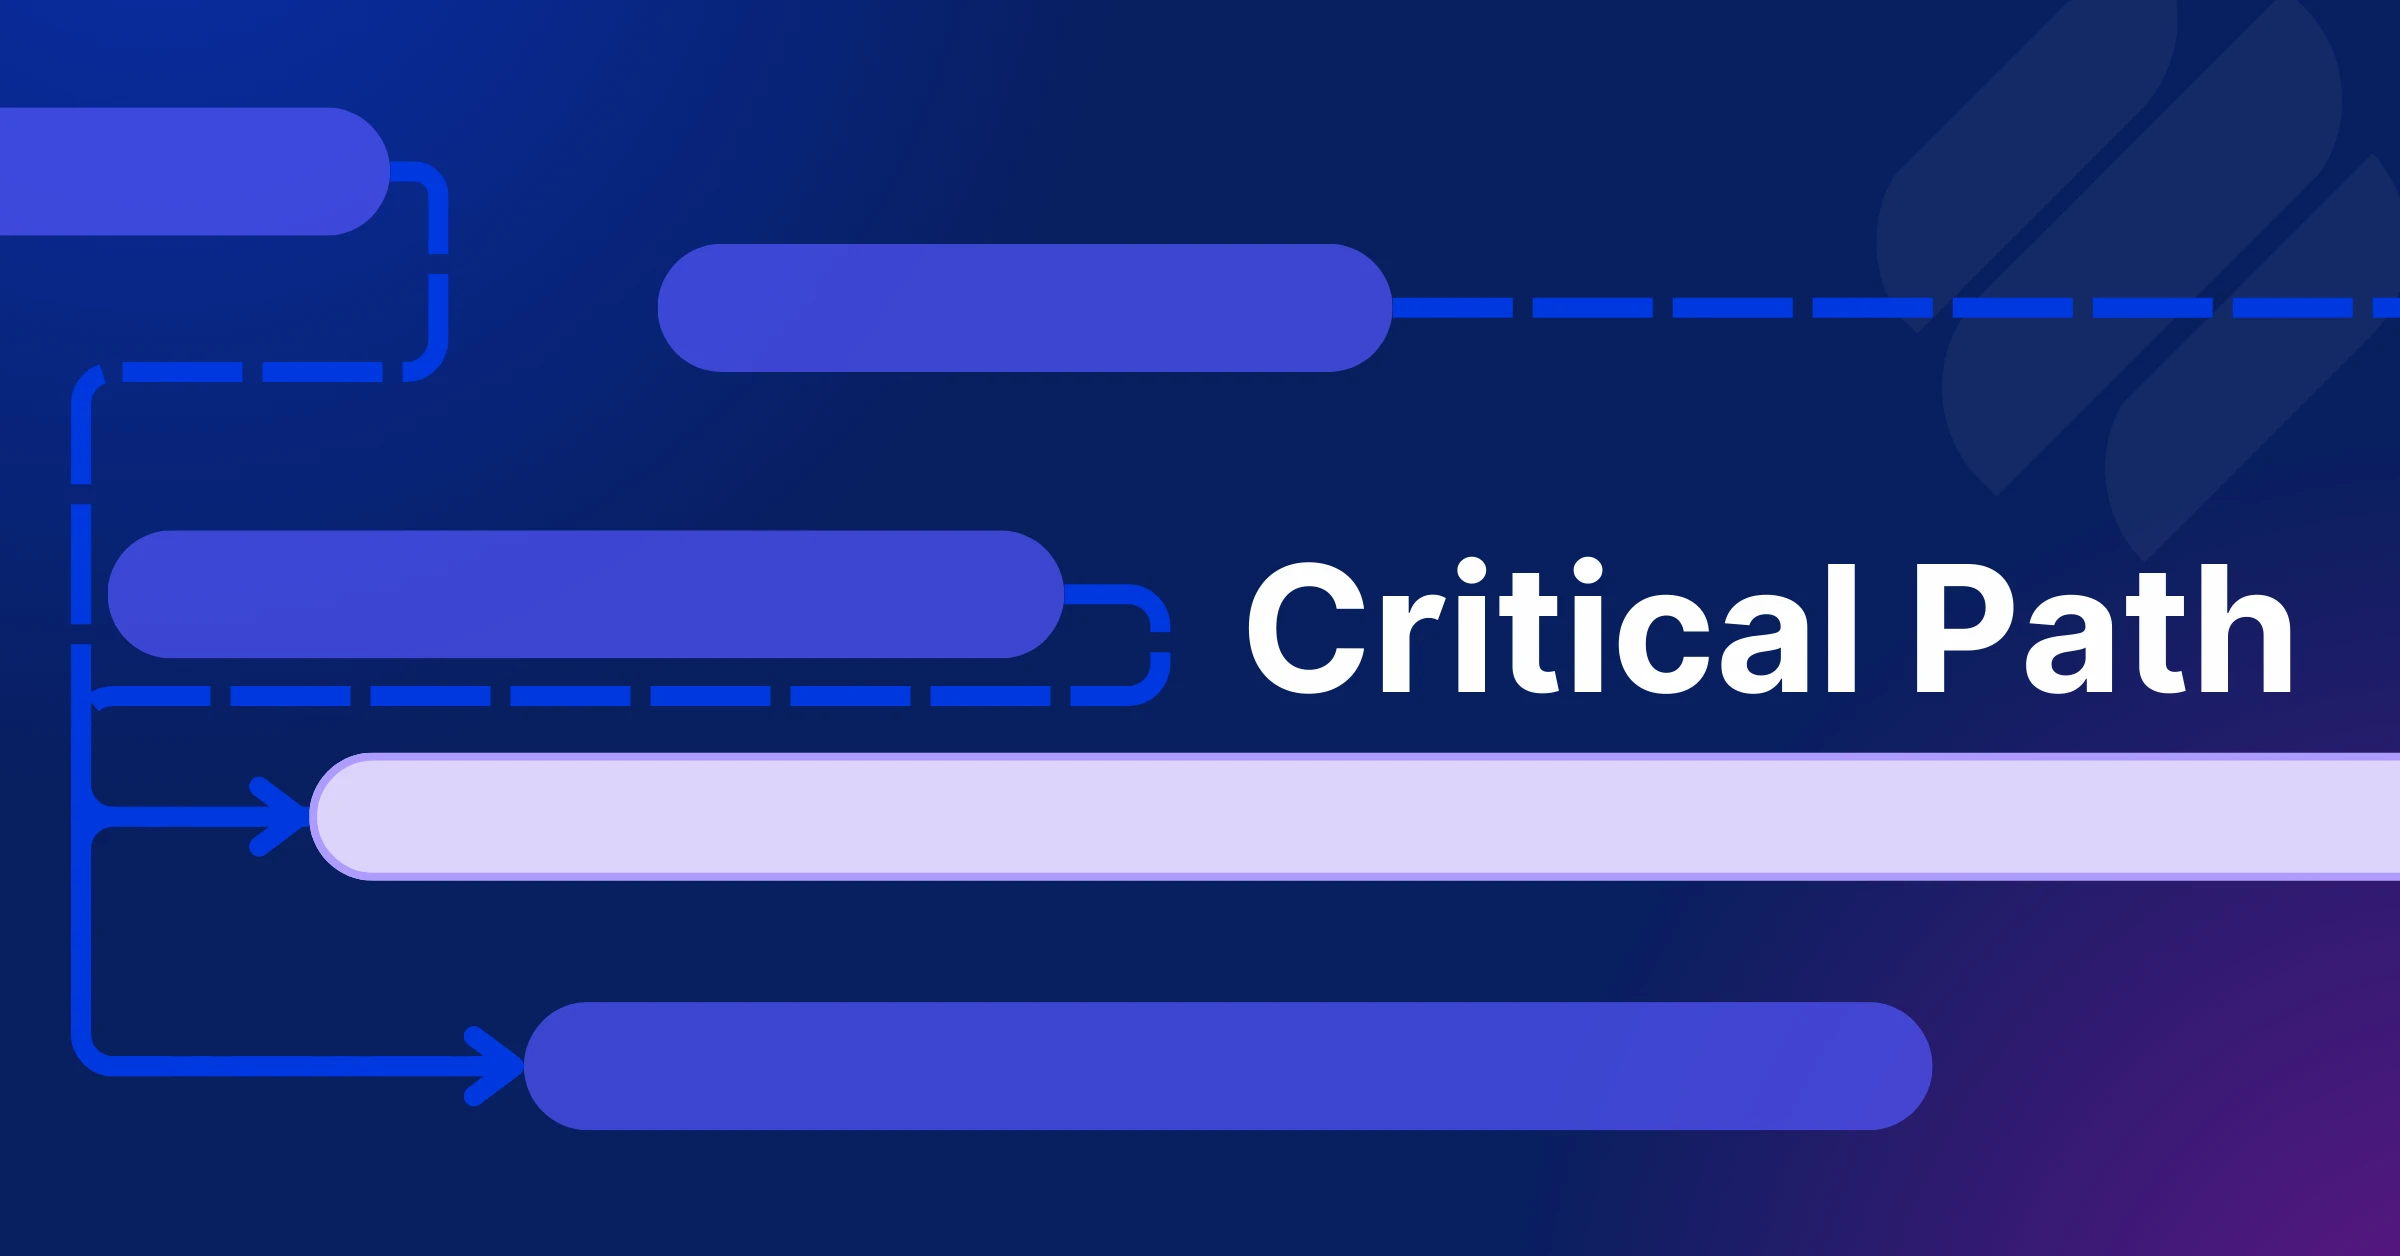
- Critical Path Analysis: Identify the critical path—the sequence of tasks that determines the project’s minimum duration. Focus buffers on these tasks, as delays here directly impact the deadline.
For example, if your critical path for a product launch is 30 days, adding a 3-day buffer (10%) gives you some breathing room without inflating the timeline unnecessarily.
Step 4: Optimize Resource Allocation
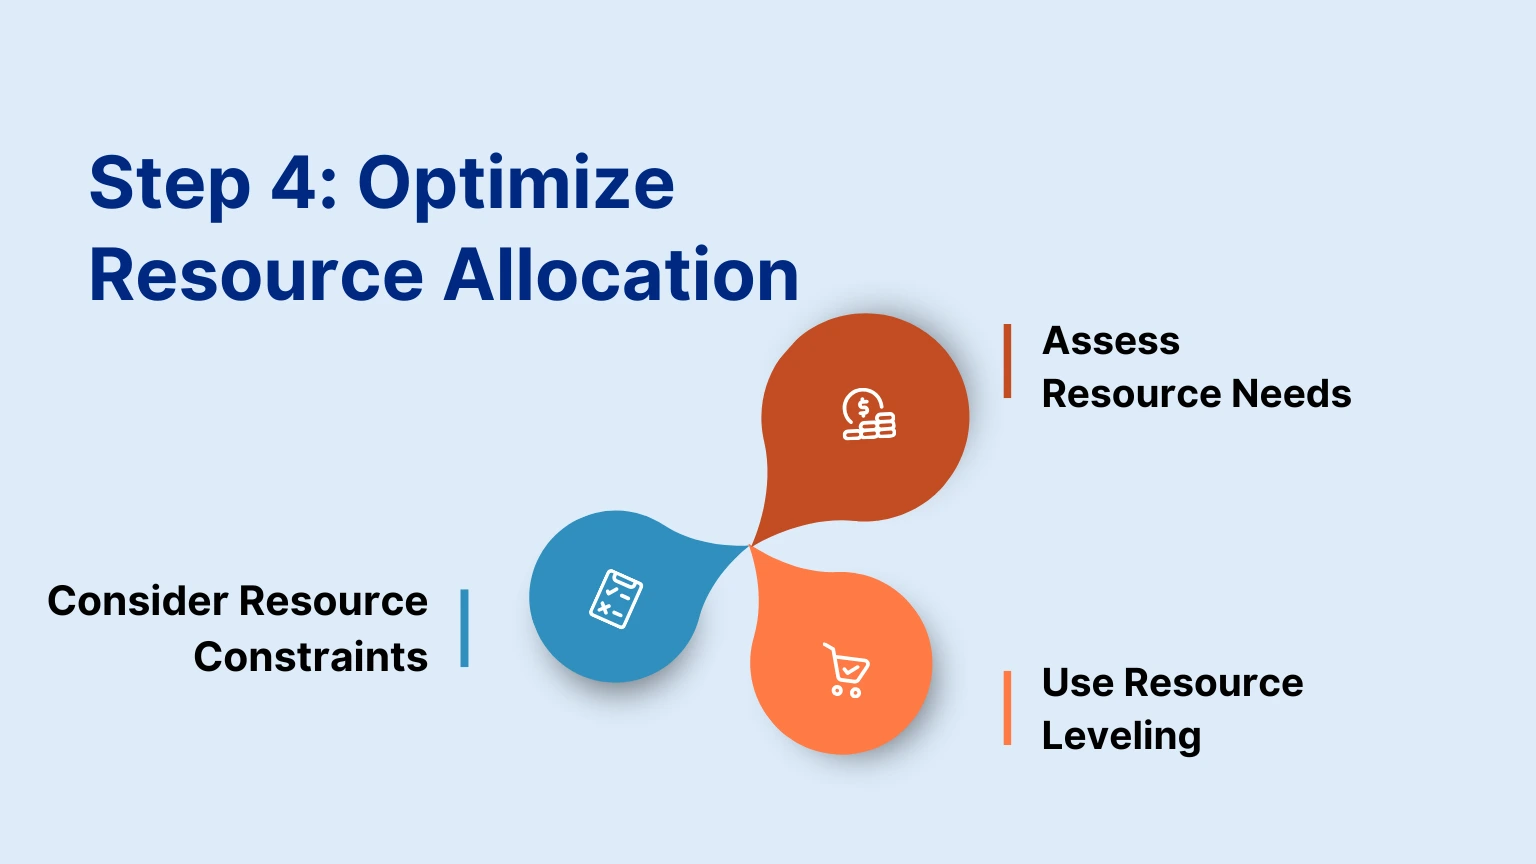
Assess Resource Needs
Resources include people, equipment, and materials. For each task in your WBS, list what’s required. For example:
- Human Resources: Who’s doing the task? A graphic designer? A coder? How many hours can they commit?
- Equipment: Do you need software licenses, servers, or specific tools?
- Materials: For physical projects like construction, list supplies like cement or wiring.
Be specific. Instead of “designer,” note “senior UX designer, 20 hours/week.” This clarity prevents over- or under-allocating resources.
Use Resource Leveling
Resource leveling balances workloads to avoid overburdening team members or underusing assets. For instance, if one developer is assigned to three tasks simultaneously, reschedule some tasks or bring in another team member.
Consider Resource Constraints
Resources aren’t infinite. If your team is small or equipment is limited, adjust your timeline accordingly. For example, if only one machine can handle a task, you can’t run parallel tasks that need it. Plan around these constraints to keep your schedule realistic.
Step 5: Build and Monitor the Timeline with a Gantt Chart
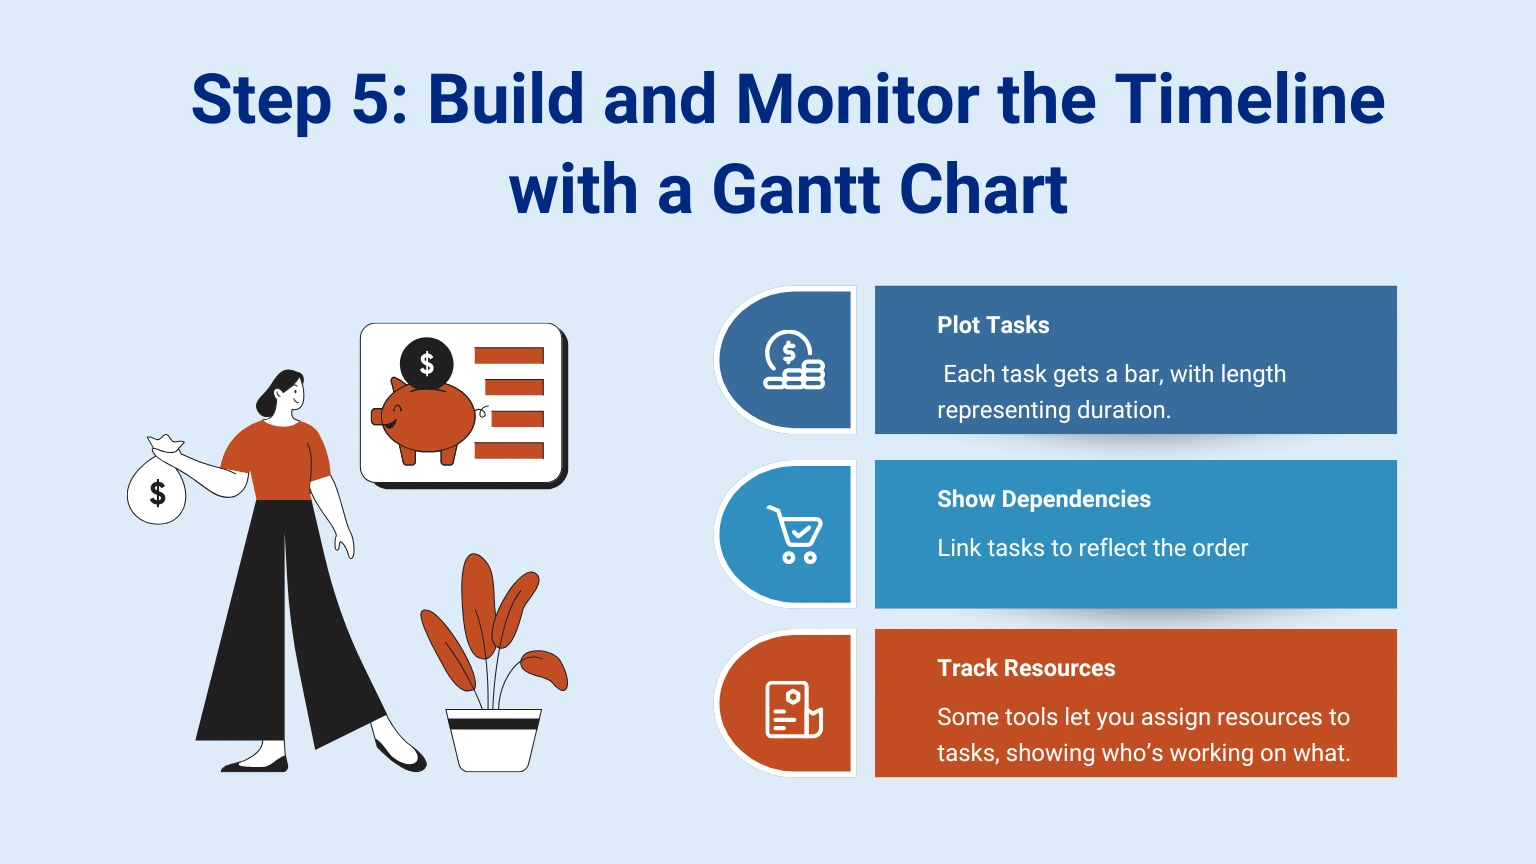
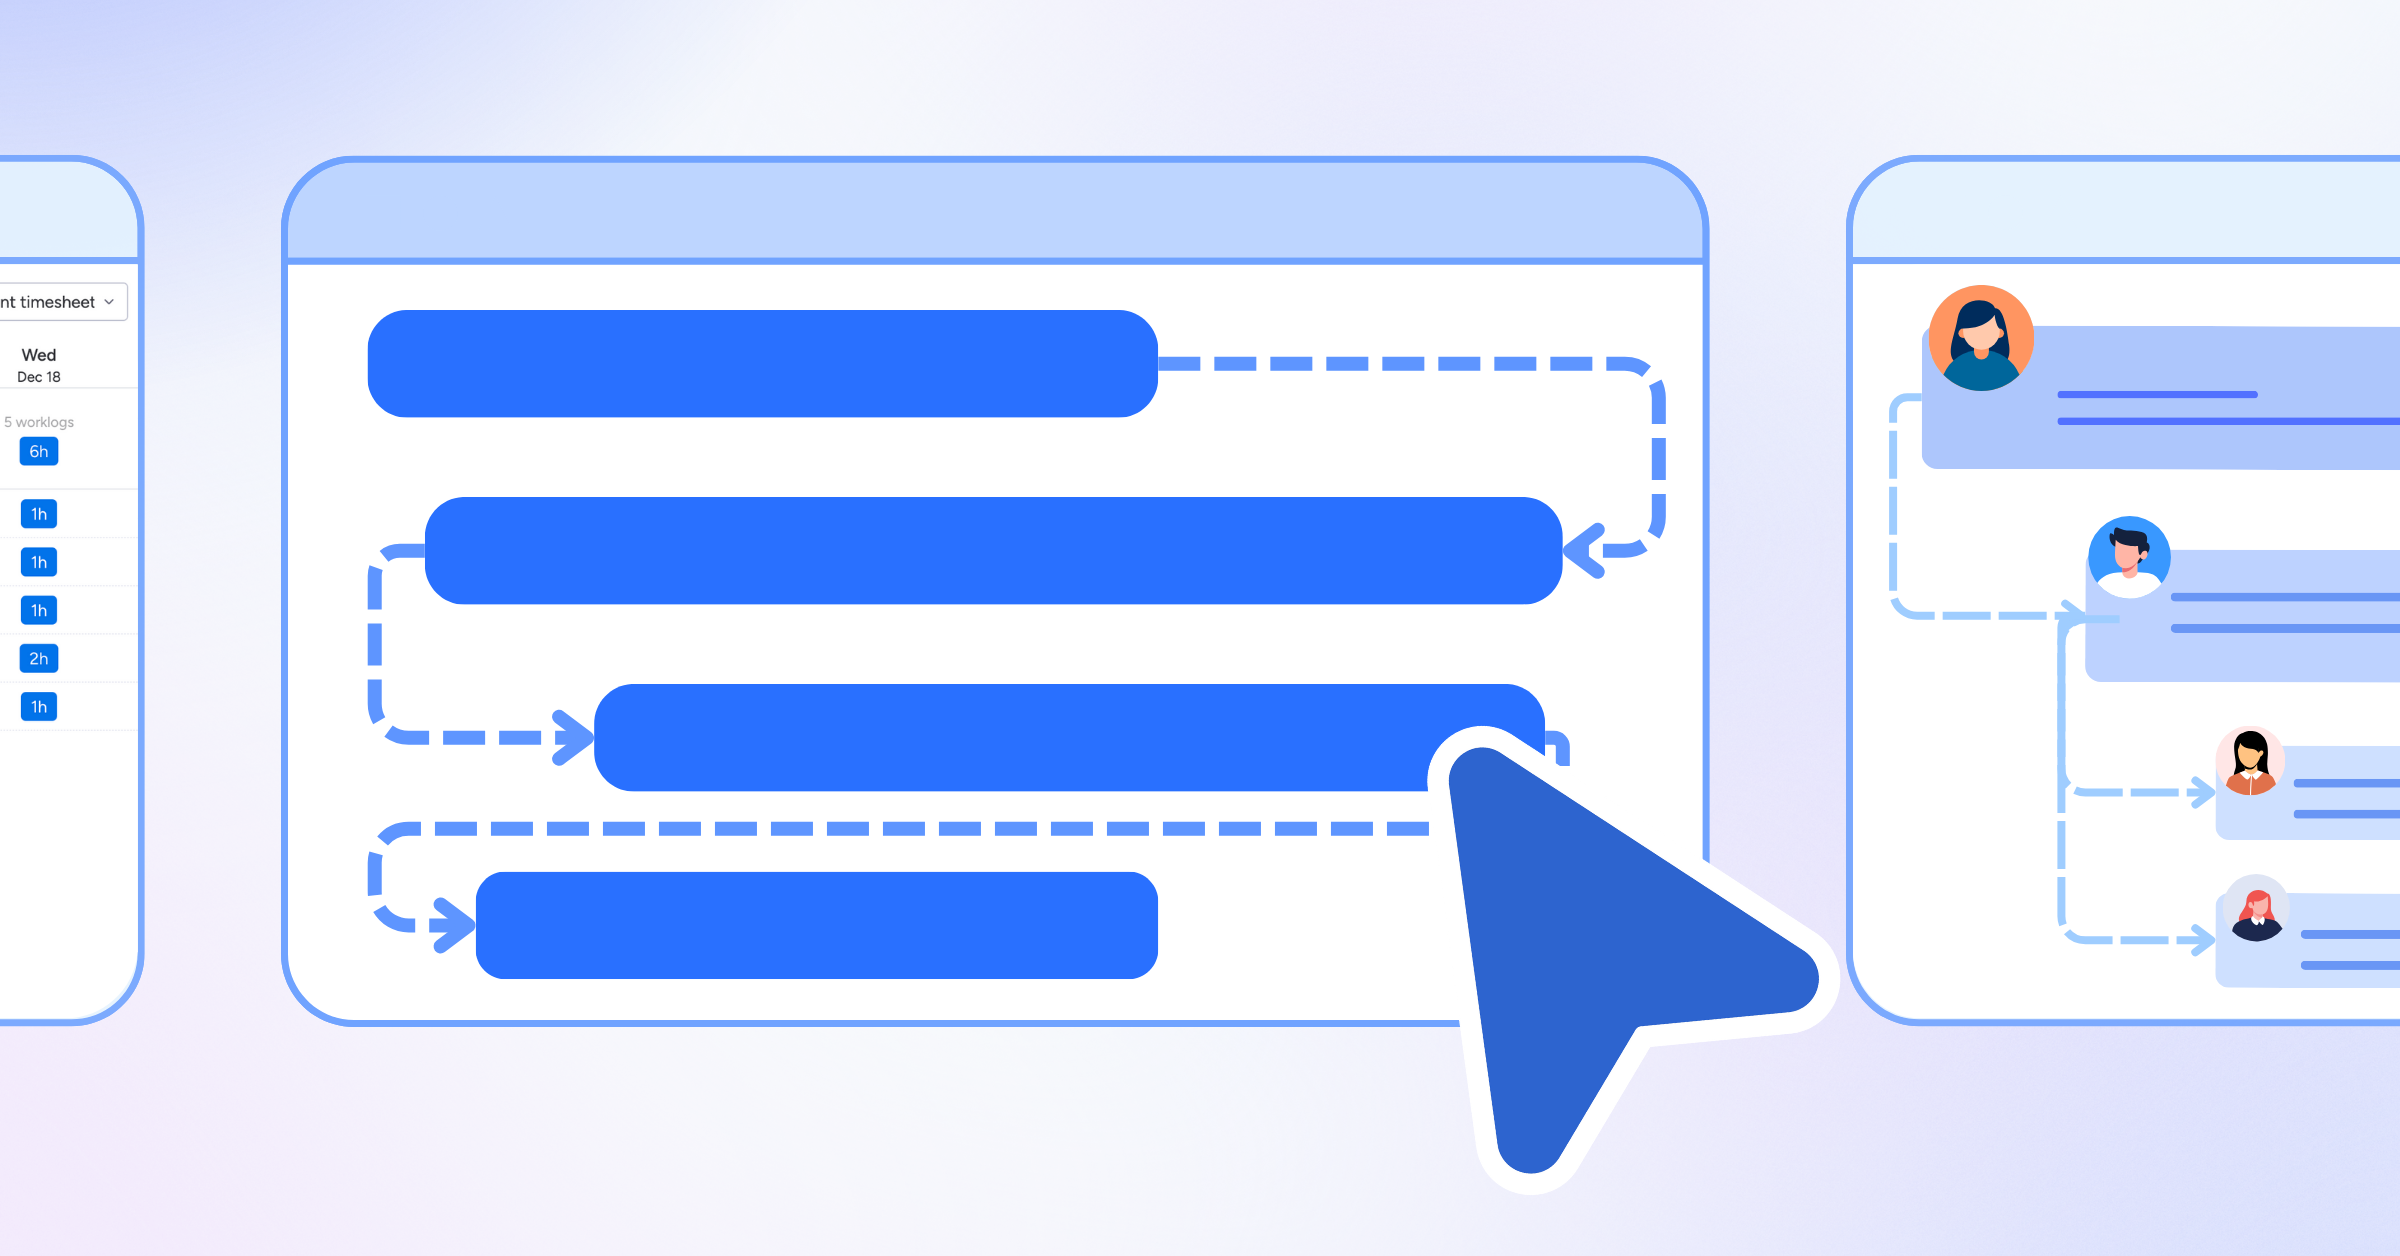
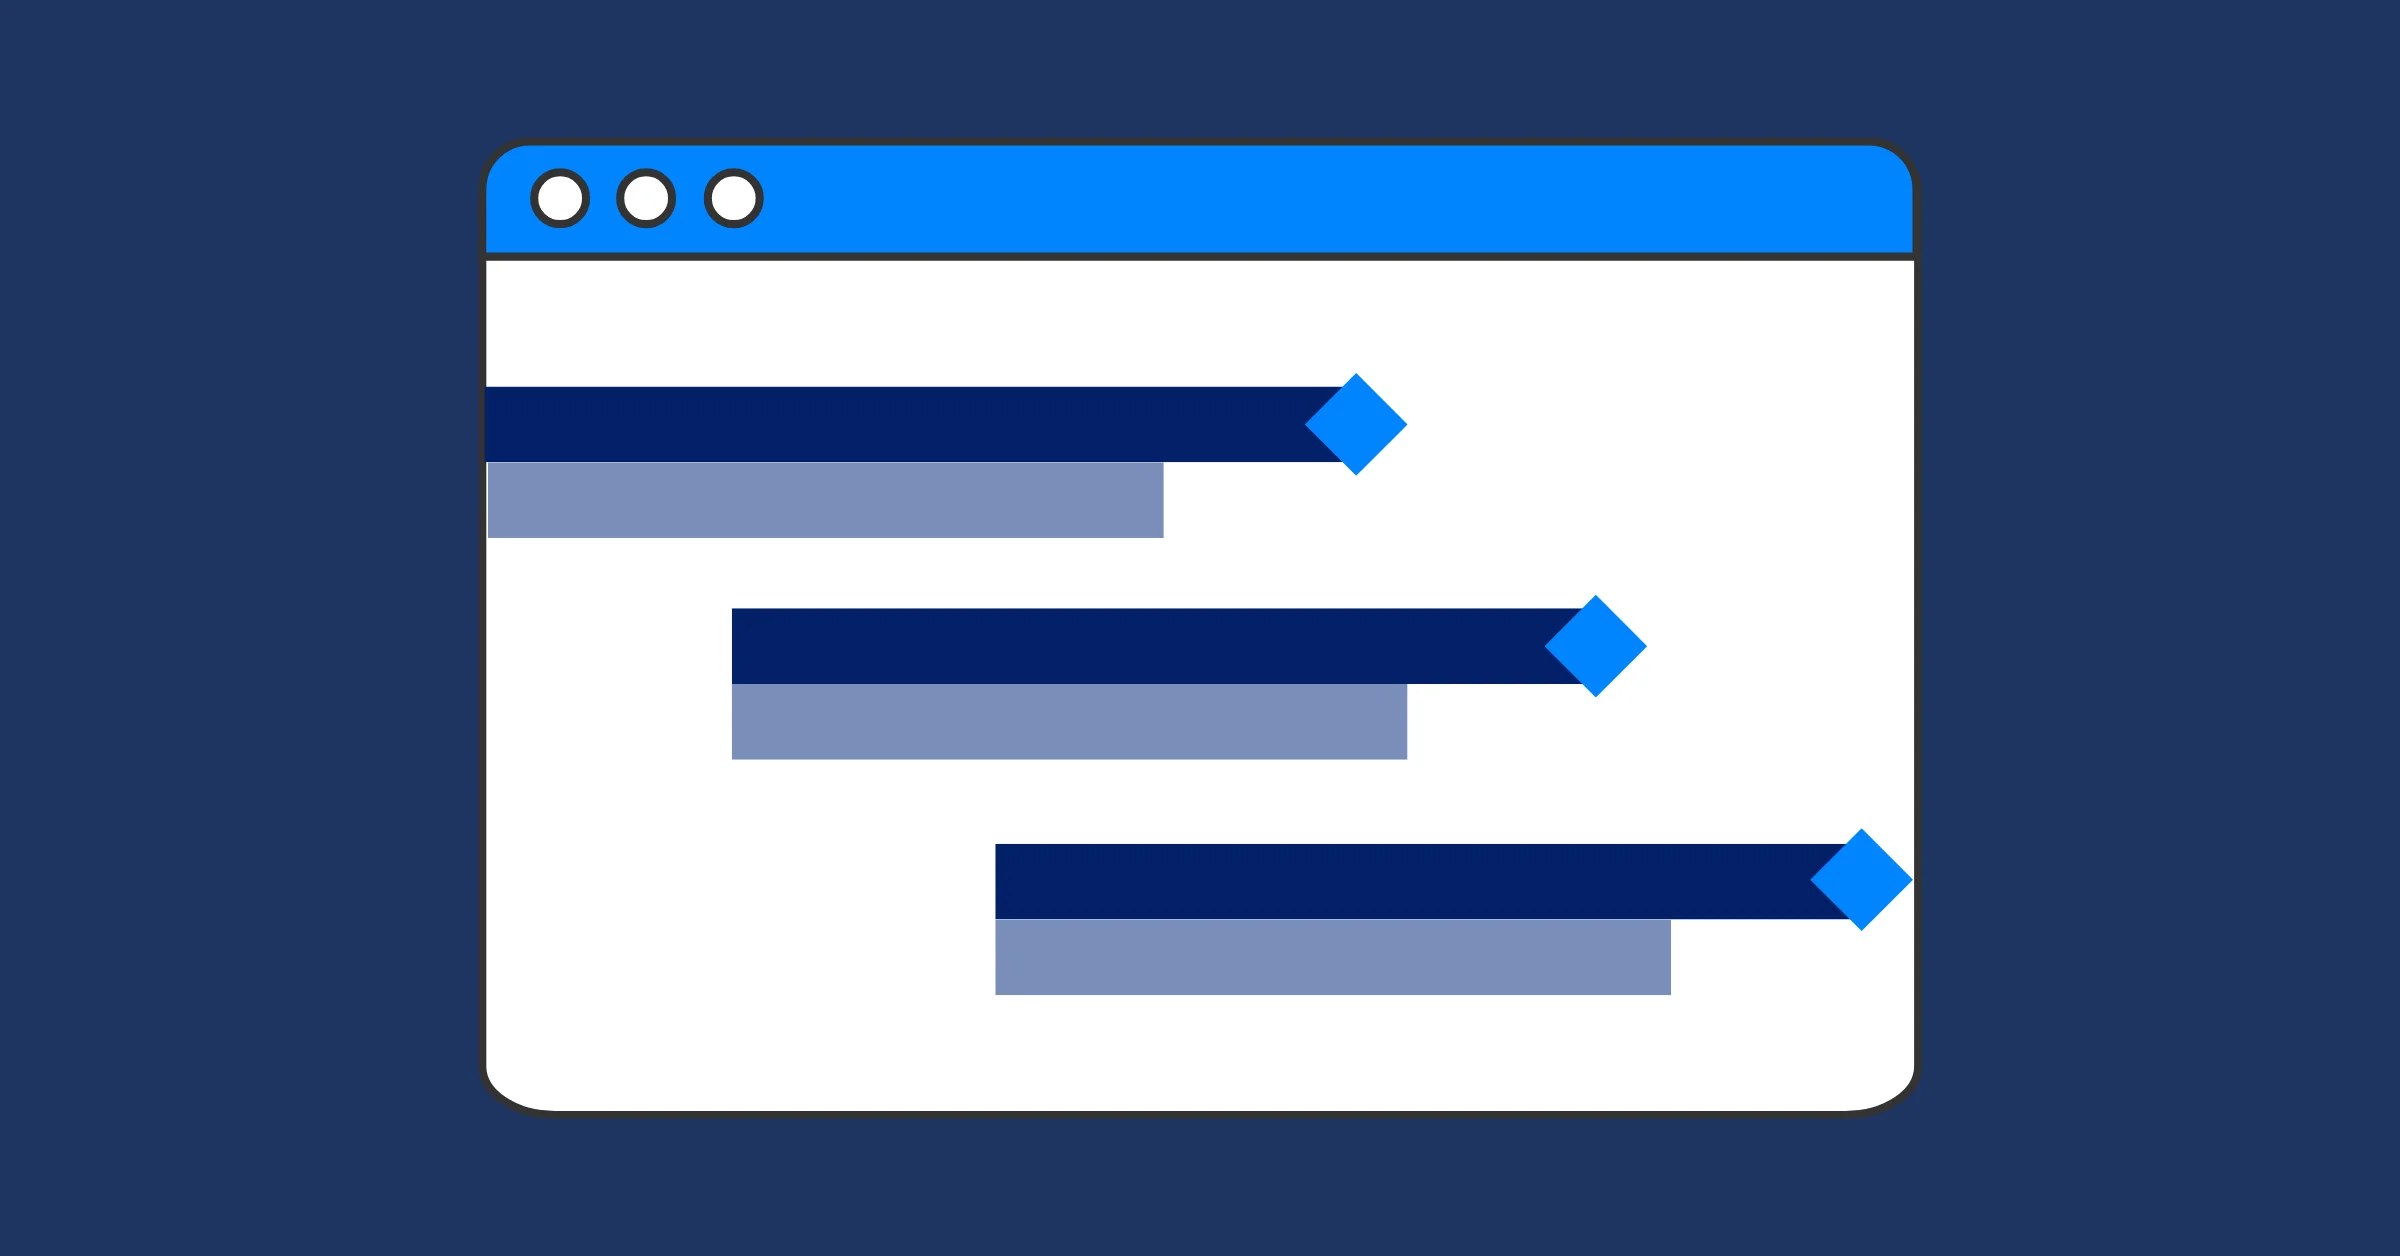
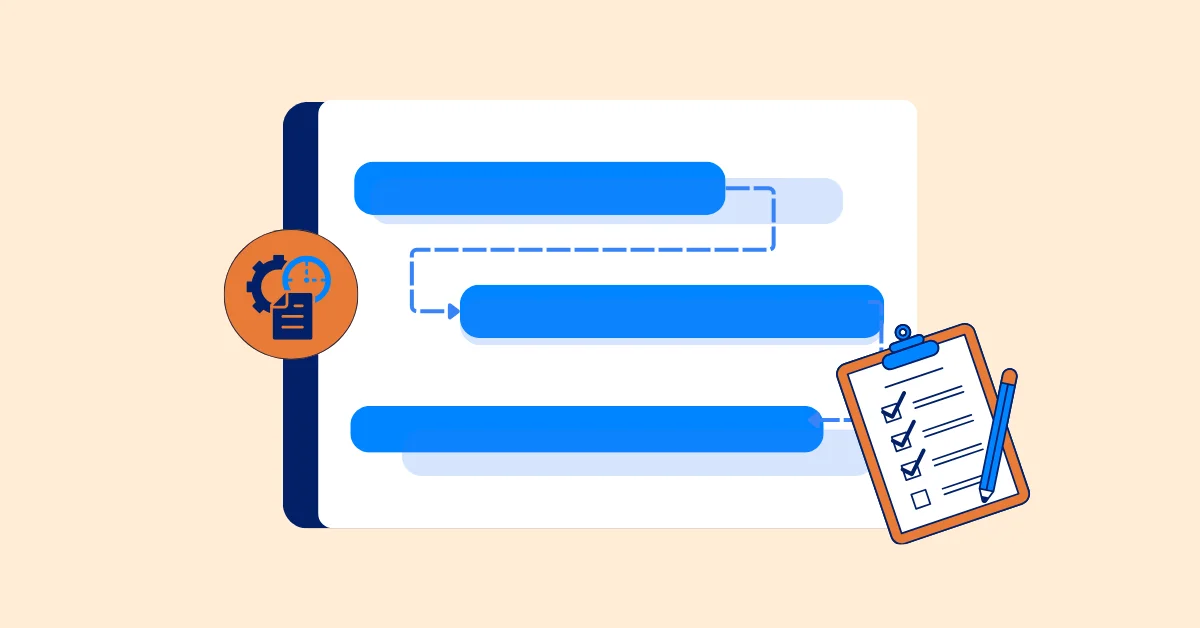
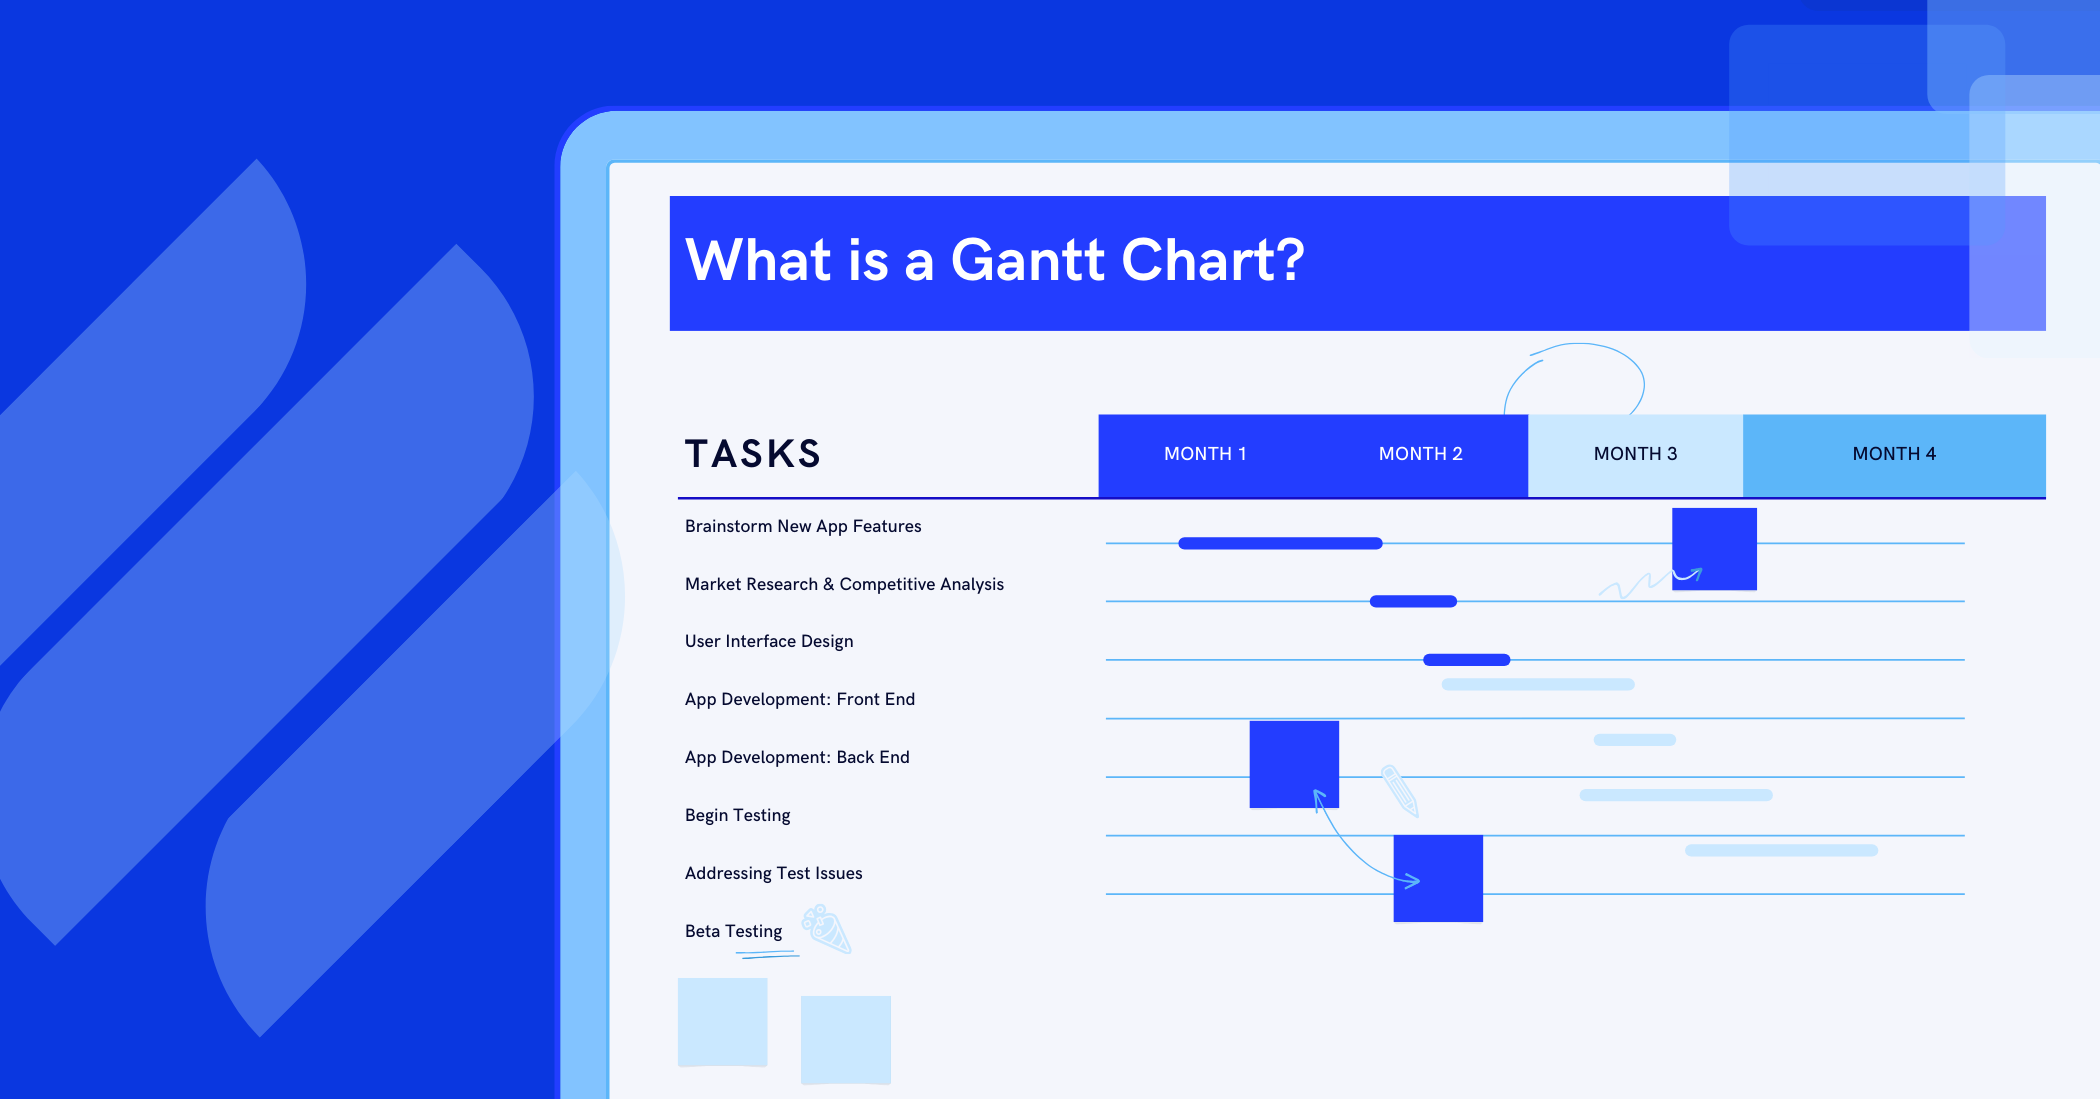
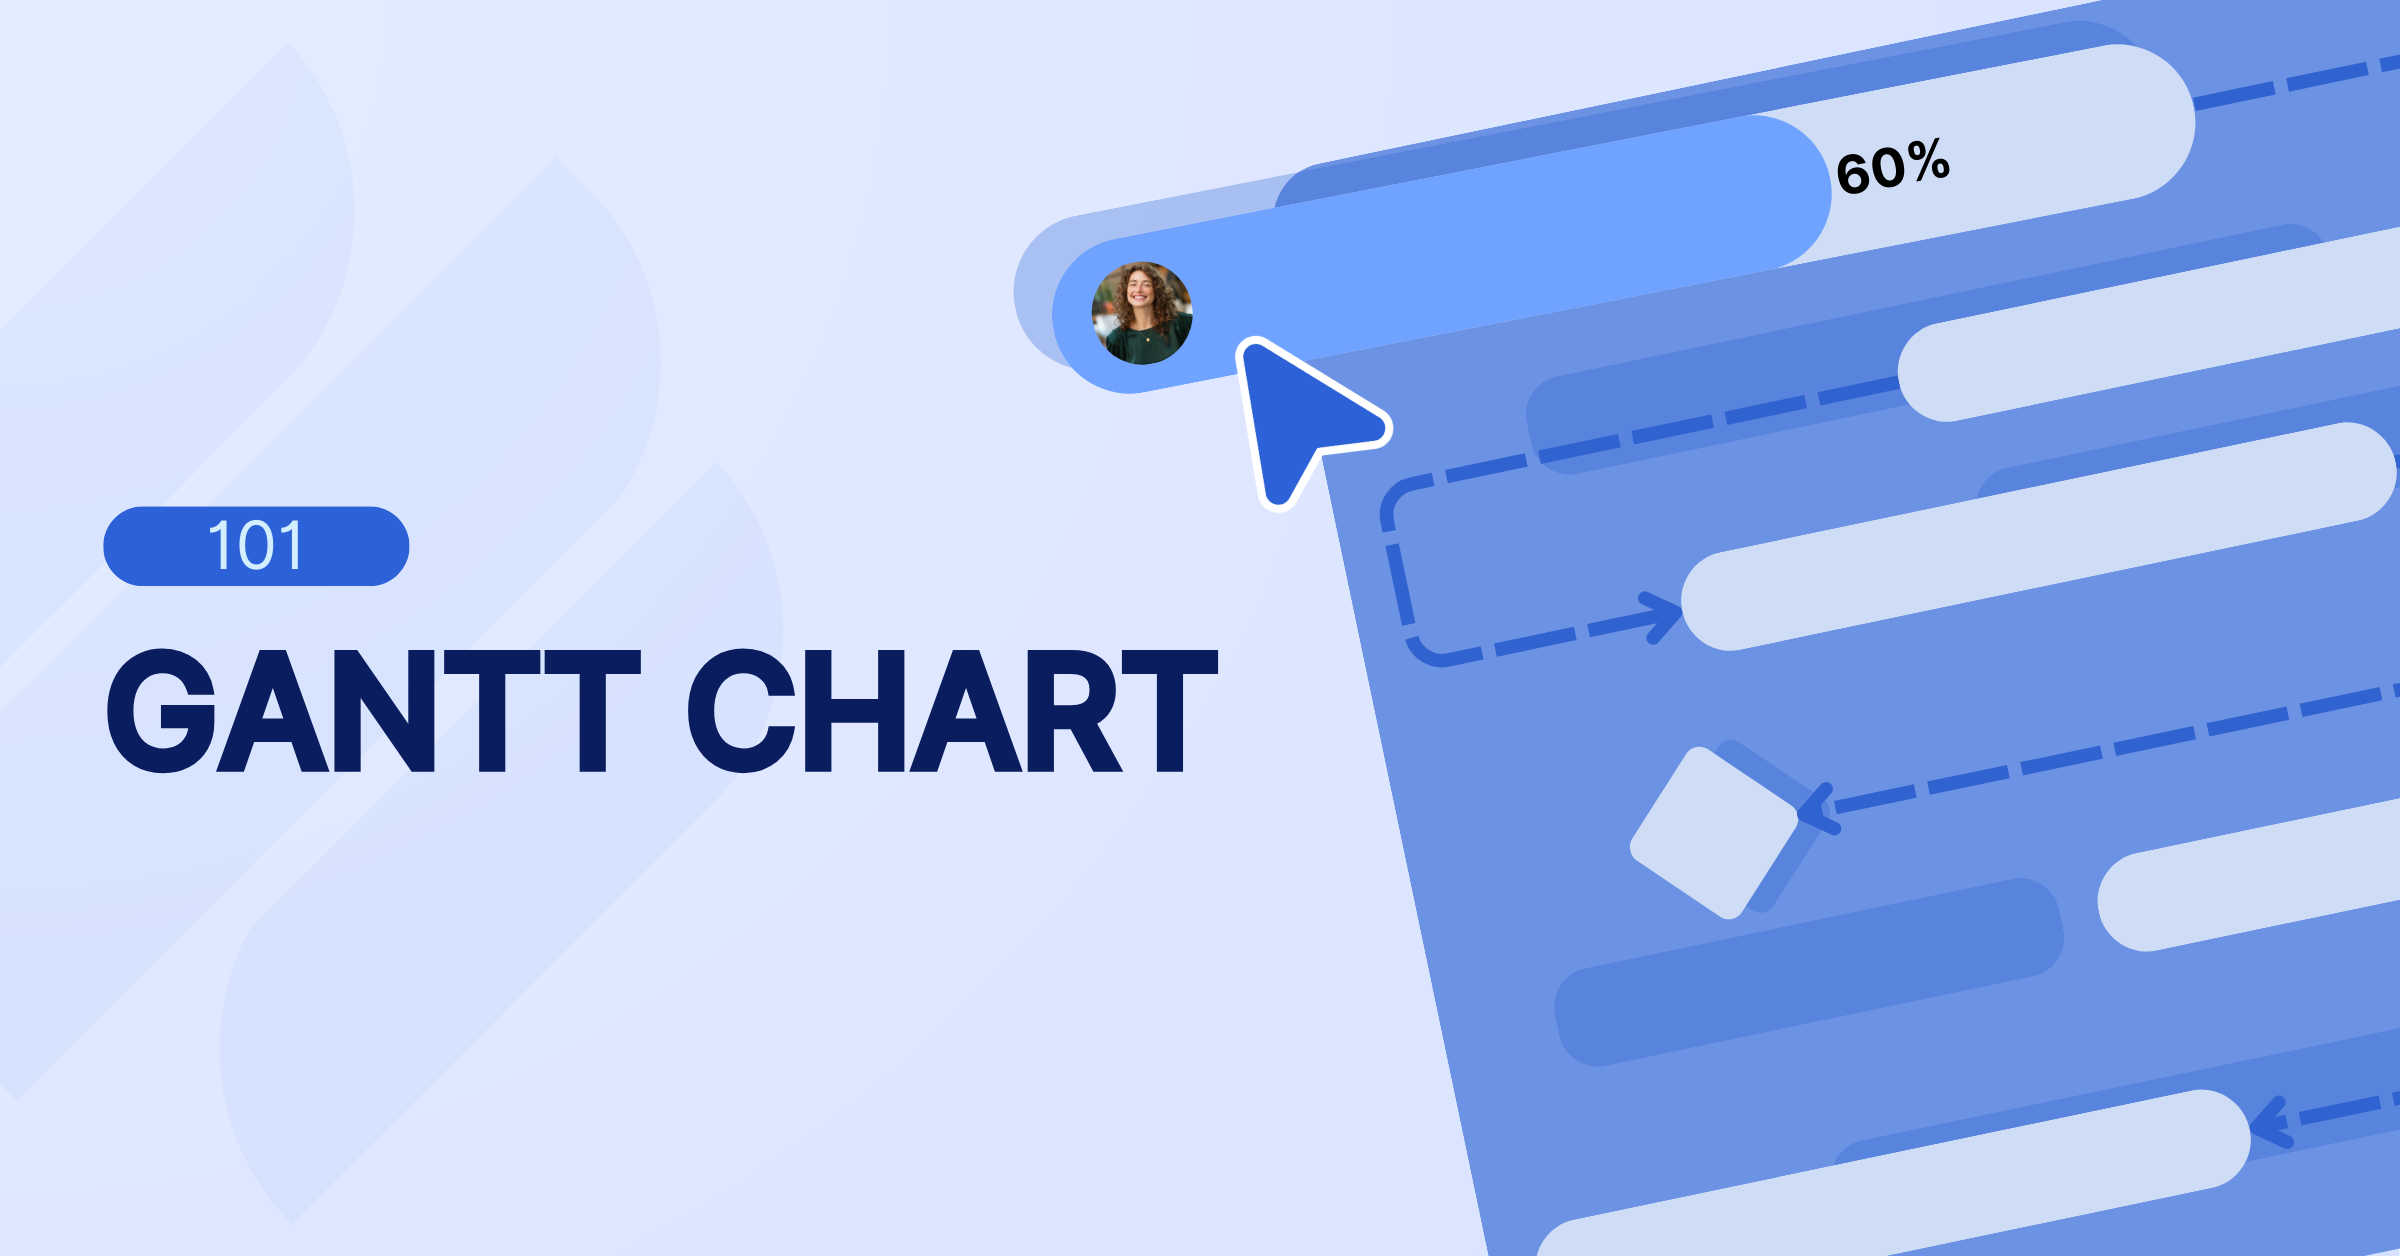
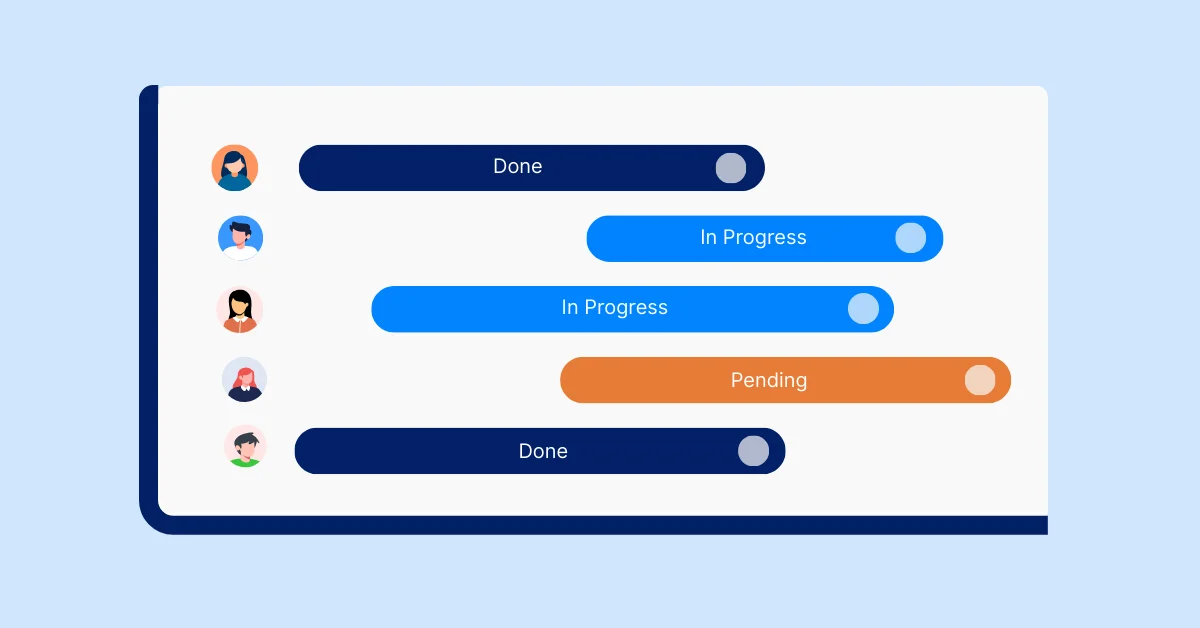
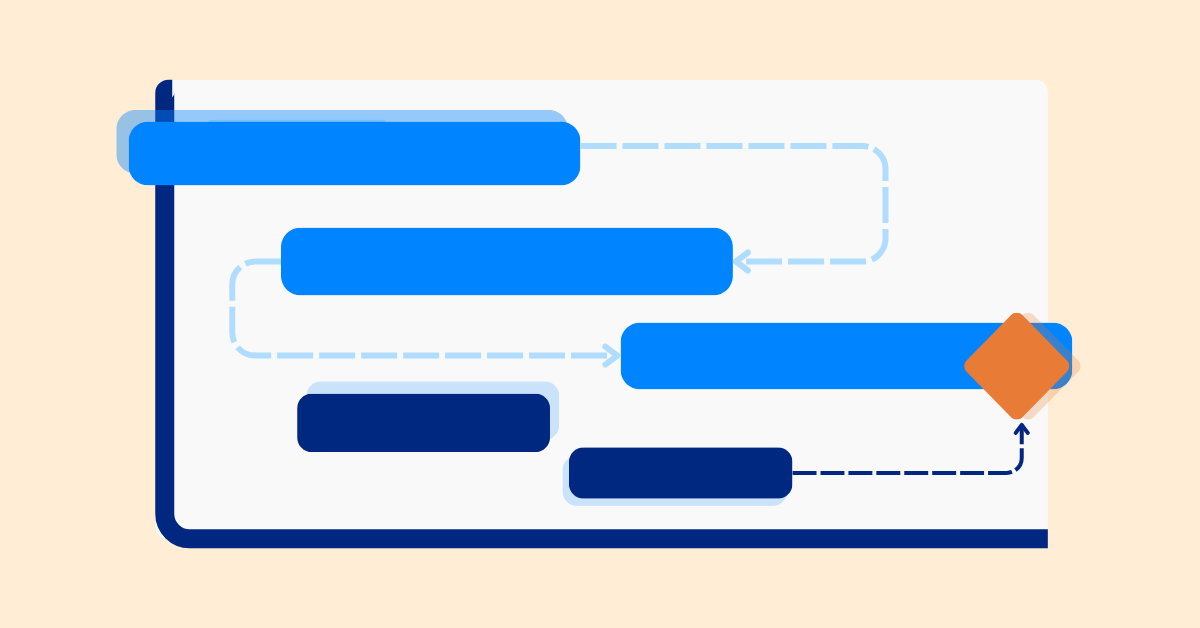
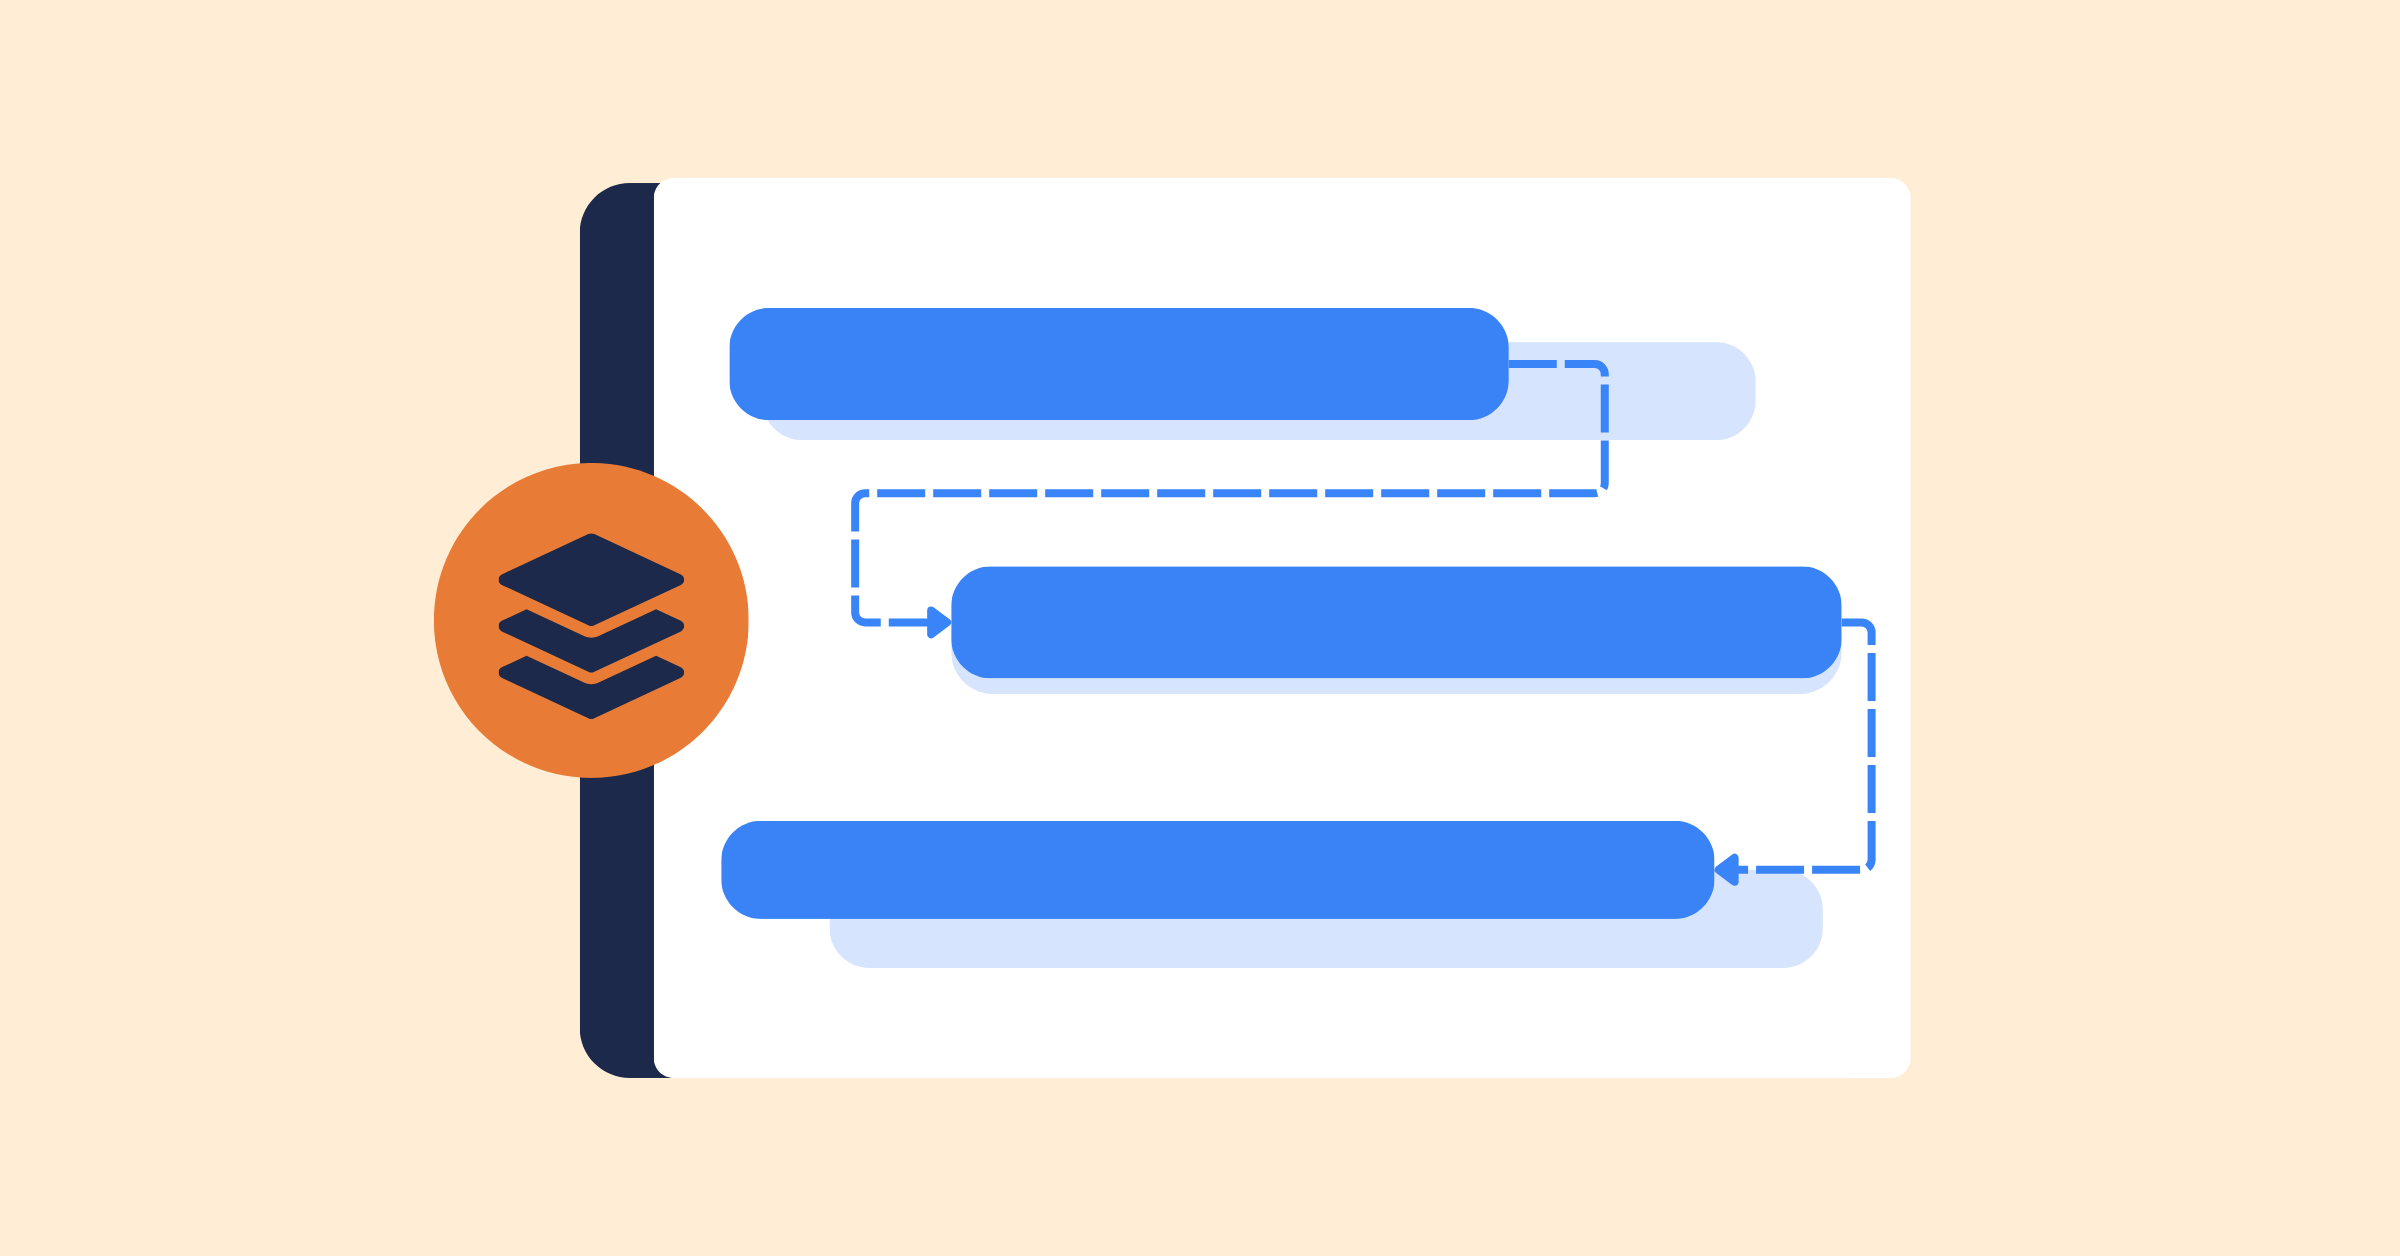
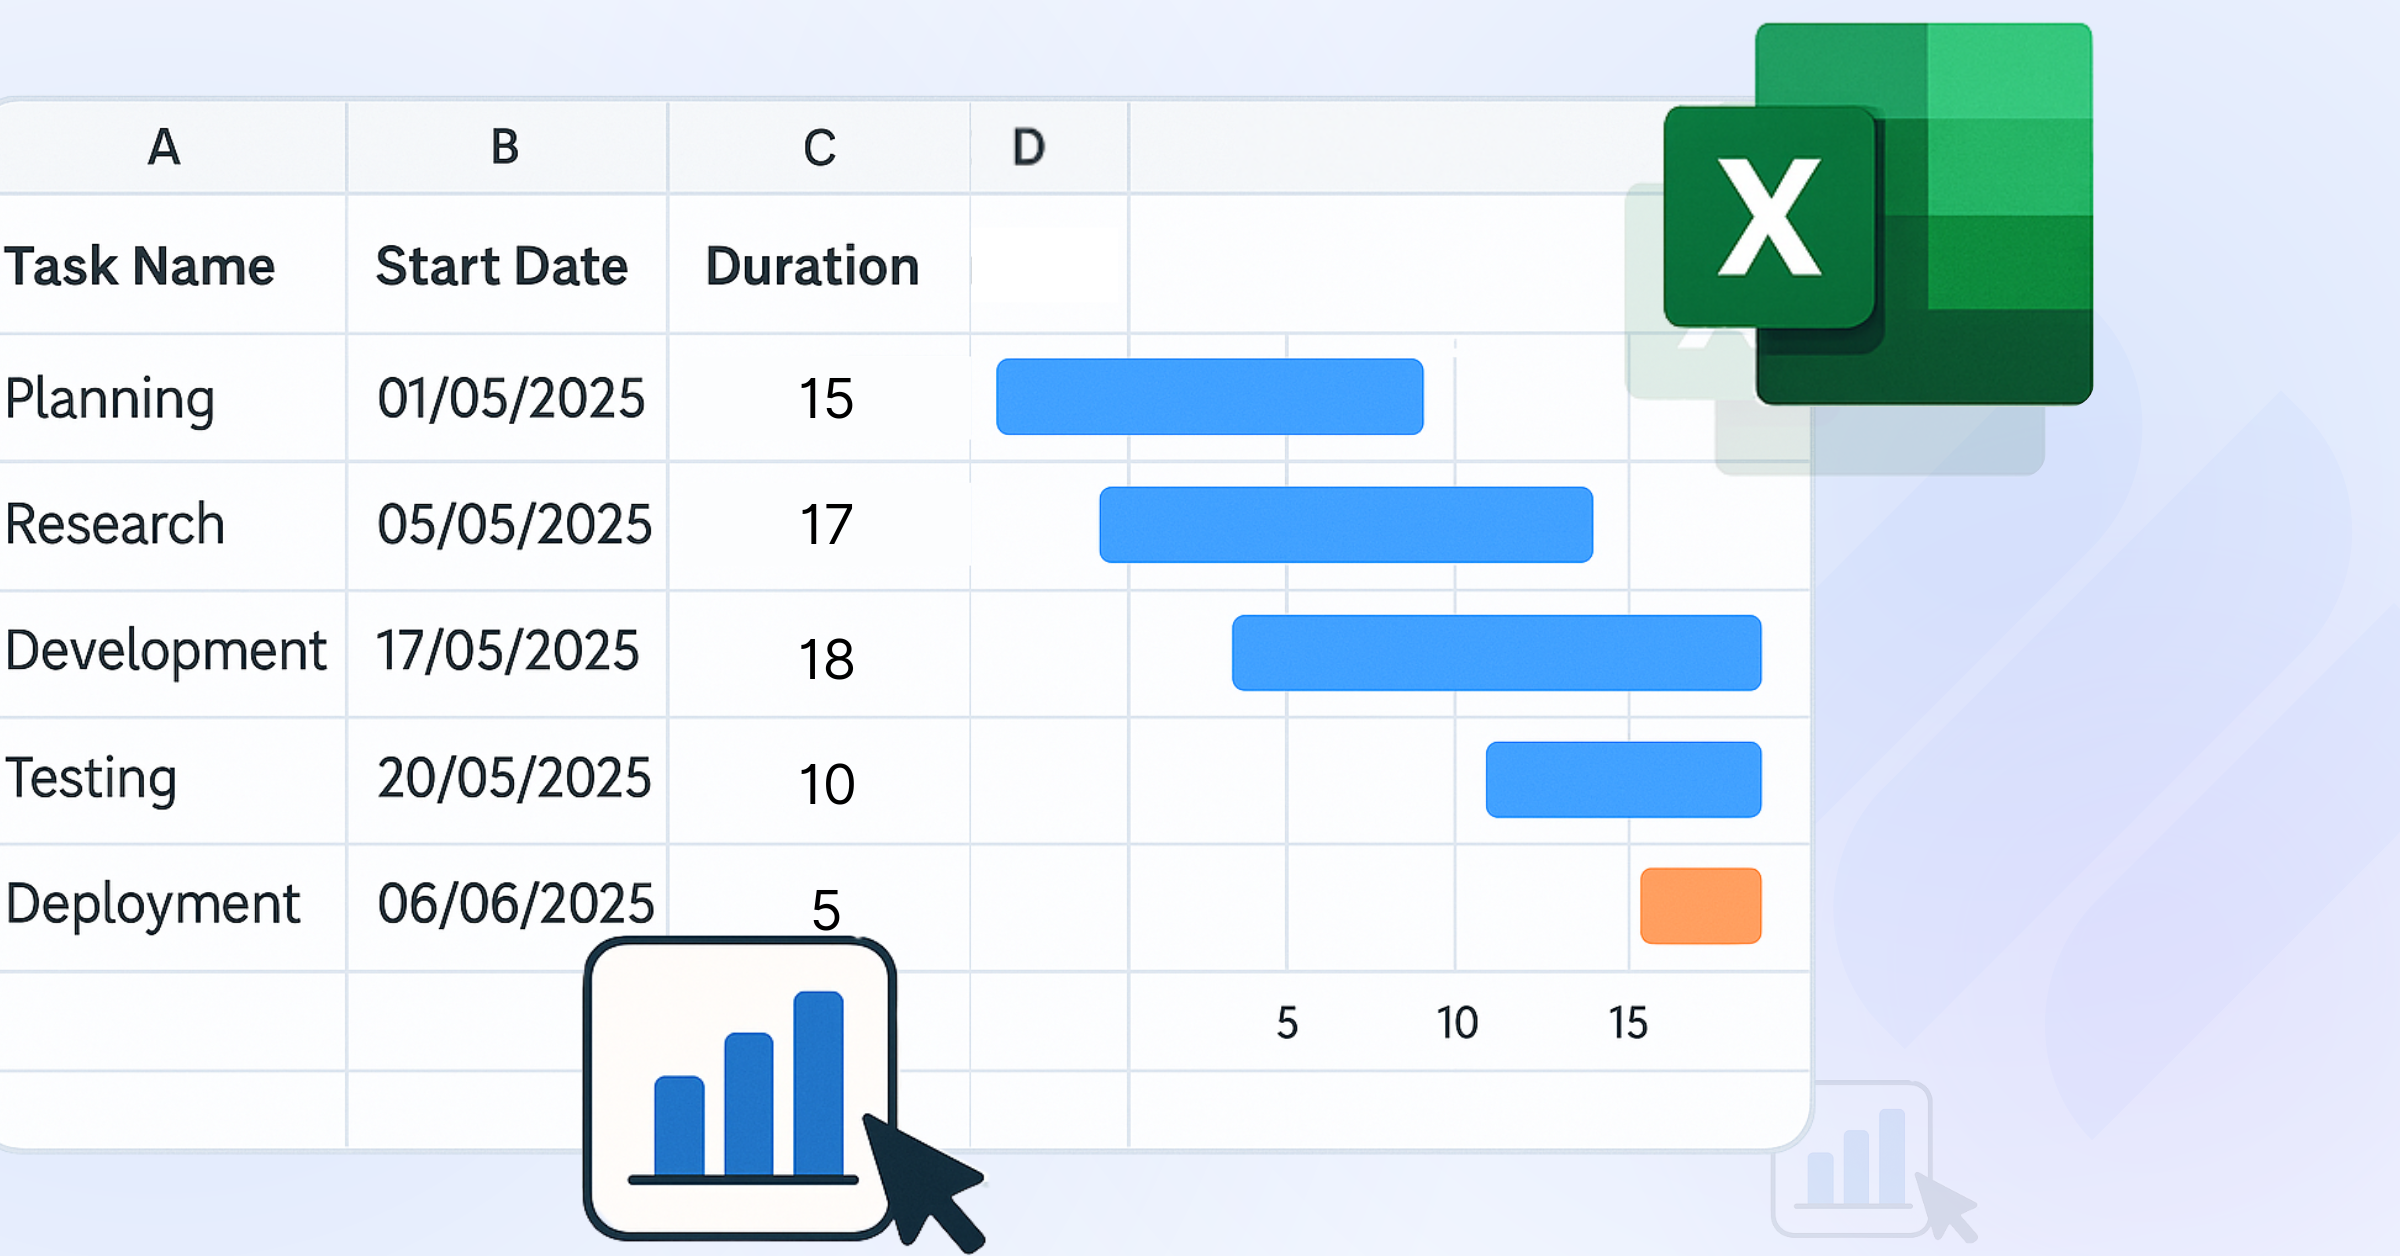
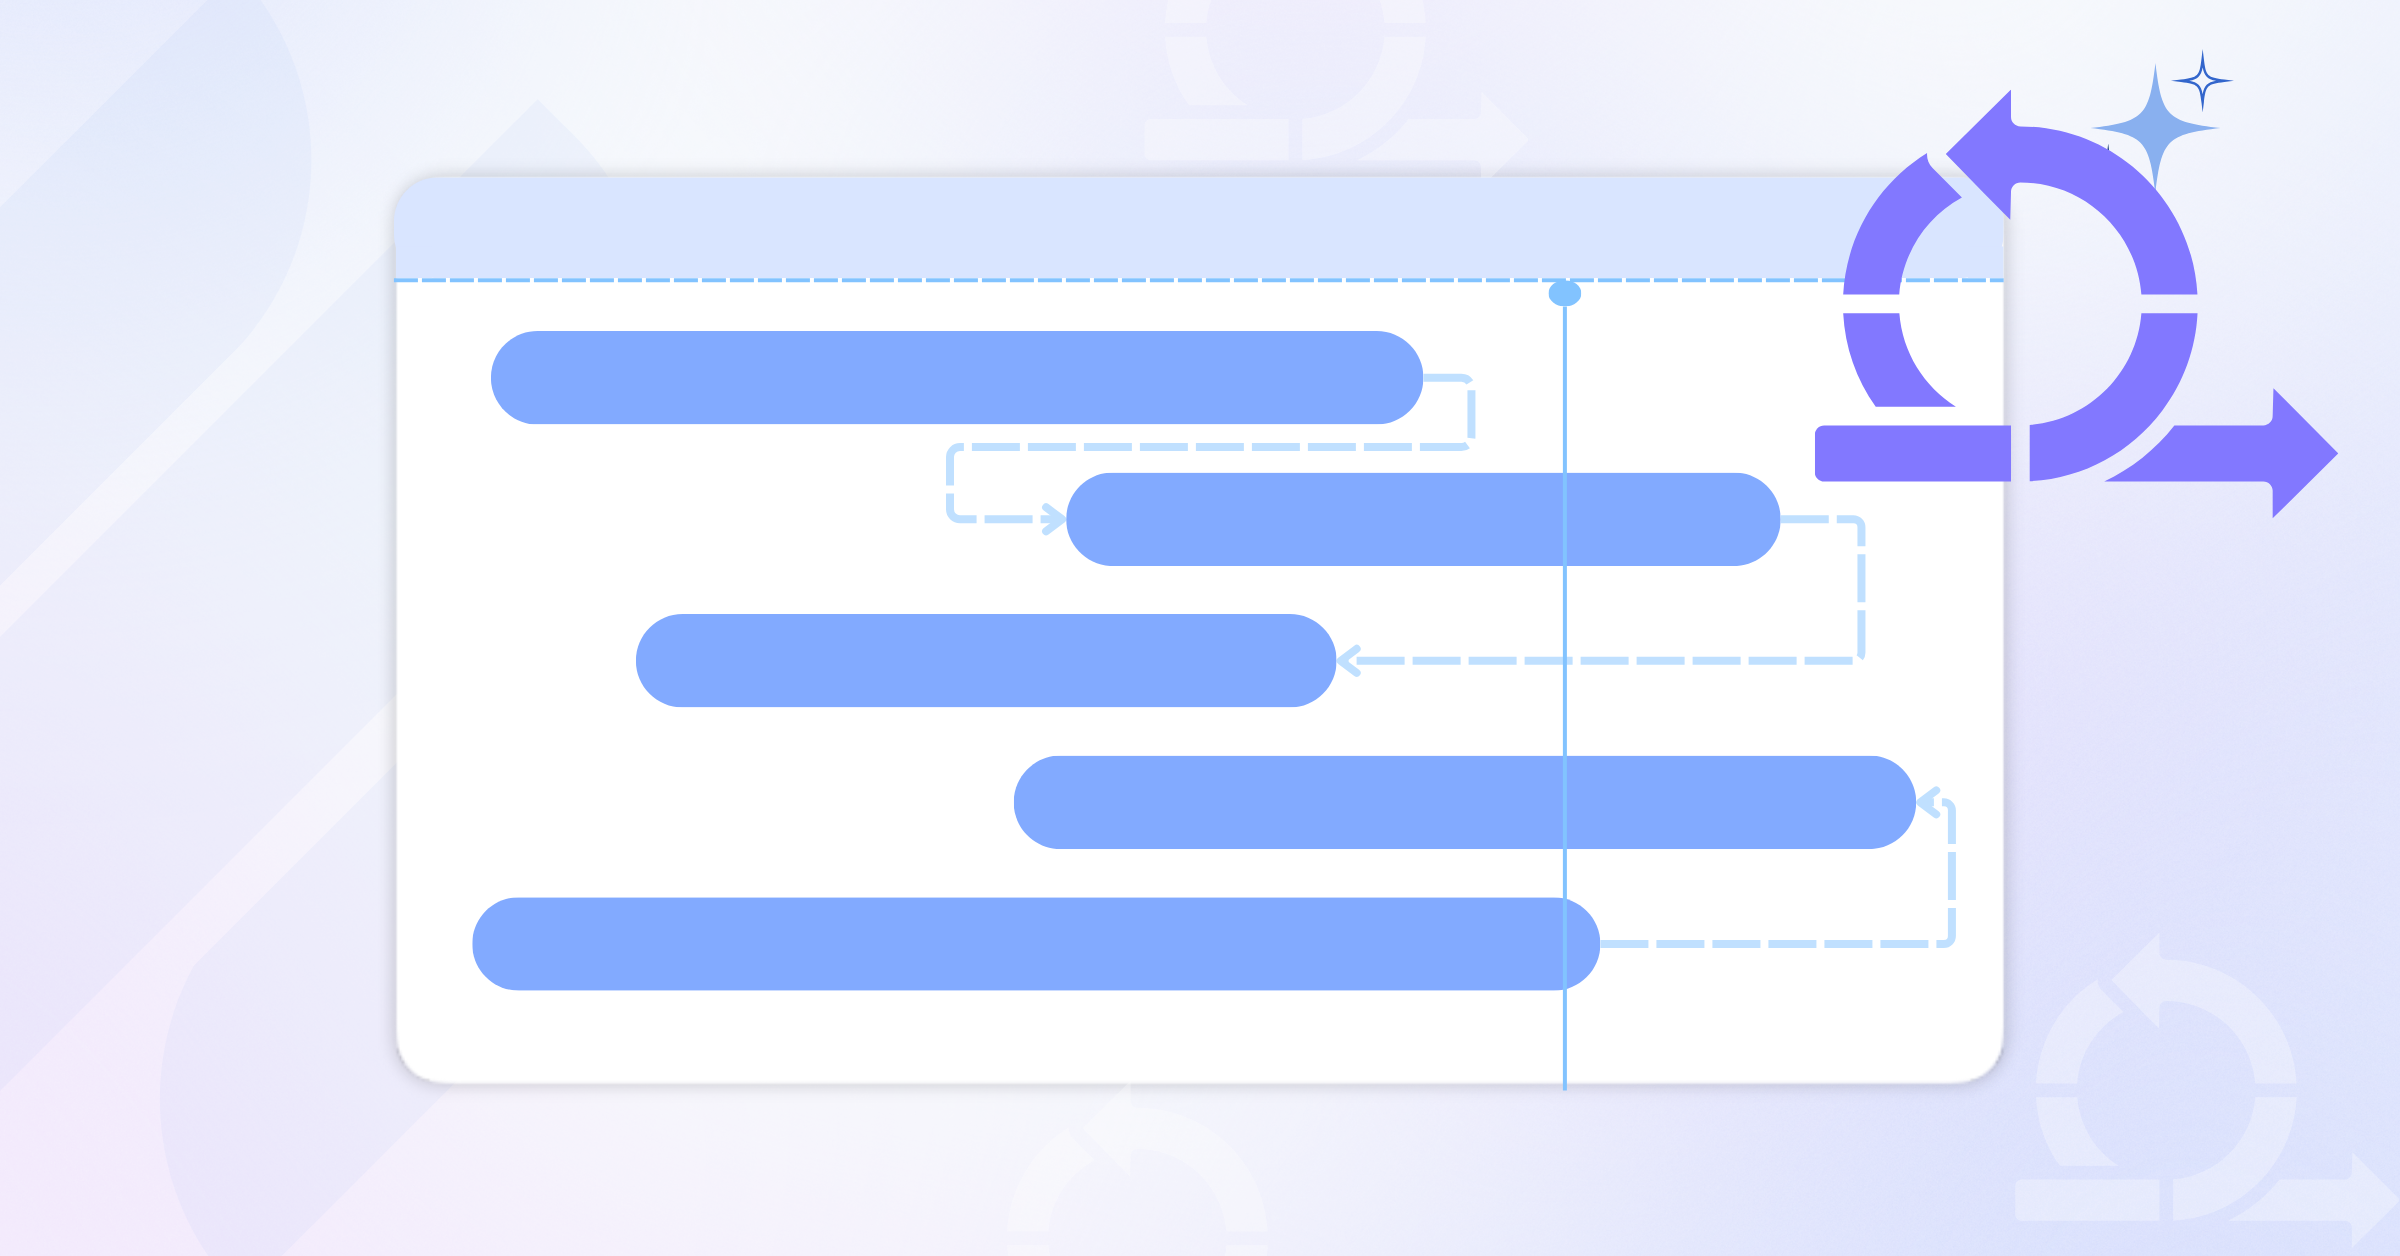
A Gantt Chart is a powerful tool for visualizing your project timeline and resource allocation. It shows tasks as bars on a timeline, with dependencies as arrows. Here’s how to use it:
- Plot Tasks: Each task gets a bar, with length representing duration.
- Show Dependencies: Link tasks to reflect the order (e.g., “design” before “development”).
- Track Resources: Some tools let you assign resources to tasks, showing who’s working on what.
Regularly update the Gantt chart as the project progresses. If a task takes longer than planned, adjust the timeline and resources to stay on track.
Step 6: Validate and Adjust the Plan
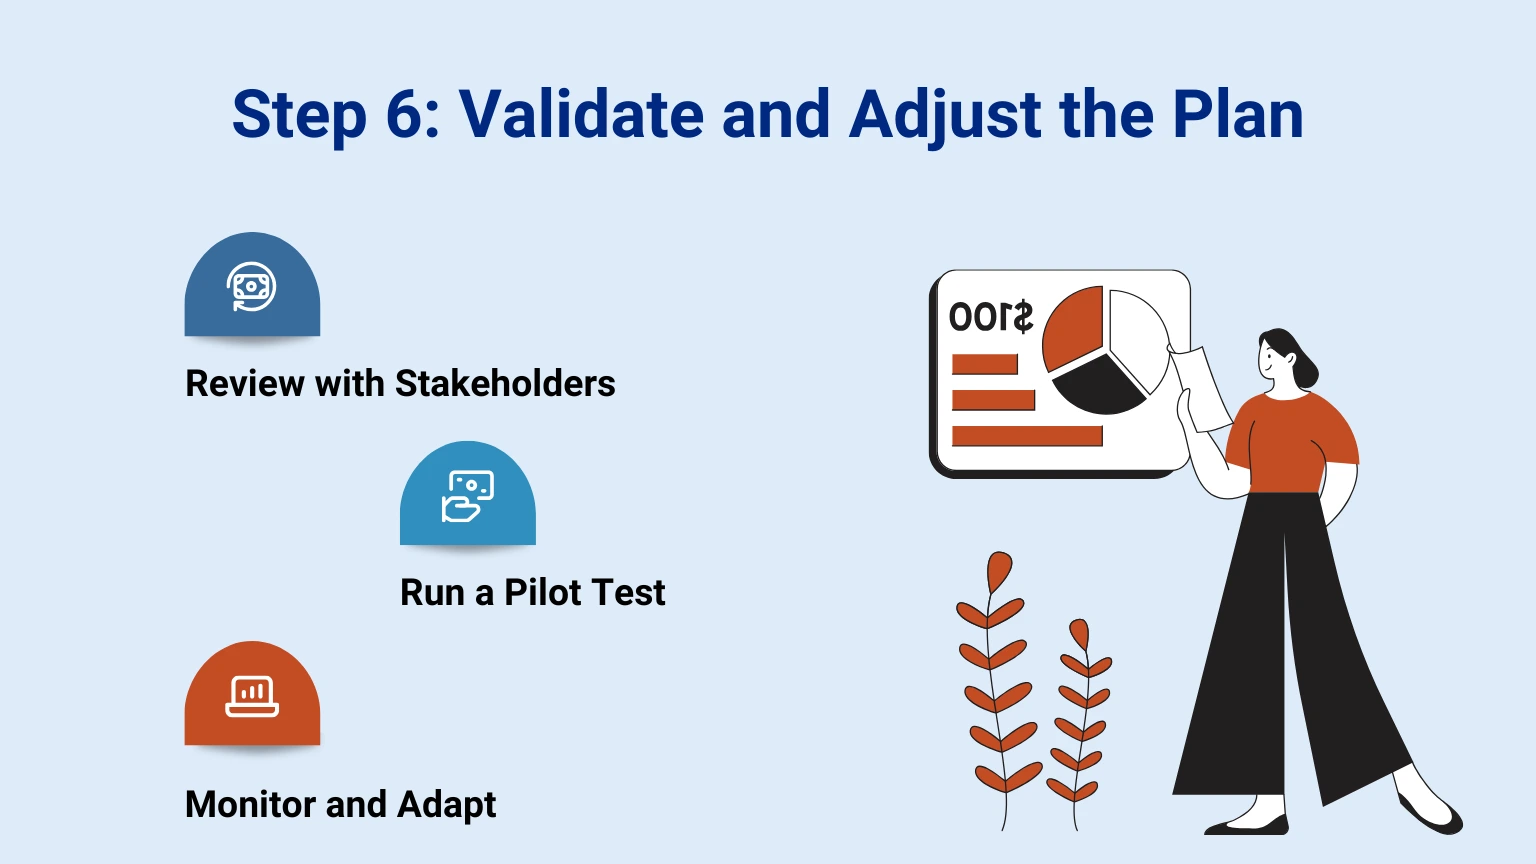
Review with Stakeholders
Before finalizing the timeline, share it with your team and stakeholders. They might spot unrealistic estimates or missing tasks. For example, a client might clarify that a deliverable needs extra review cycles, adding time to the schedule.
Run a Pilot Test
For complex projects, test your timeline on a small scale. If you’re launching a product, try the plan on one feature first. This helps you catch issues early and refine your estimates.
Monitor and Adapt
Once the project starts, track progress against your timeline. Use project management sortware to log actual durations and compare them to estimates. If tasks consistently take longer, revisit your estimation process or resource allocation.
Final Thoughts
Setting realistic project duration goals and optimizing resources takes practice, but it’s worth the effort. By defining your scope, breaking down tasks, accounting for uncertainties, and using tools like Gantt charts, you can create a timeline that keeps your project on track. Regularly check in with your team and adjust as needed to stay flexible without losing sight of the goal.
What’s your go-to method for estimating project timelines? Share your tips in the comments, or reach out if you want to dive deeper into any of these steps. For more project management insights, check out the comprehensive guide on “What is Project Management”.
Related Articles















How to Build and Manage a Product Roadmap with TaskFord













How to Build a Connected Project Timeline in TaskFord










What Are the Best Jira Alternatives for Scrum Teams?






















How WBS Reveals Delivery Breakdown Before It’s Too Late








![How To Conduct a Profound Stakeholder Analysis [+ Free Template]](/marketing/blog/stakeholder-analysis.webp)
















What to Look for in Scrum Tools (Beyond Kanban Boards)

![Project Management Calendar for Teams and Managers [Free Templates]](/marketing/blog/project-management-calendar.webp)




How to Define Project Deliverables: A Step-by-Step Guide










![RACI Chart in Project Management: Rules & Examples [Free Download]](/marketing/blog/raci-chart.webp)















![7 Must-Have Project Management Documents Every PO Should Know [Free Templates]](/marketing/blog/project-management-documents.webp)








![How to Create a Winning Project Plan for IT Projects [10 Steps Included]](/marketing/blog/how-to-create-a-project-plan.webp)


![Daily Standup Best Practices: Apply AI to Organize Meetings Successfully [2026 Trends]](/marketing/blog/daily-standup.webp)






![How to Create a Project Communication Plan: Step-by-Step Guide [+Free Template]](/marketing/blog/project-communication-plan.png)


![Master Project Procurement Management in 5 Steps [Download a free plan template]](/marketing/blog/project-procurement-management.webp)






























Subscribe for Expert Tips
Unlock expert insights and stay ahead with TaskFord. Sign up now to receive valuable tips, strategies, and updates directly in your inbox.