Project Timeline: Steps, Types and Examples
A project timeline is a visual representation that outlines the sequence of tasks, milestones, and deadlines, helping track progress within a project.
In project management, a project timeline serves as an indispensable tool for keeping tasks organized, deadlines in check, and teams aligned. Whether you’re launching a new product, planning an event, or overseeing a construction project, understanding how to craft and utilize a project timeline can make the difference between success and chaos.
This guide explores the importance of project timelines, key differences between project schedules and timelines, different types of timelines, steps to create one, top tools, and real-world examples to help you execute projects successfully.
What is a Project Timeline?
A project timeline is a simple visual that shows all the tasks and important dates for a project. It helps you see what needs to be done, when it should be done, and what comes next. It’s a great way to stay organized, track progress, and make sure everything gets done on time.
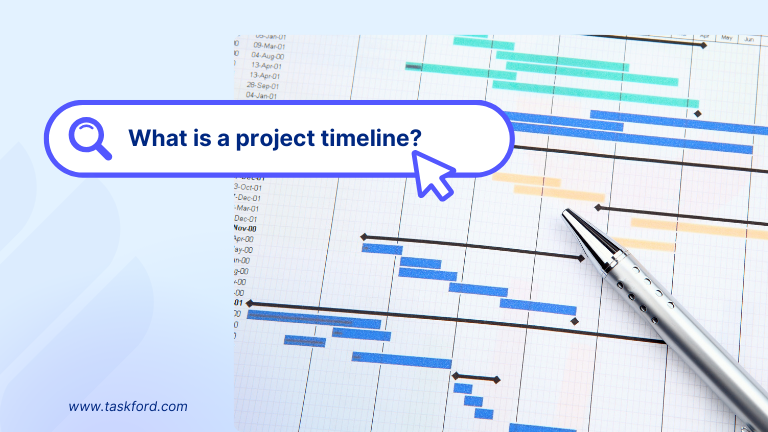
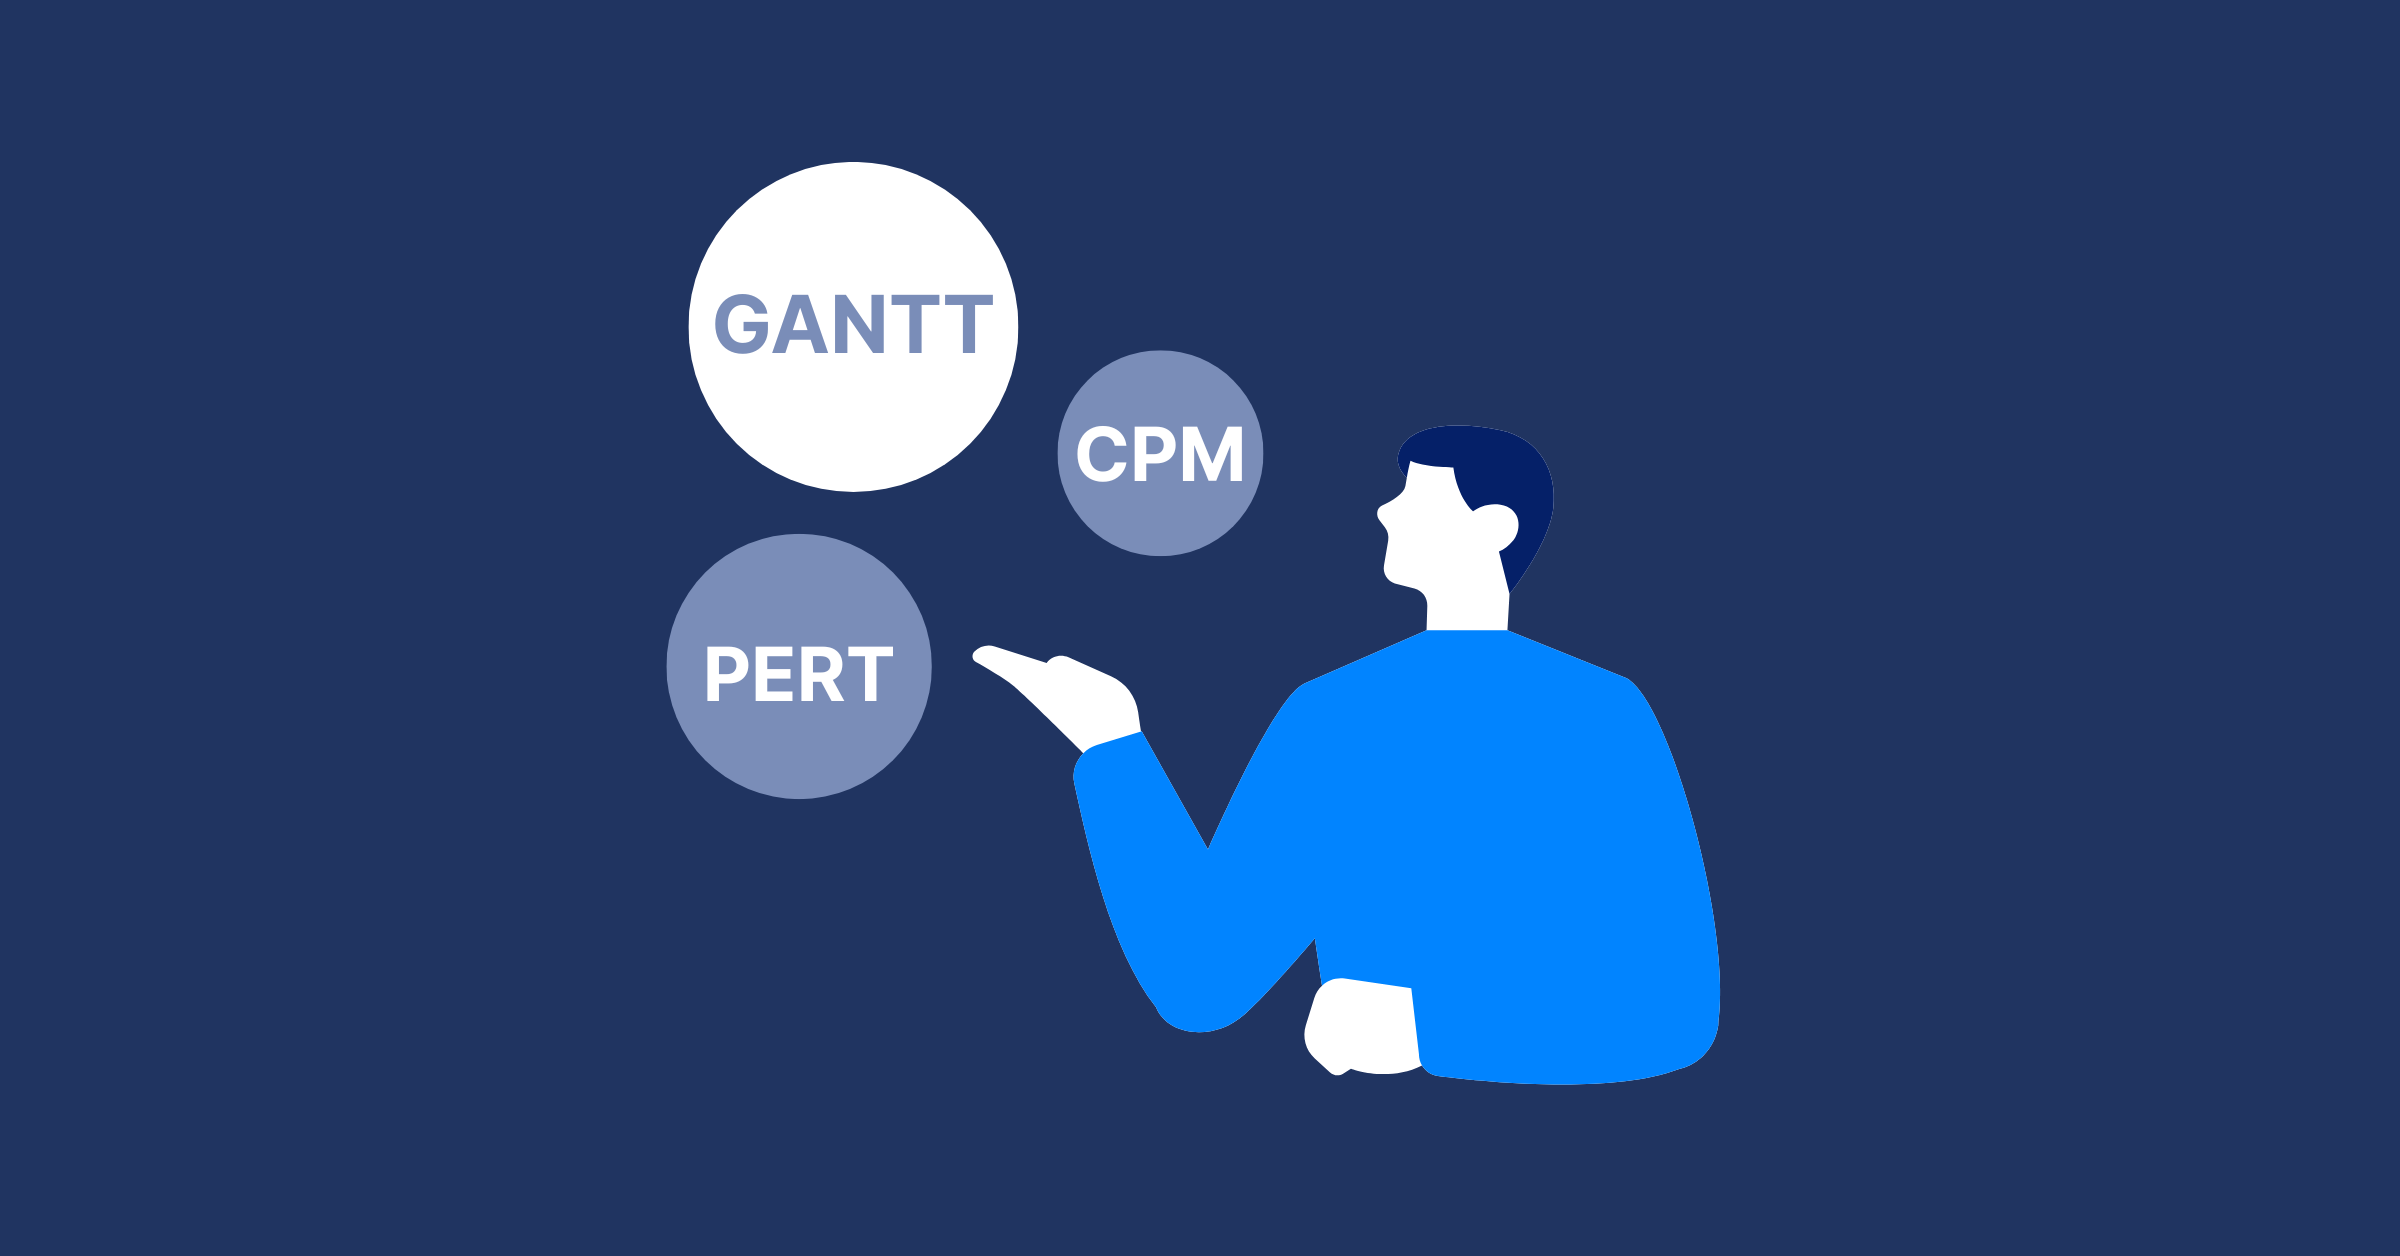
Project timelines can look different, like Gantt Chart, roadmaps, or simple lists of tasks in order. They are important for project managers, teams, and stakeholders to stay on the same page, keep track of progress, and make sure expectations are clear.
Why It Matters in Project Management
The importance of a project timeline in project management cannot be overstated. It’s not just a pretty chart - it’s a strategic asset that drives efficiency and success. Here’s why it matters:
- Enhanced Organization: By breaking down complex projects into manageable tasks with clear deadlines, a project timeline prevents overwhelm and keeps everything on track.
- Improved Communication: It serves as a universal reference point, ensuring team members and stakeholders share the same understanding of priorities and progress.
- Proactive Problem-Solving: Spotting potential delays or bottlenecks early—like a task dependency that’s lagging—becomes possible, allowing for timely adjustments.
- Increased Accountability: With assigned deadlines and responsibilities visible, team members are motivated to stay on task and deliver results.
- Time Management: A project timeline helps allocate resources effectively, ensuring deadlines are met without last-minute scrambles.
In short, a project timeline is the glue that holds a project together, making it an essential tool for any manager aiming to deliver results efficiently.
Types of Project Timelines
There are several types of project timelines, each serving different purposes. Here are the main ones:
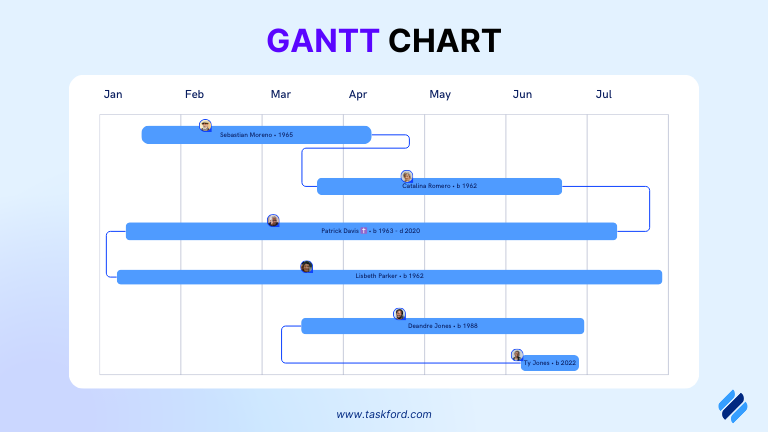
1. Gantt Charts
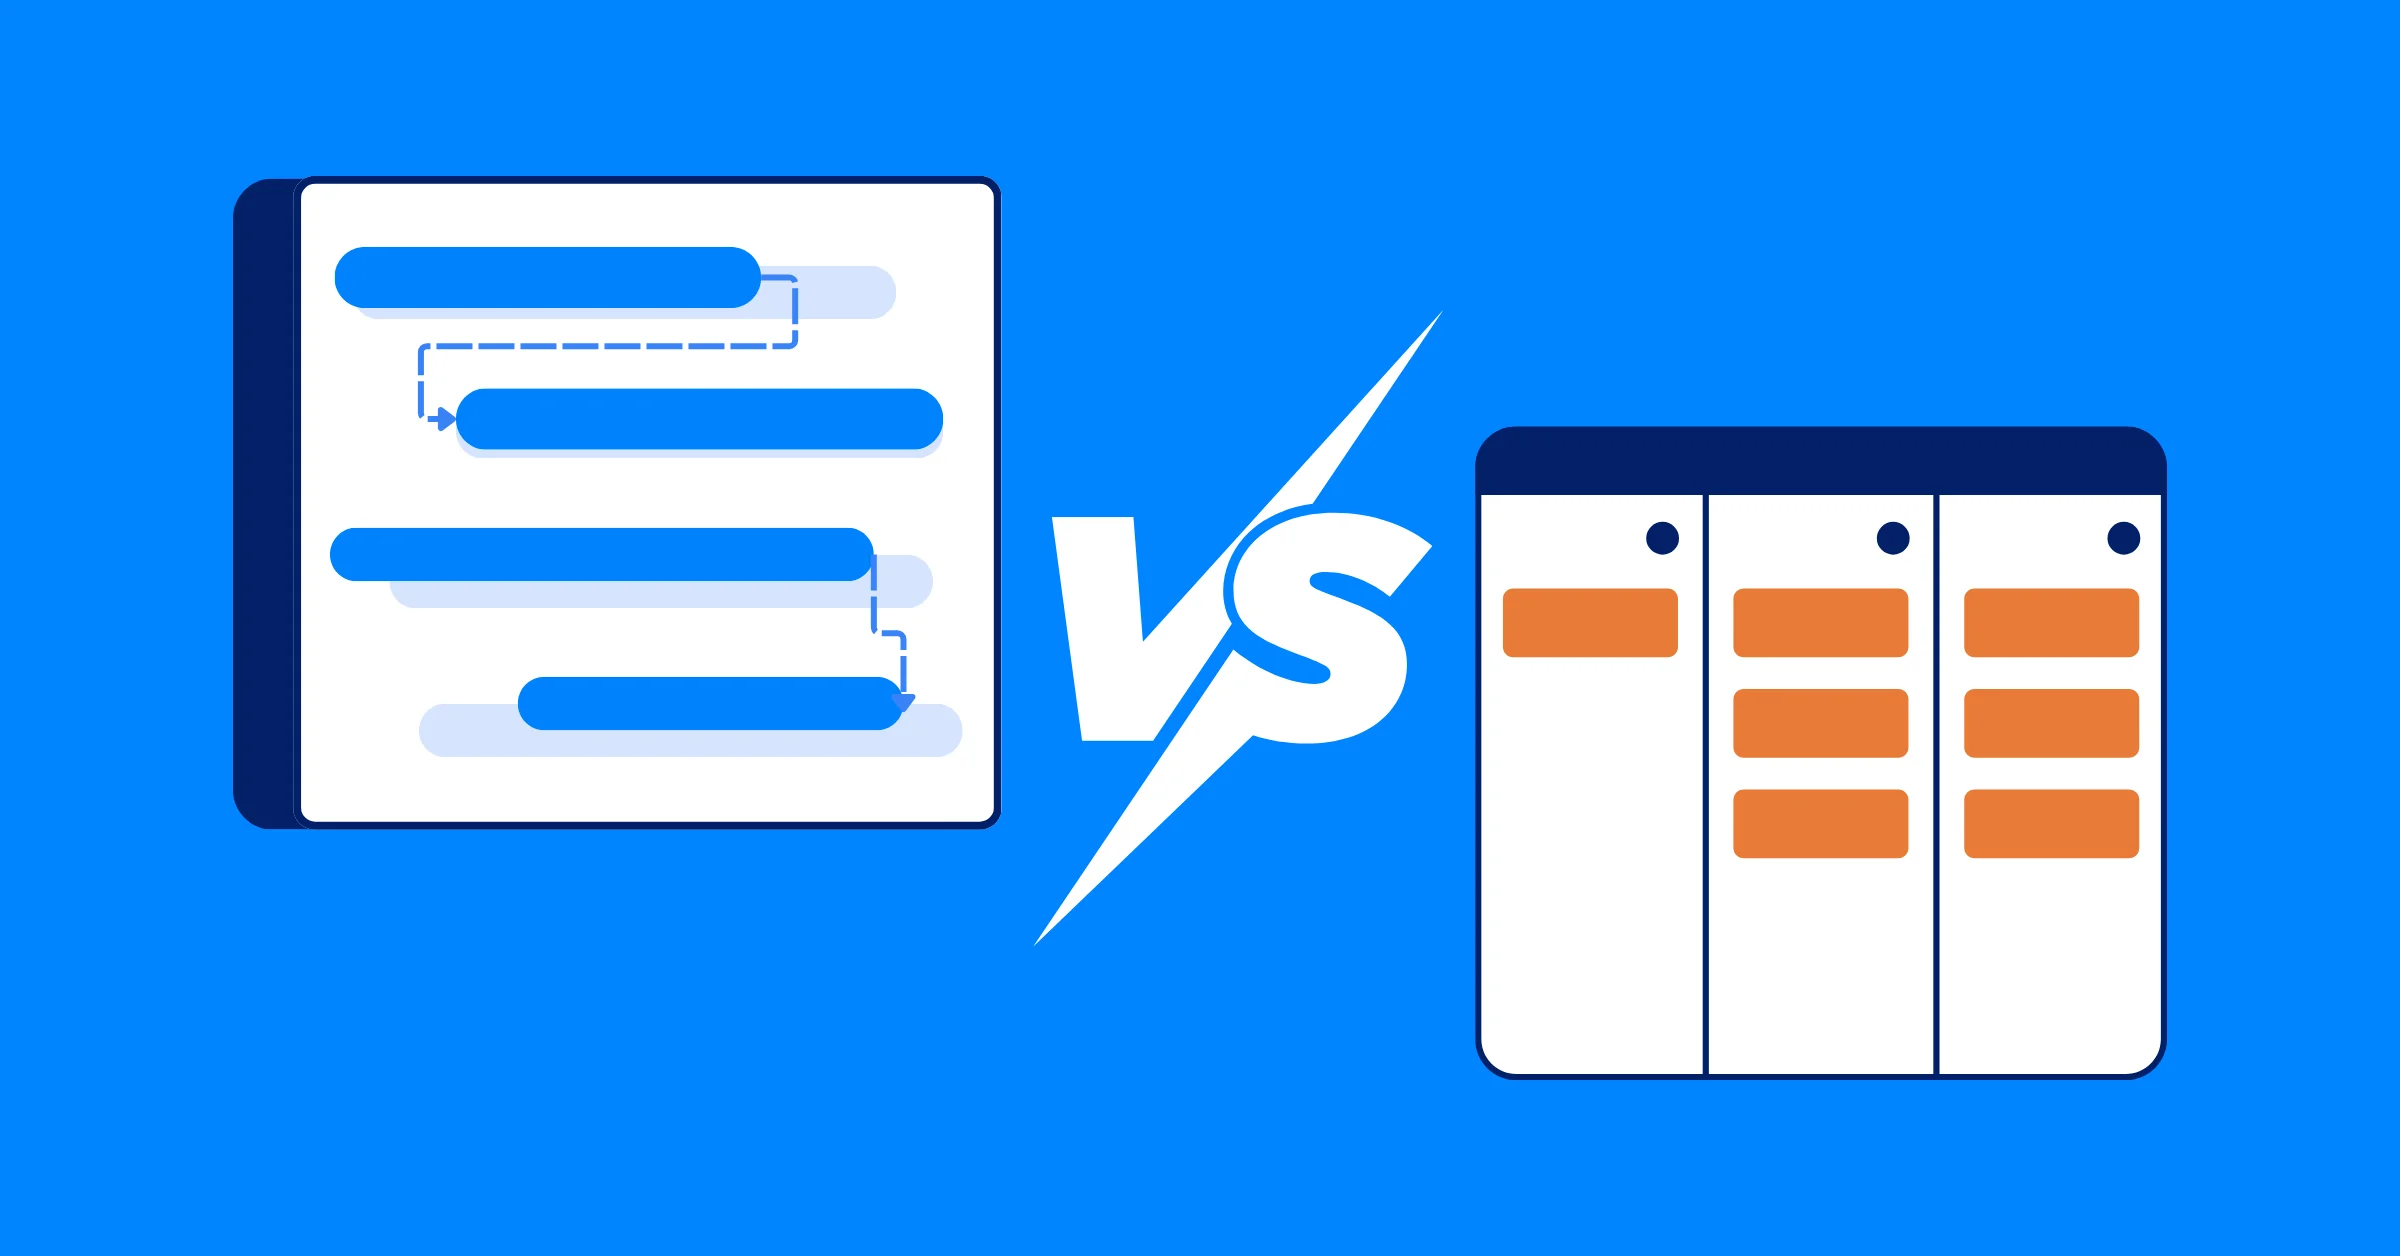
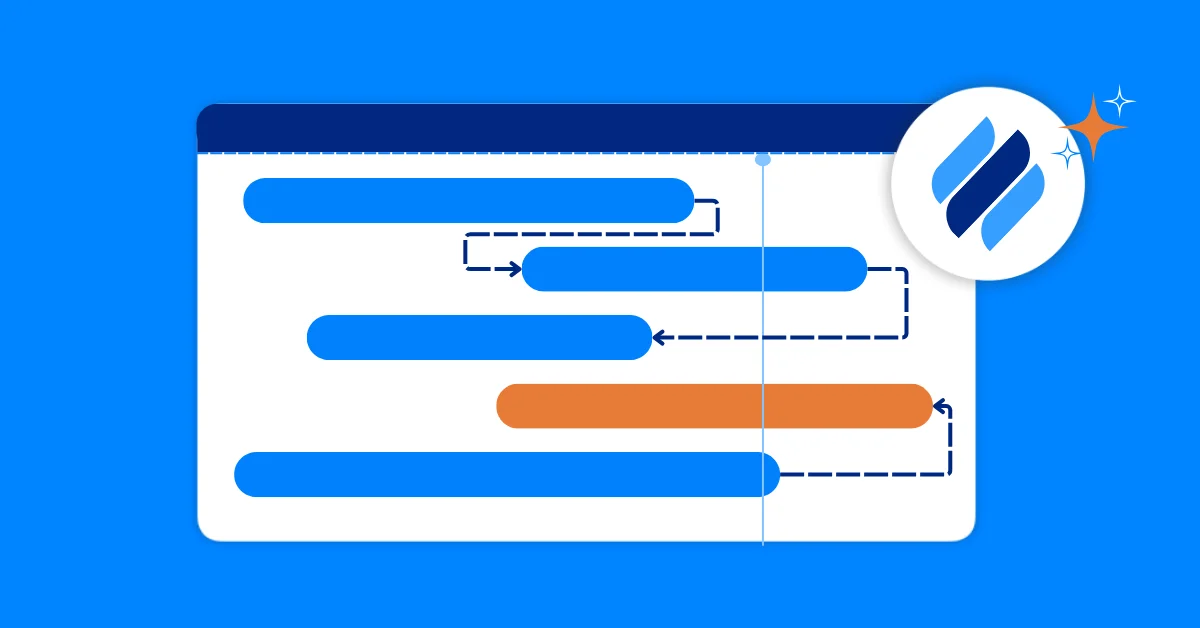
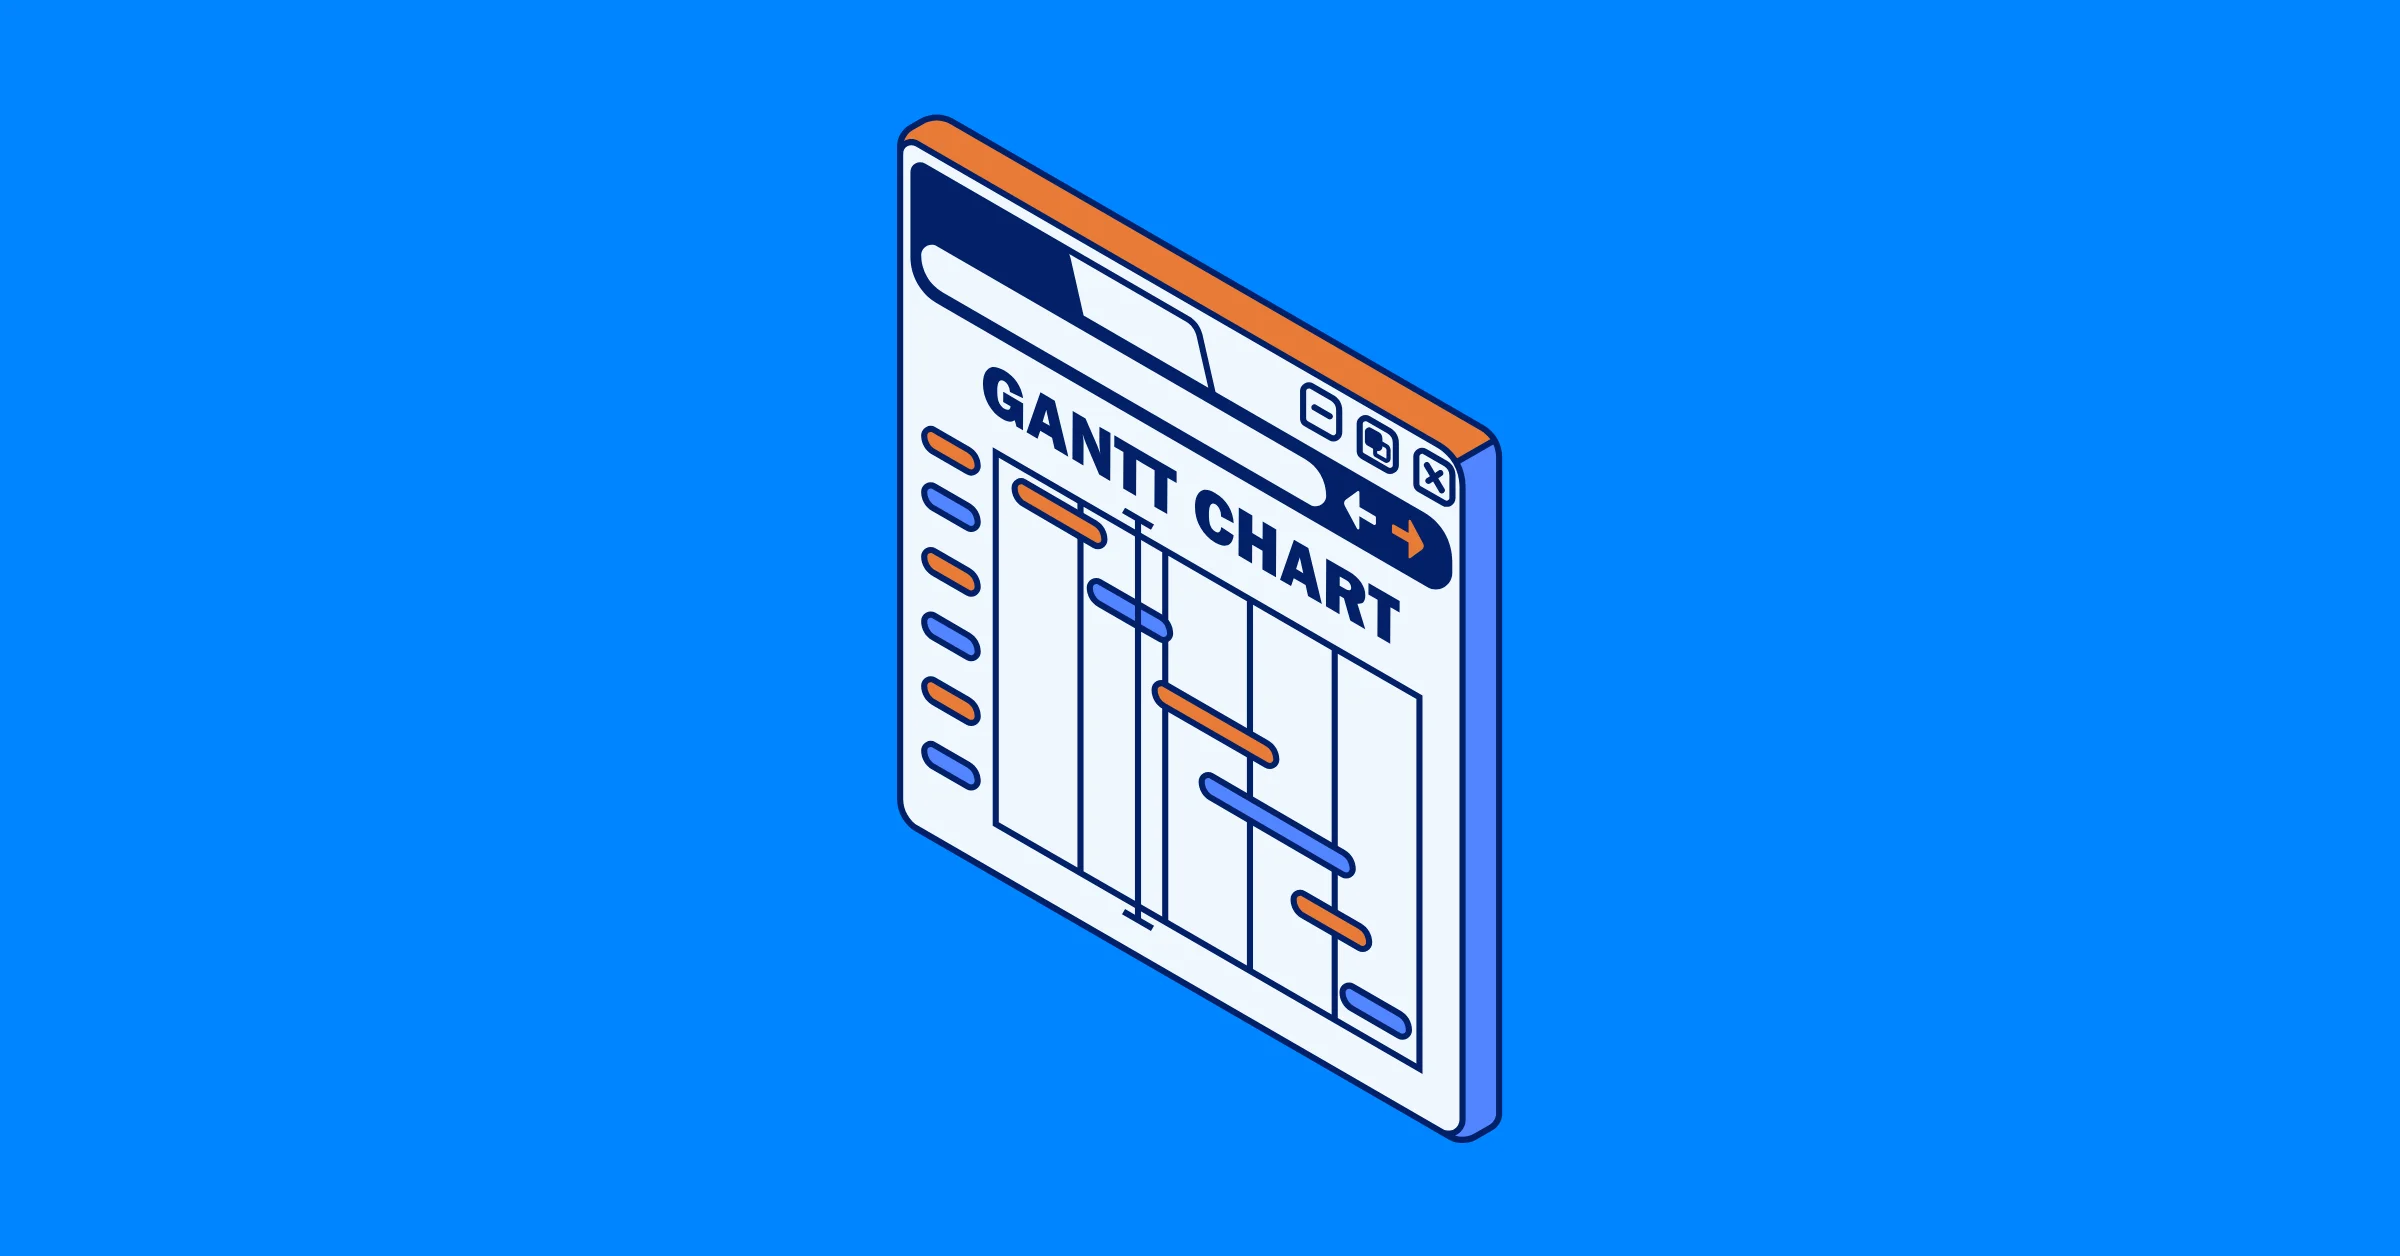
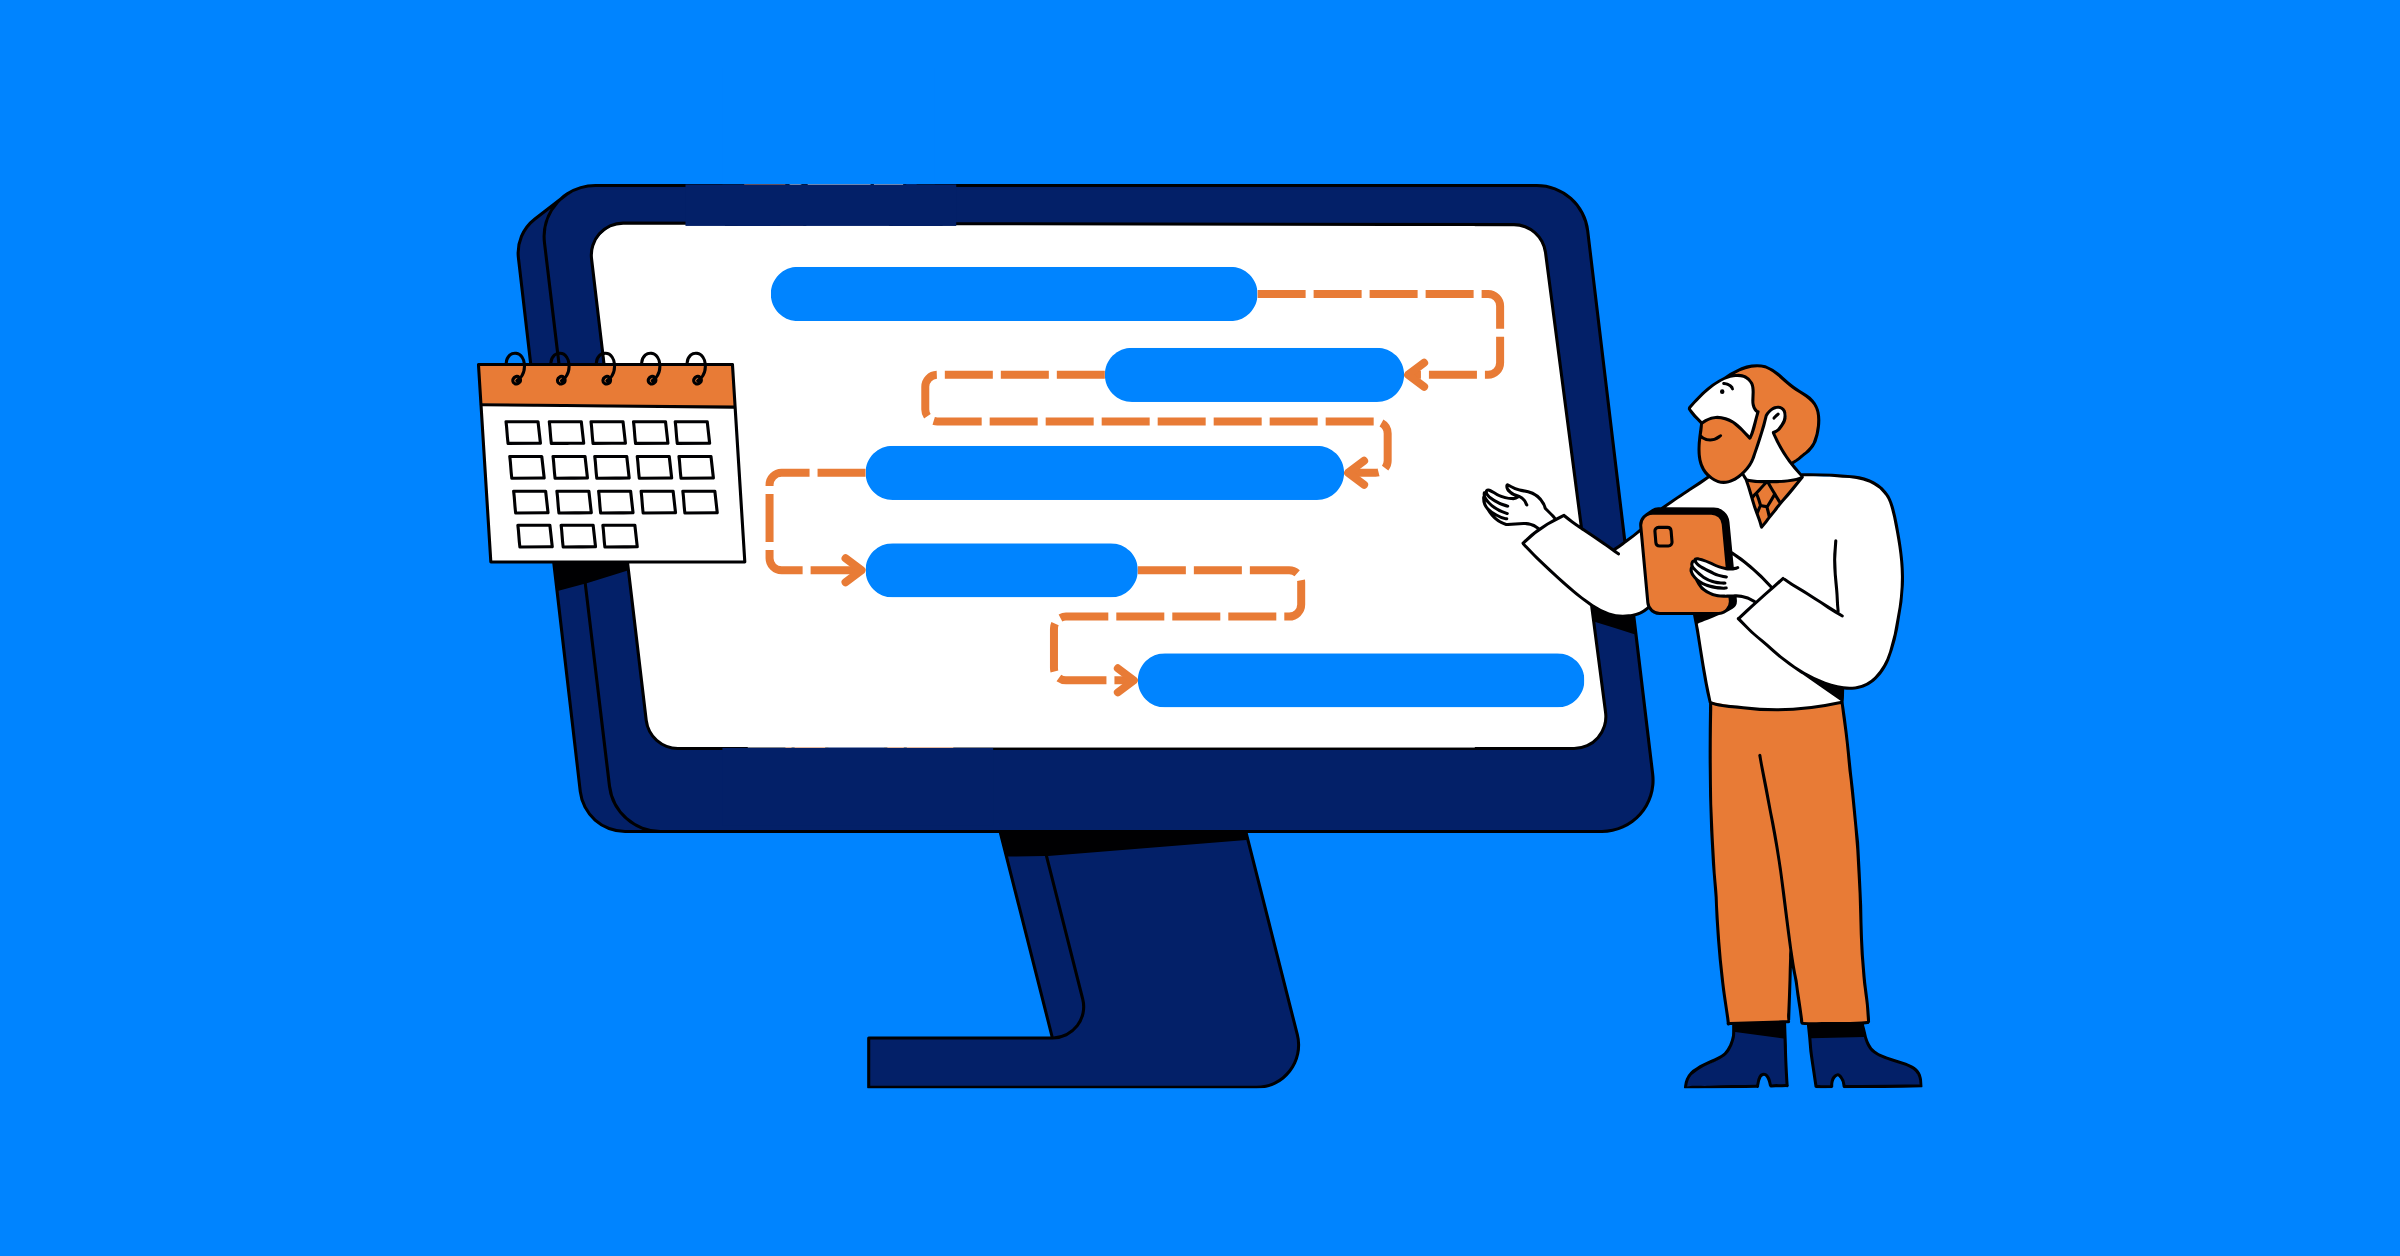
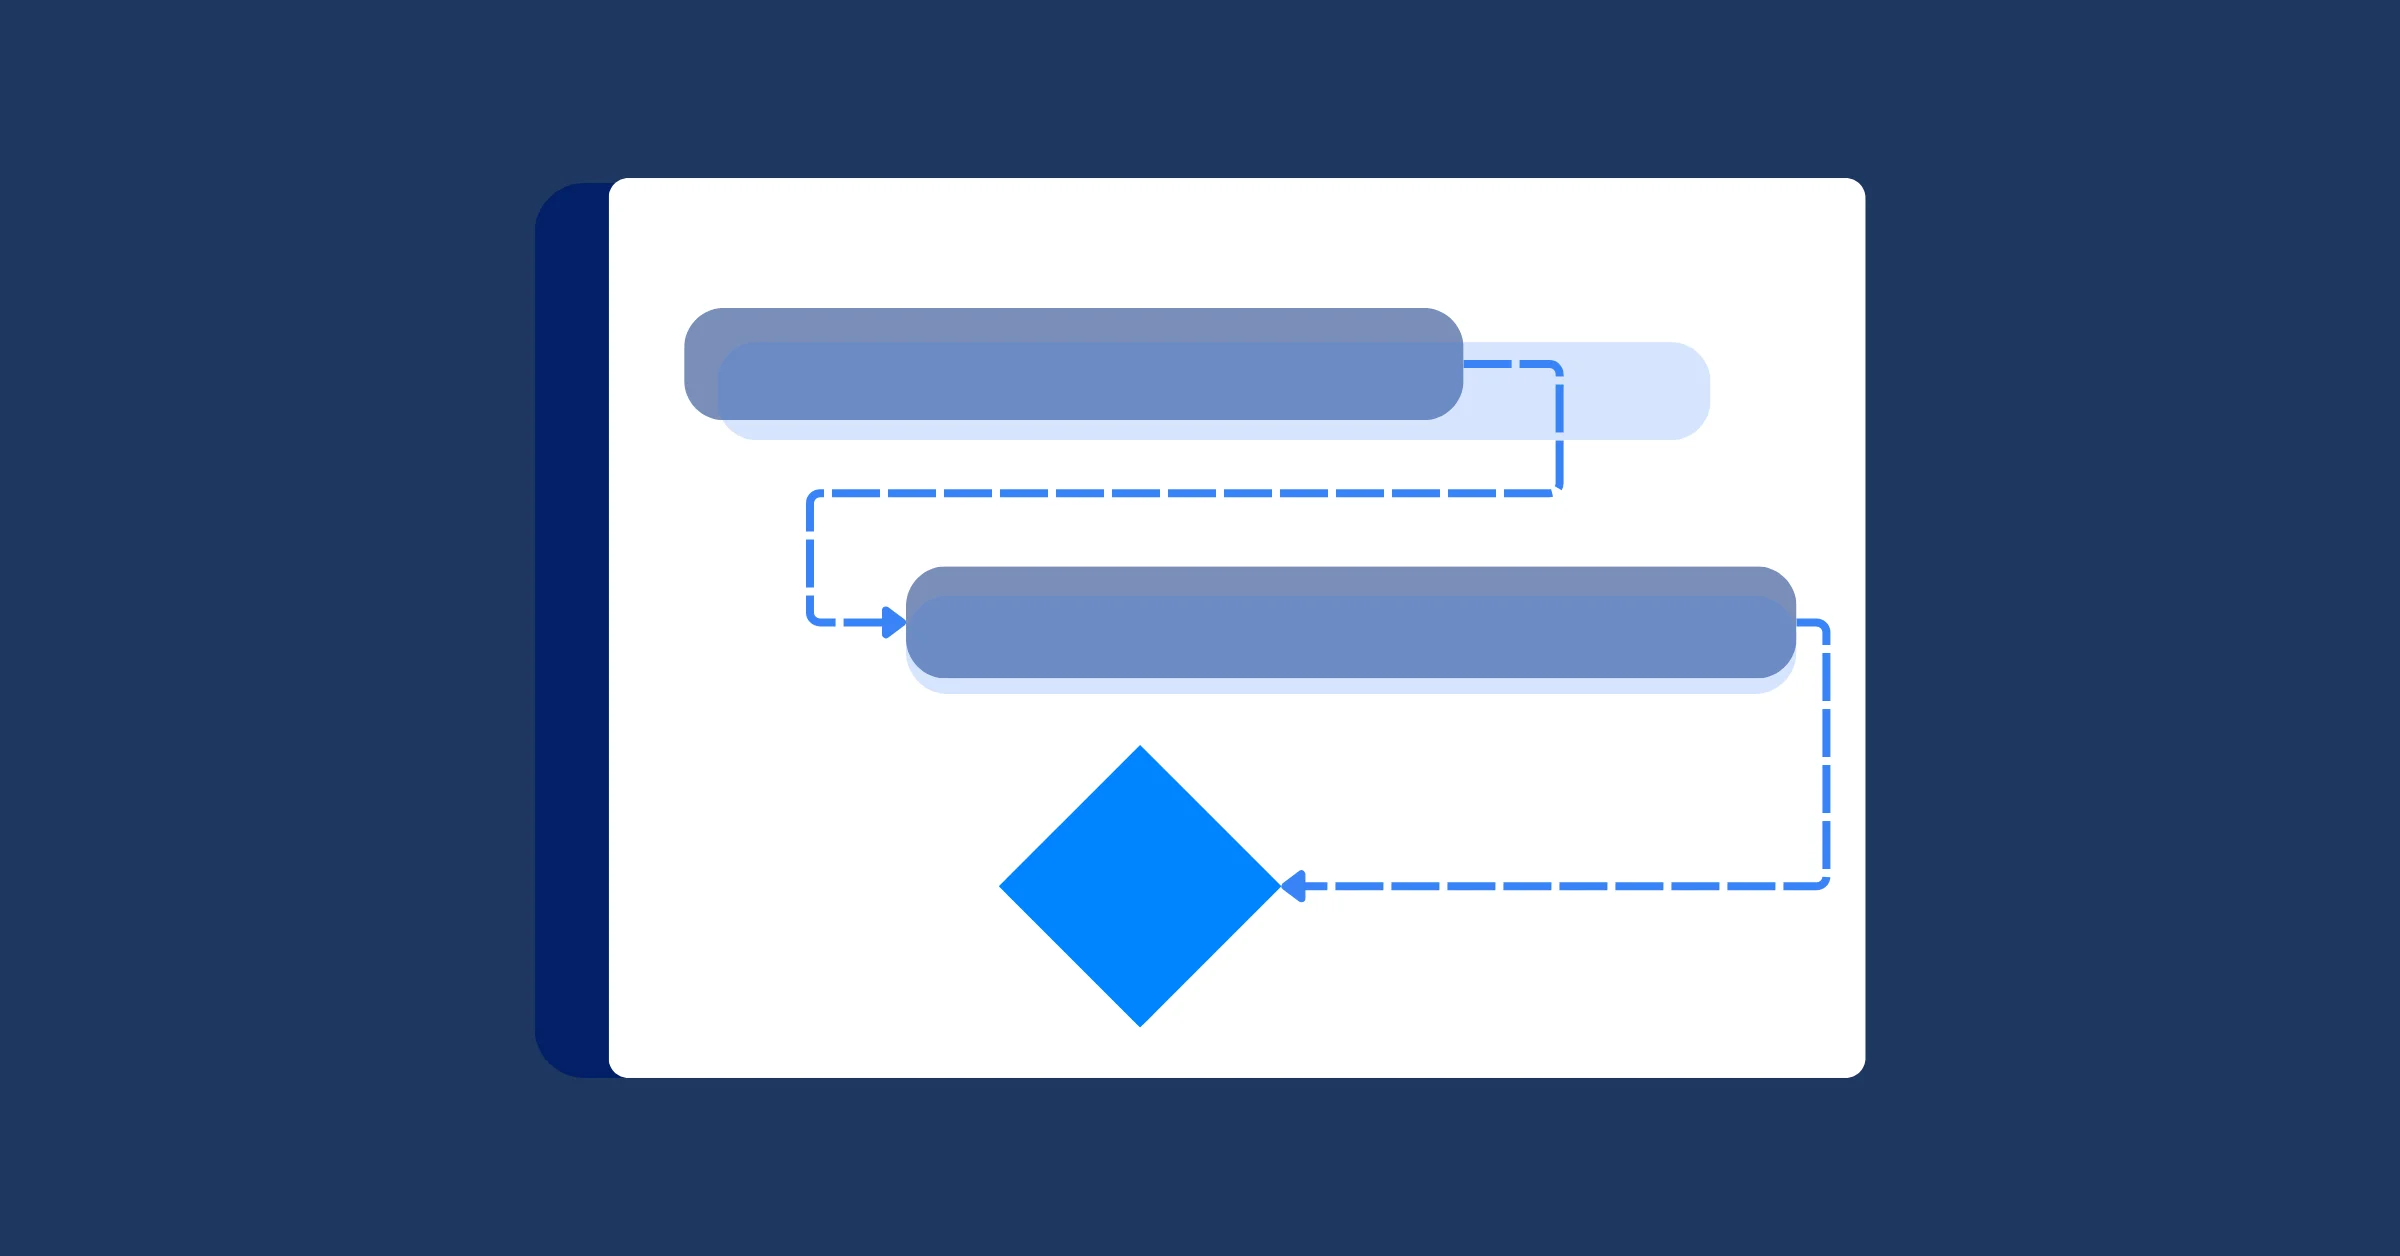
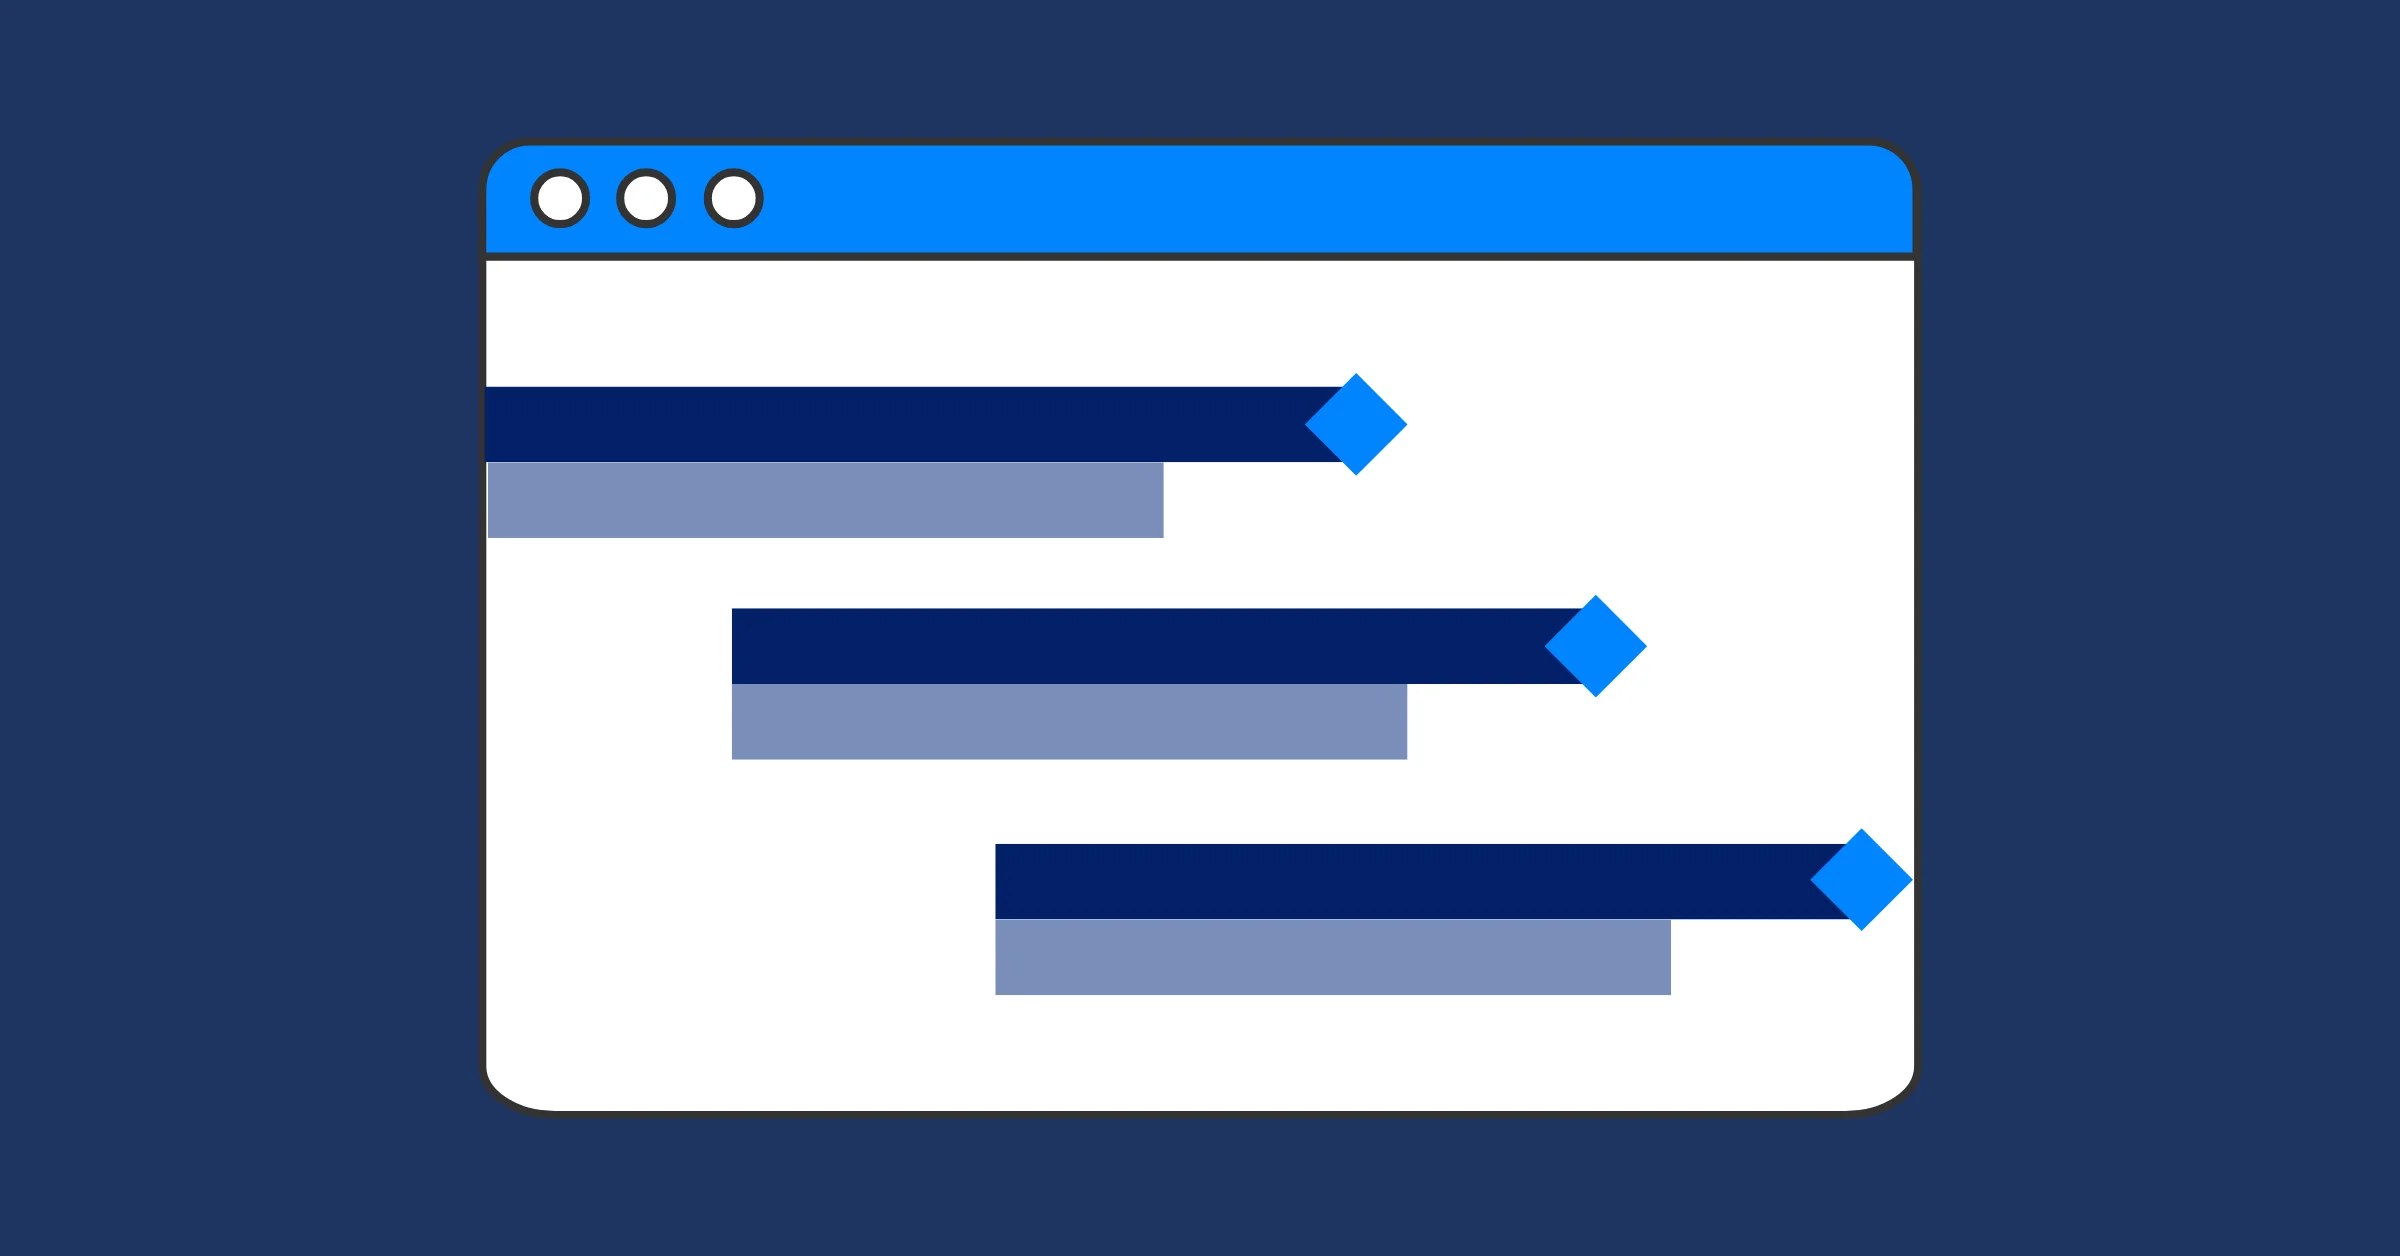
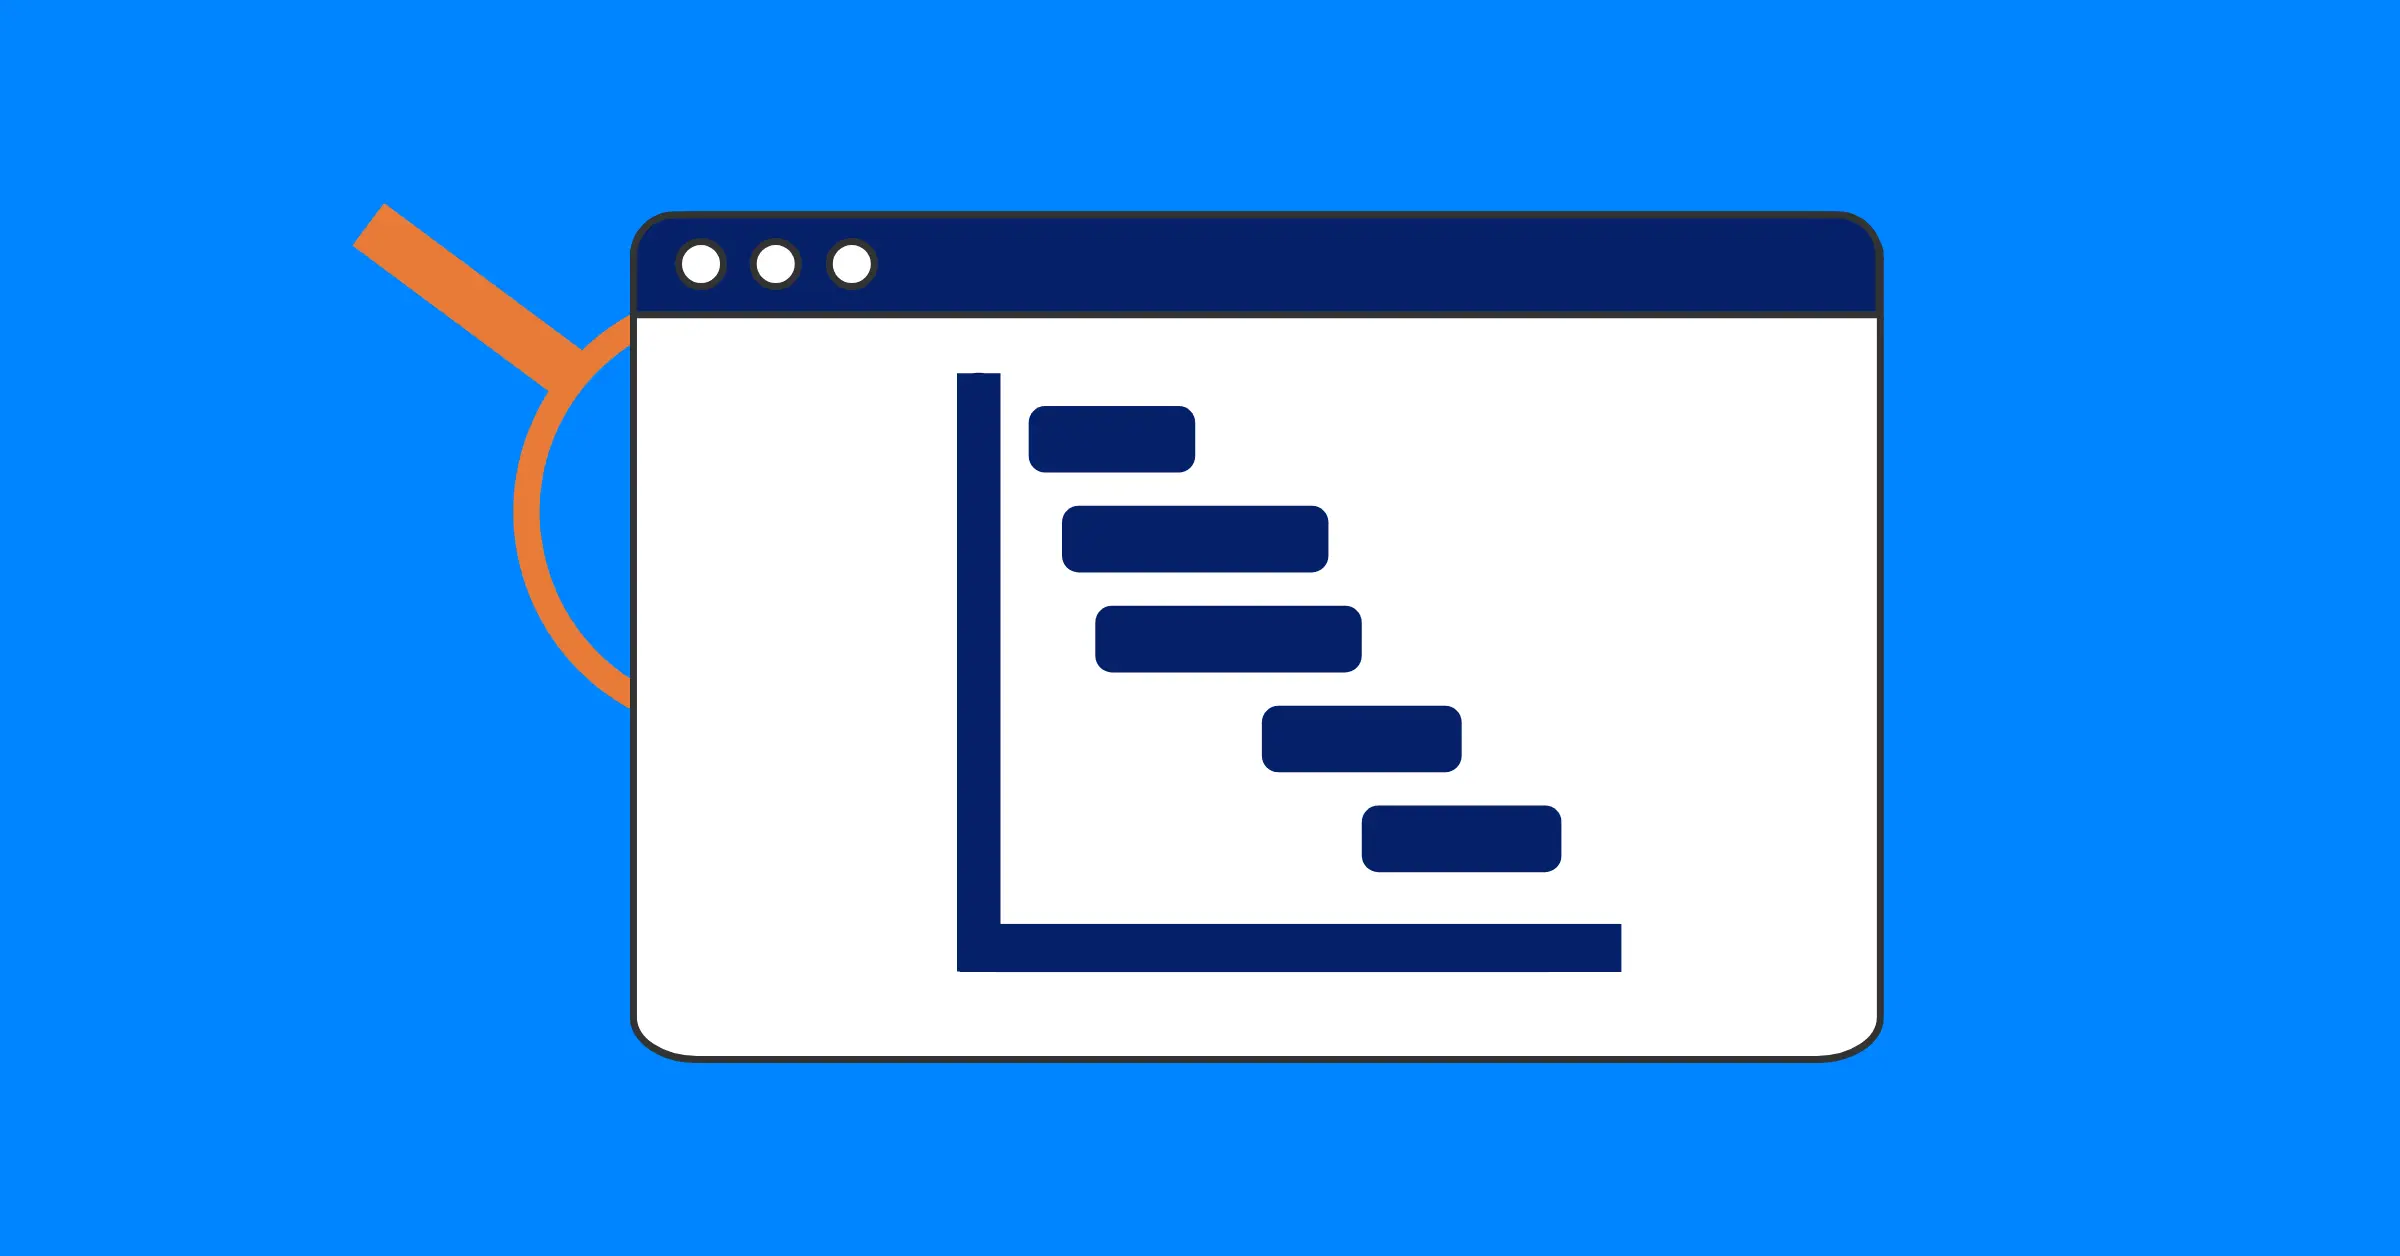
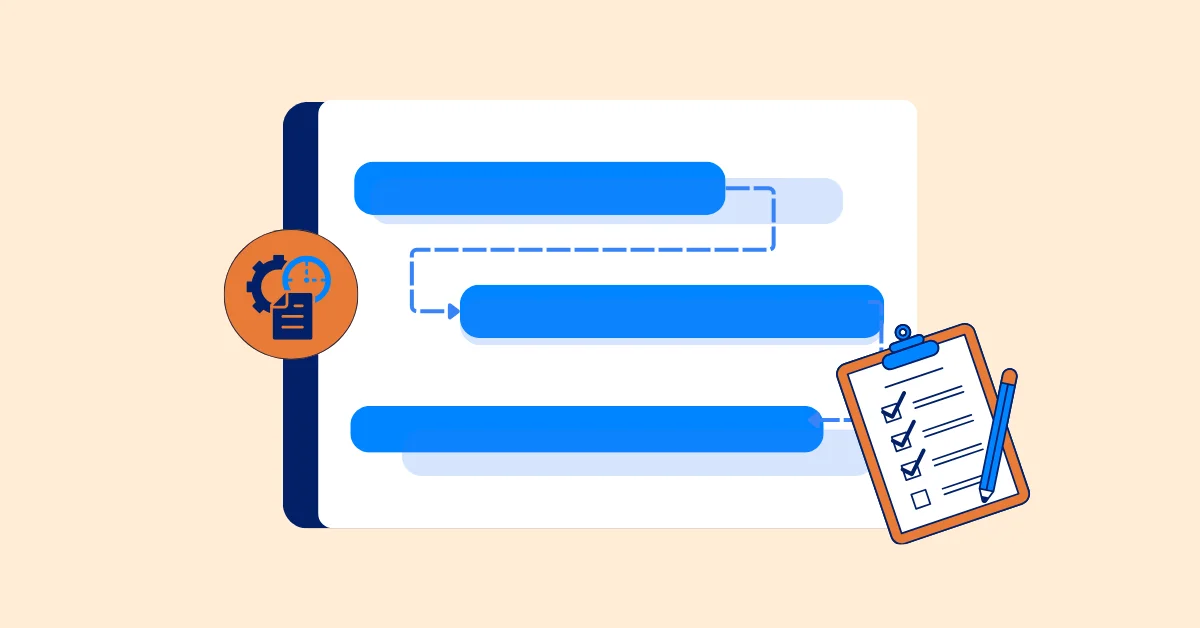
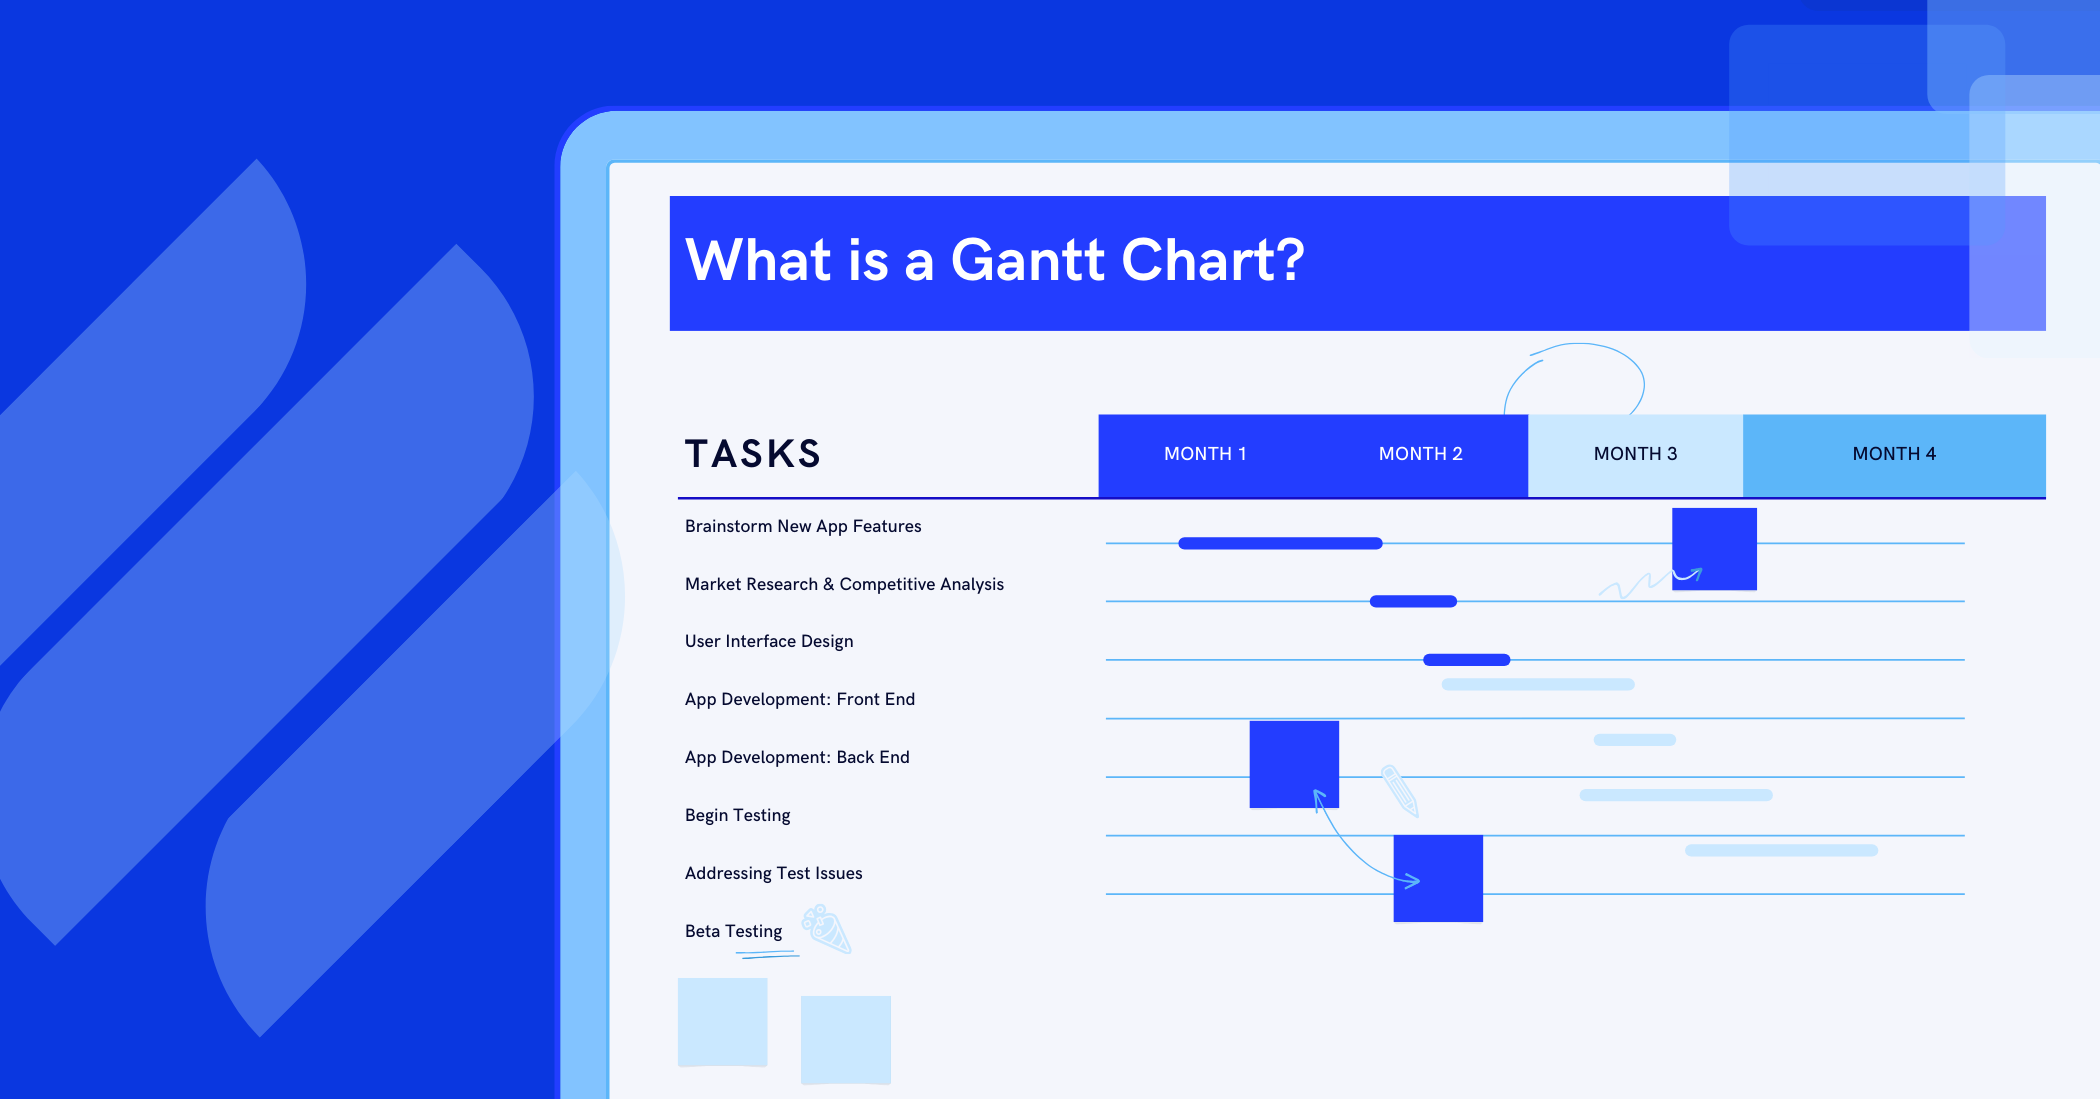
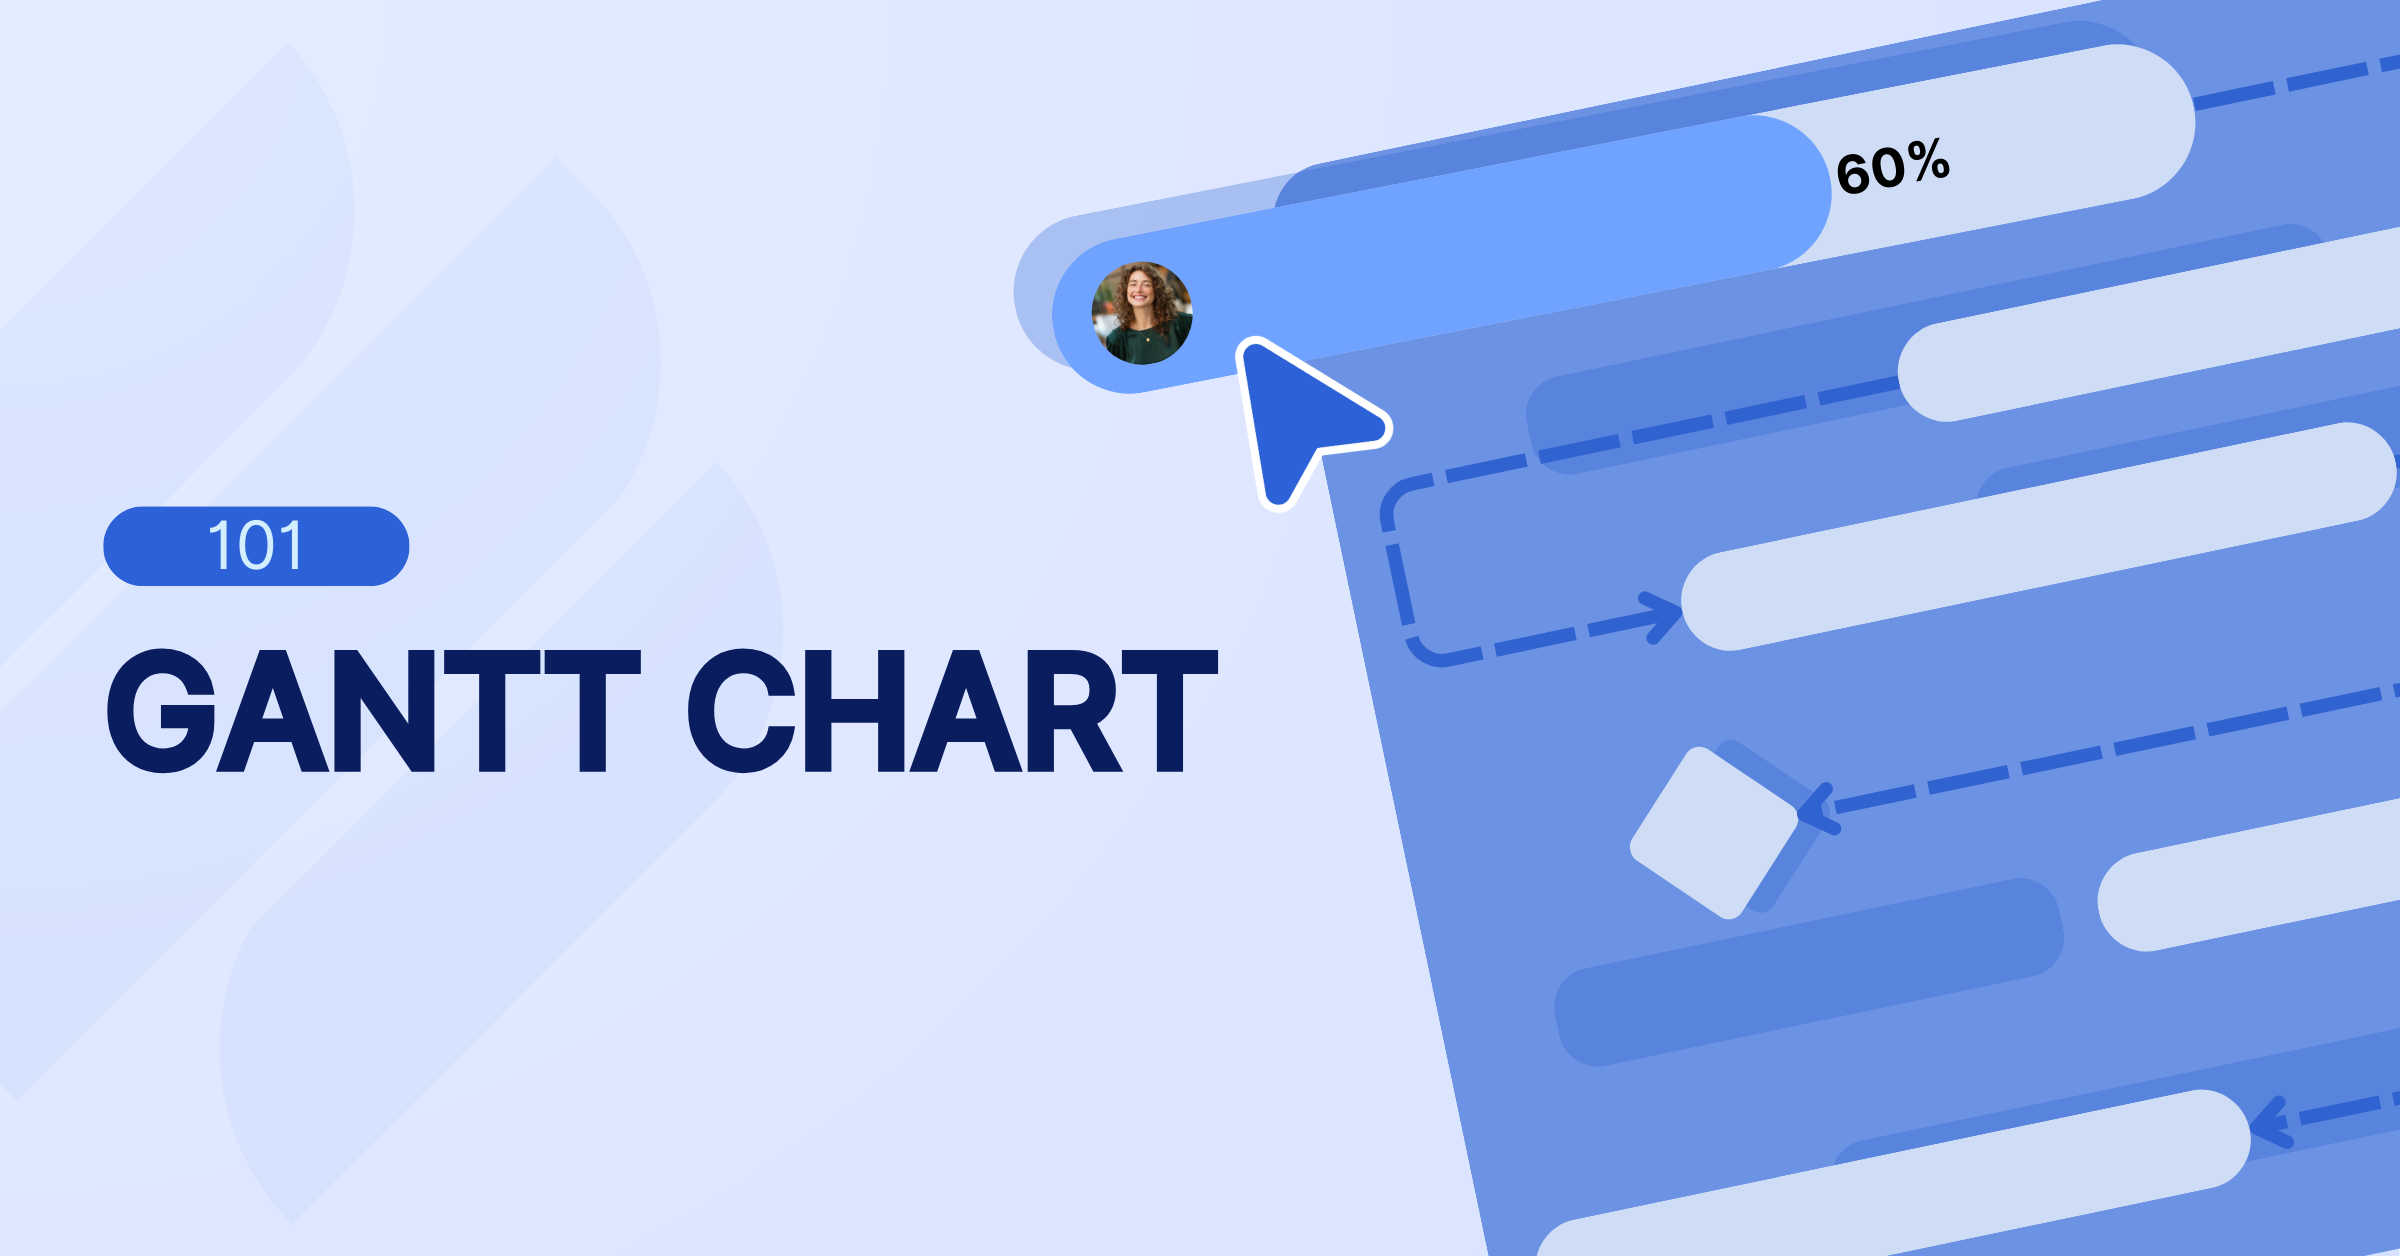
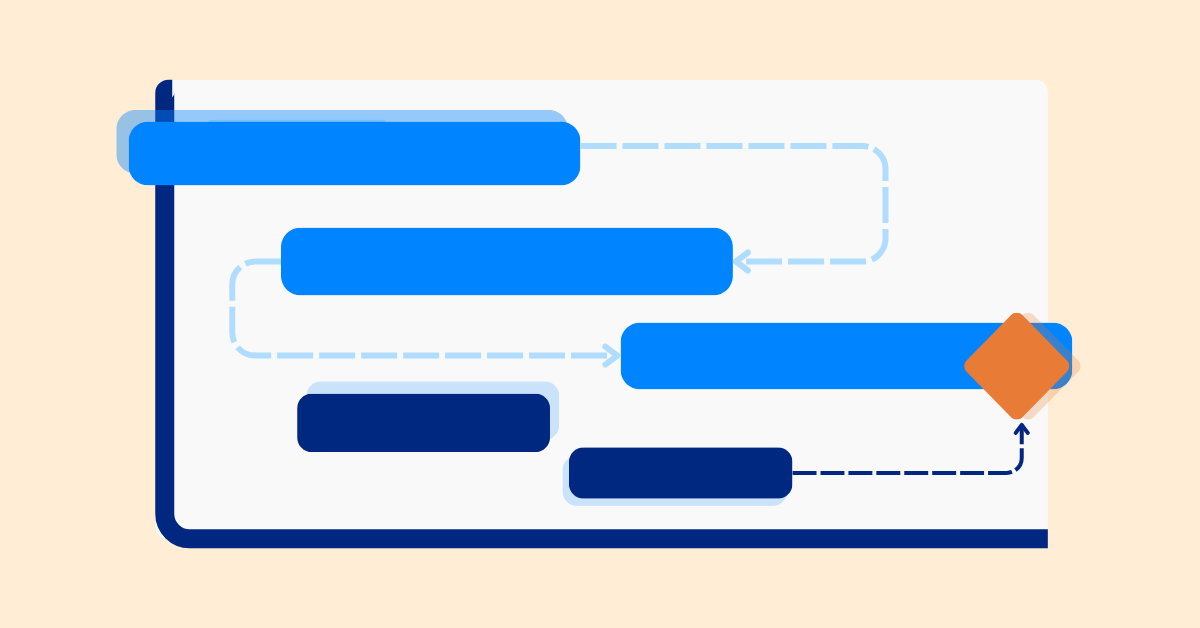
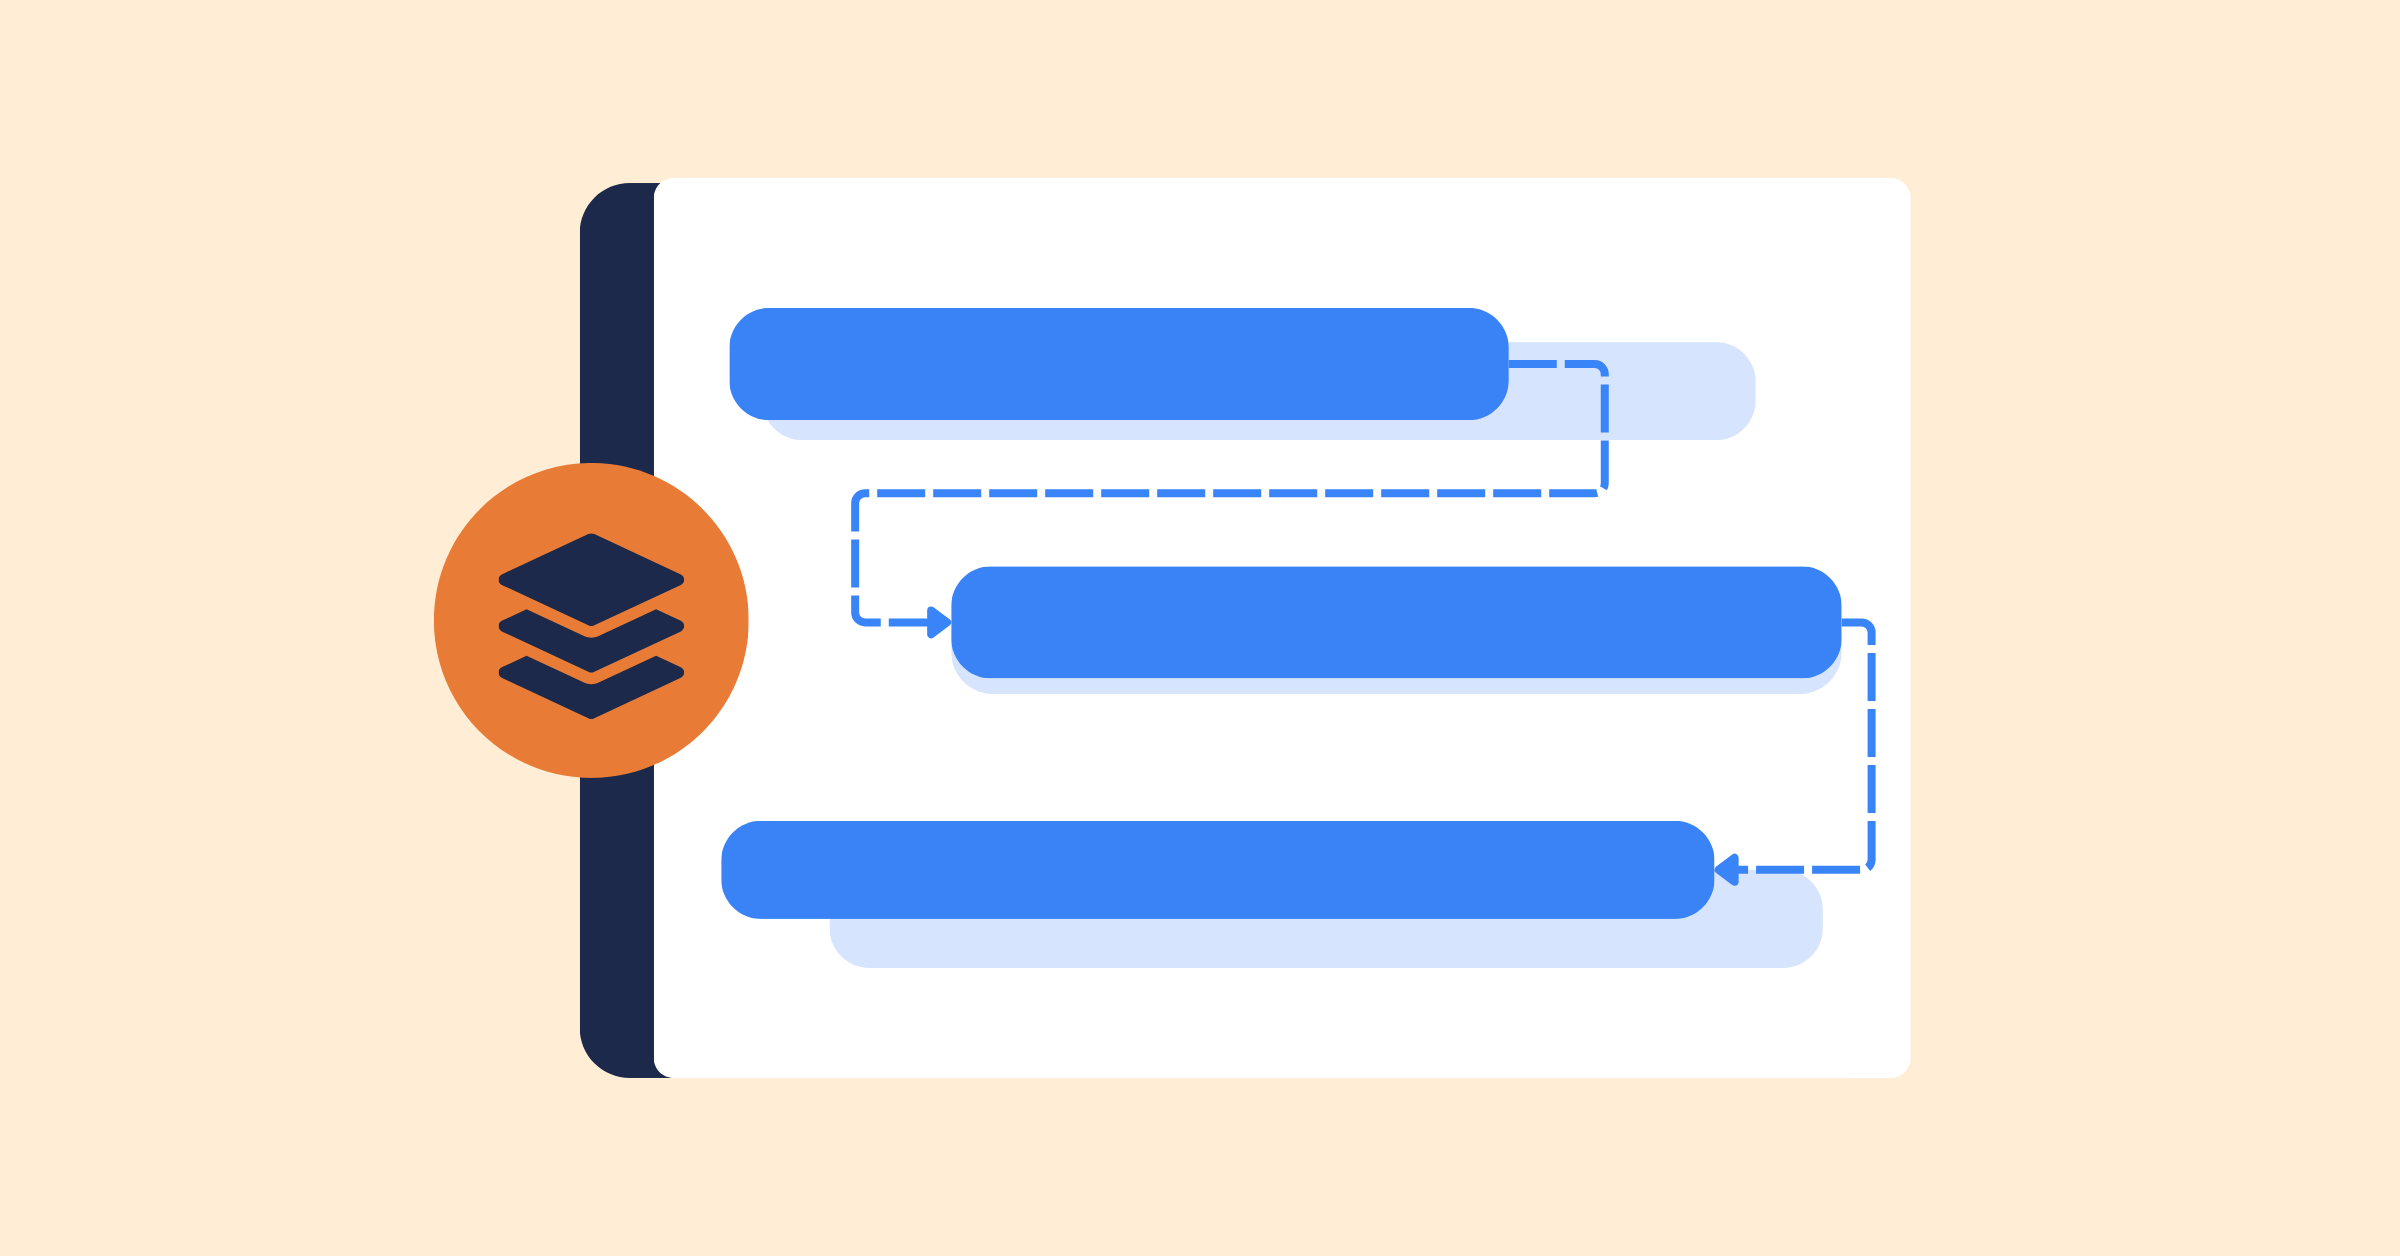
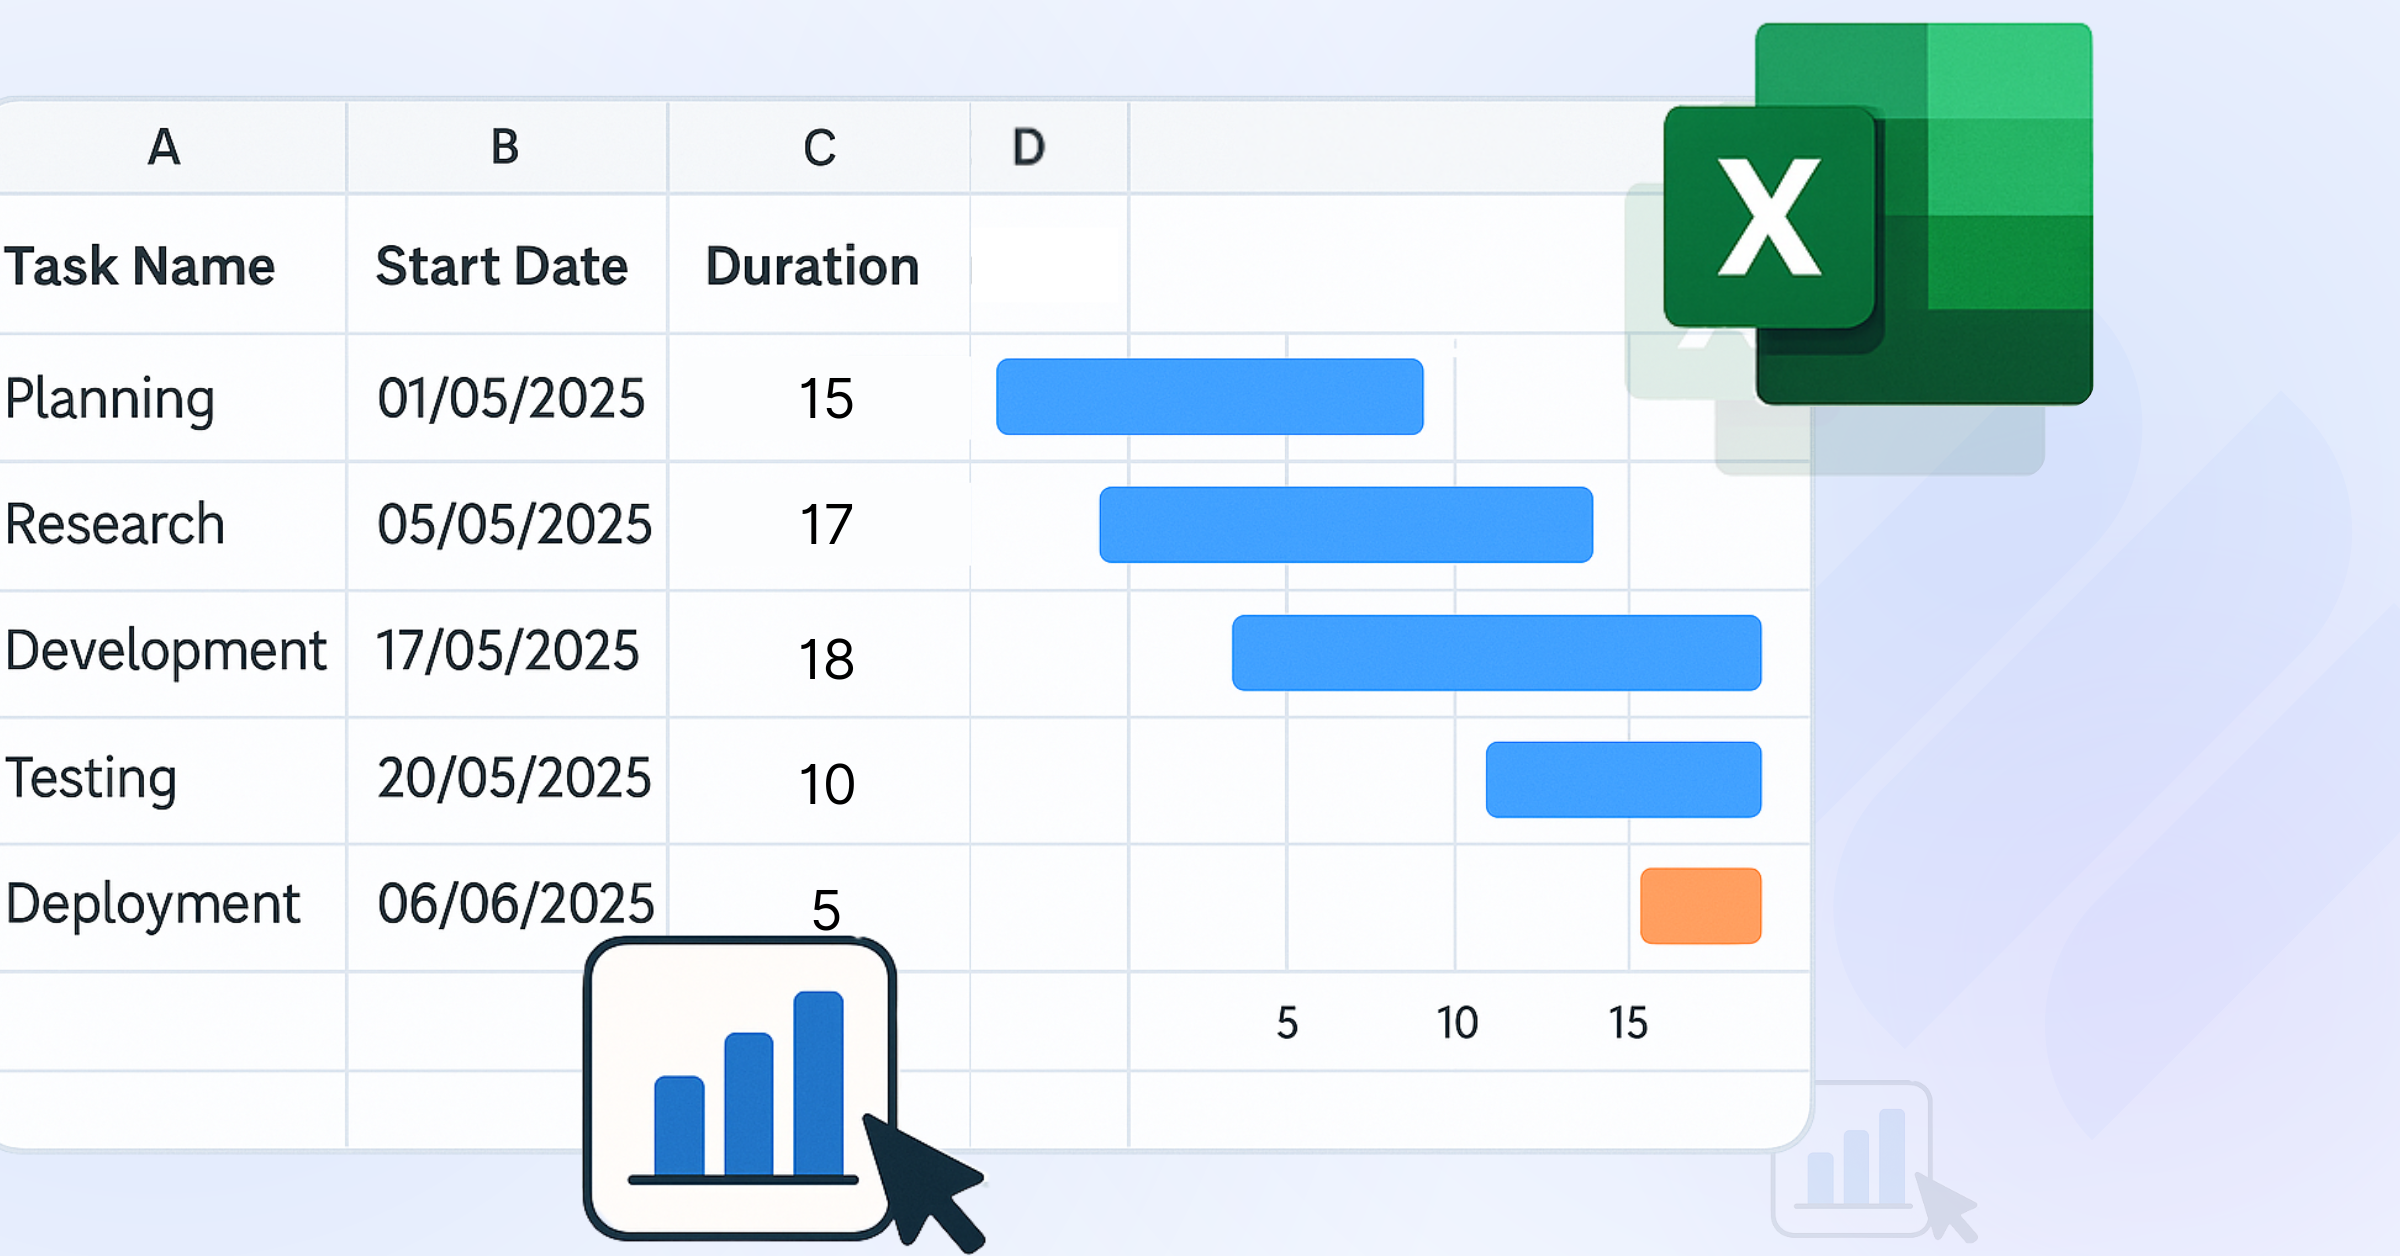
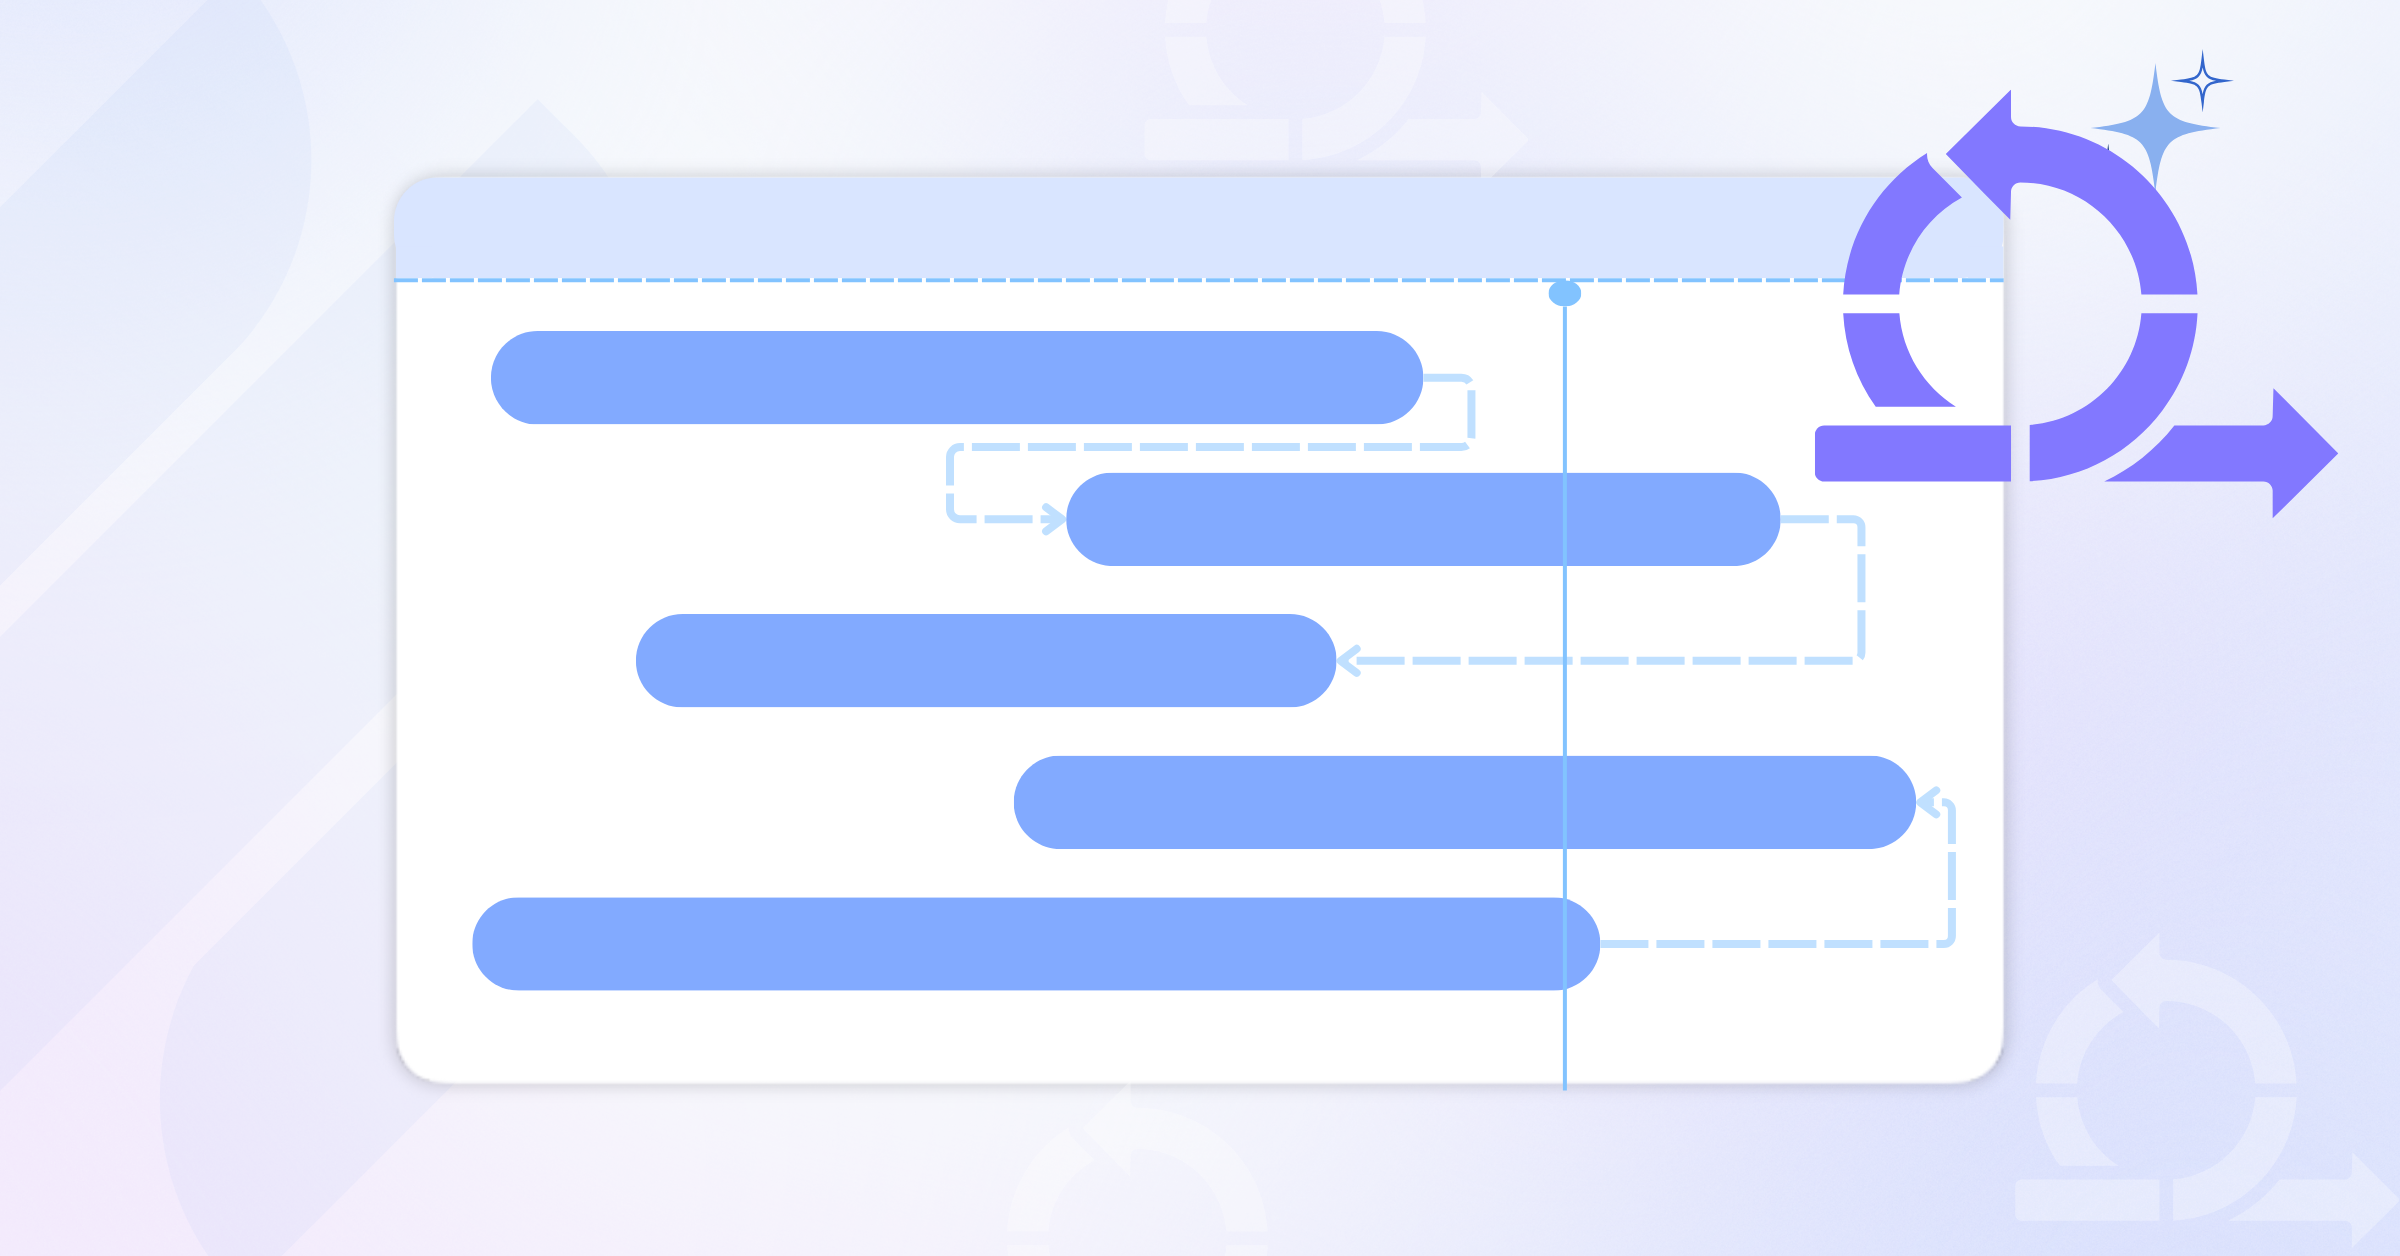
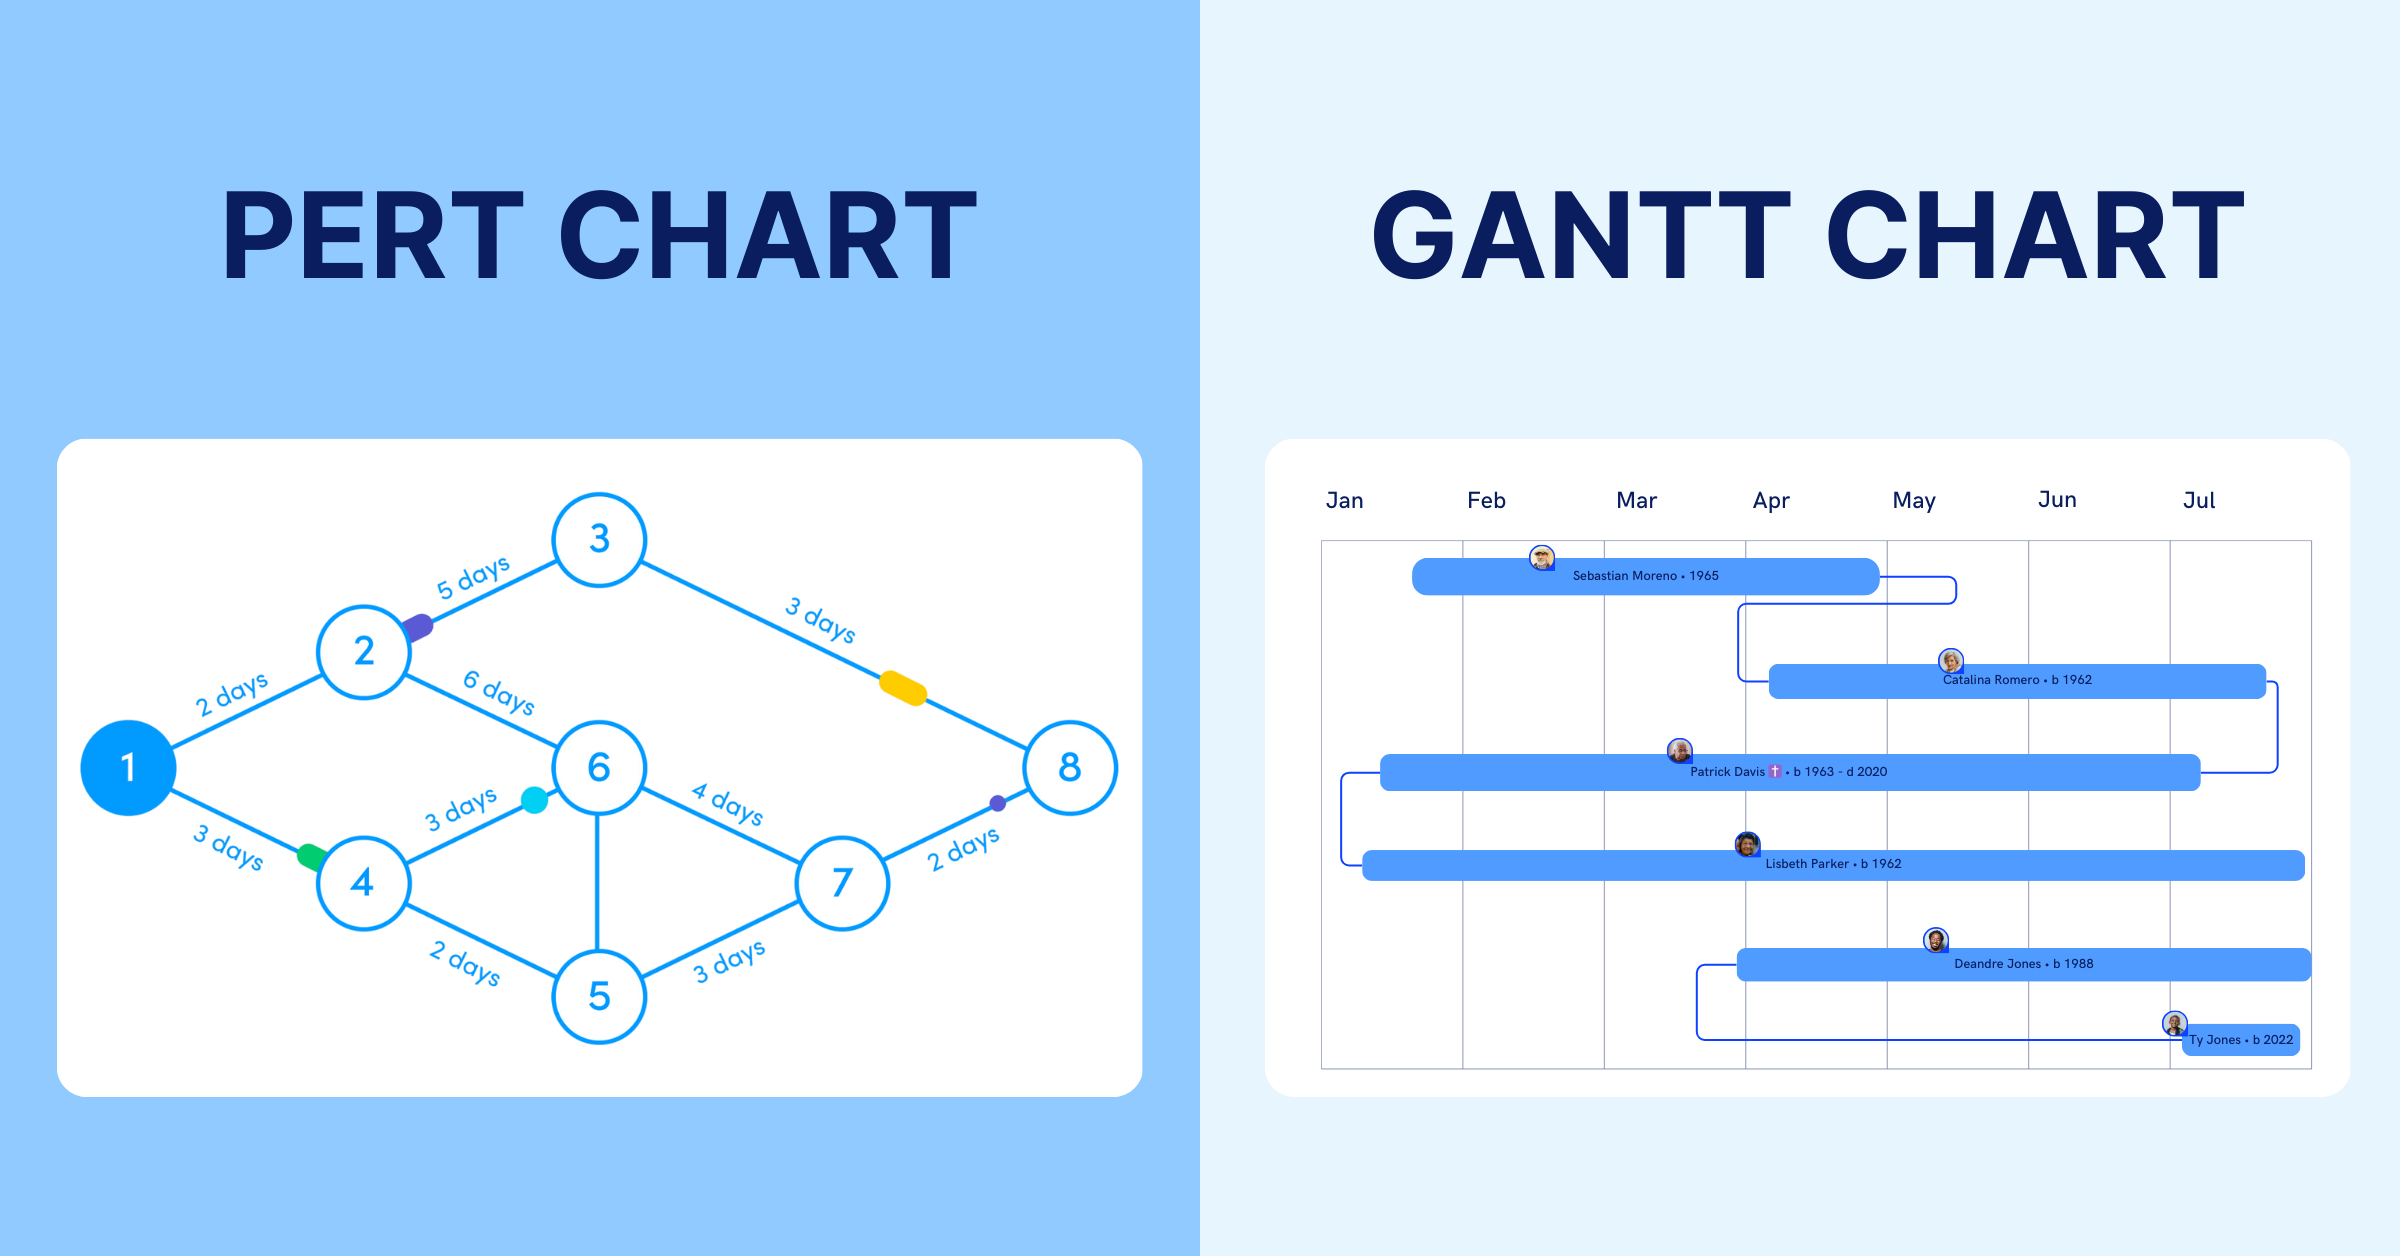
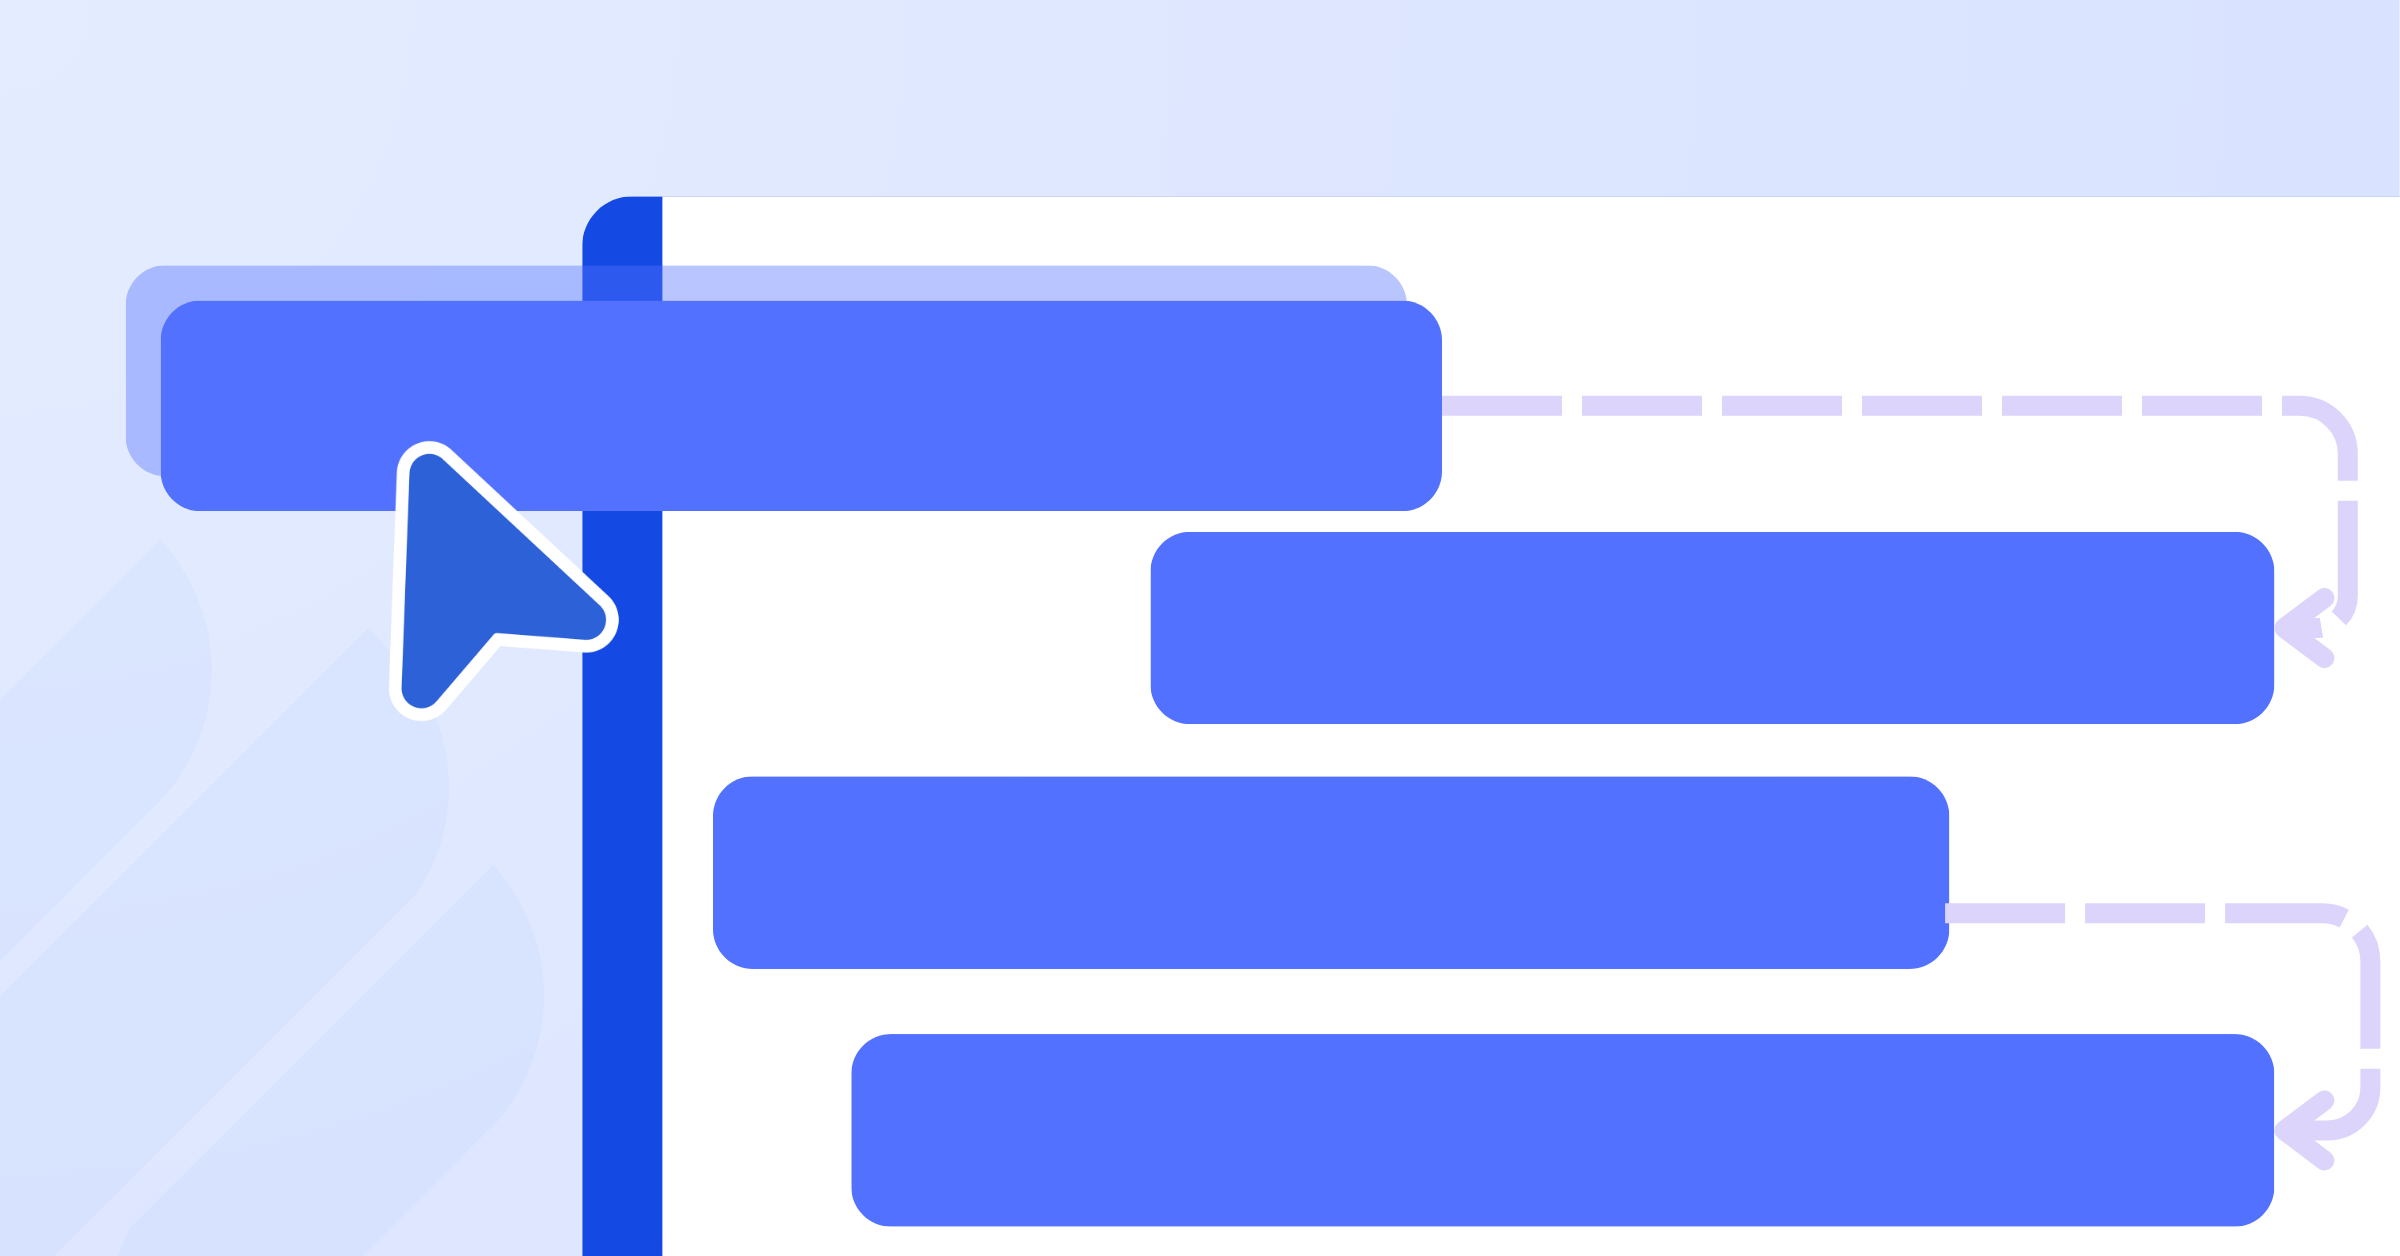
Gantt charts are bar-chart-based project timelines that visually hat visually depict tasks, durations, and dependencies. Each task is represented as a horizontal bar spanning from its start to end date, making it easy to see task overlaps and progress. Thus, they are perfect for detailed tracking and are widely used in construction or software development.
(Discover more about What is a Gantt Chart? A Comprehensive Guide for Beginners)
2. PERT Charts
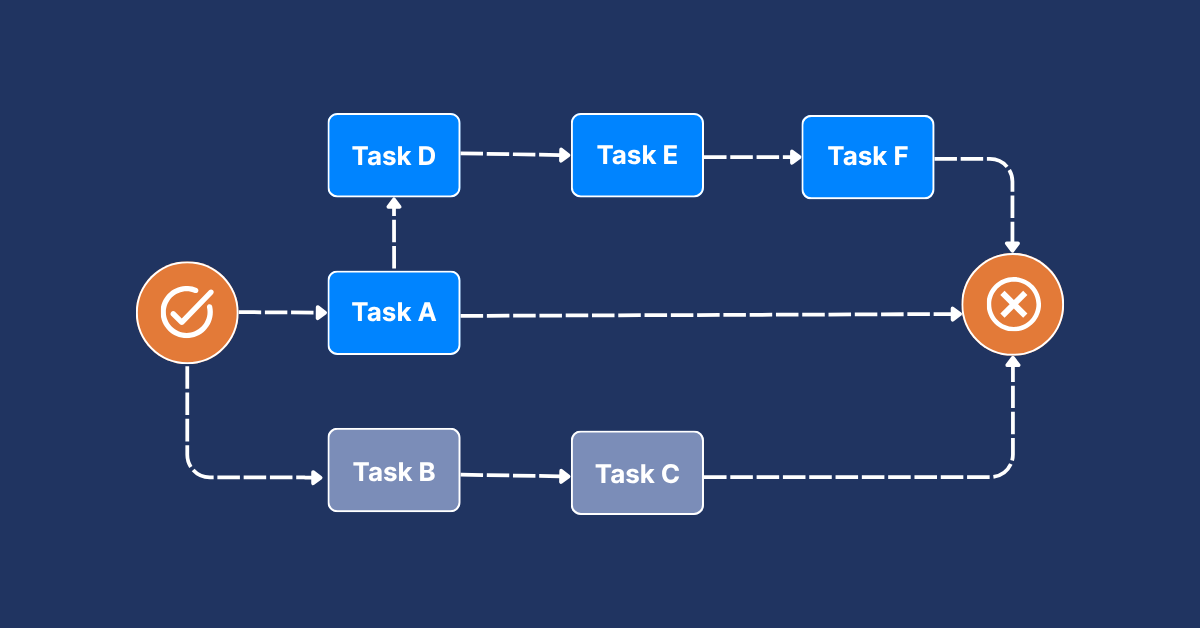
PERT project management (Program Evaluation Review Technique) charts use flowcharts to display tasks and their interdependencies. Unlike Gantt charts, they emphasize the relationship between tasks and the estimated time required to complete them. PERT charts excel in complex projects with interdependent tasks, like research initiatives.
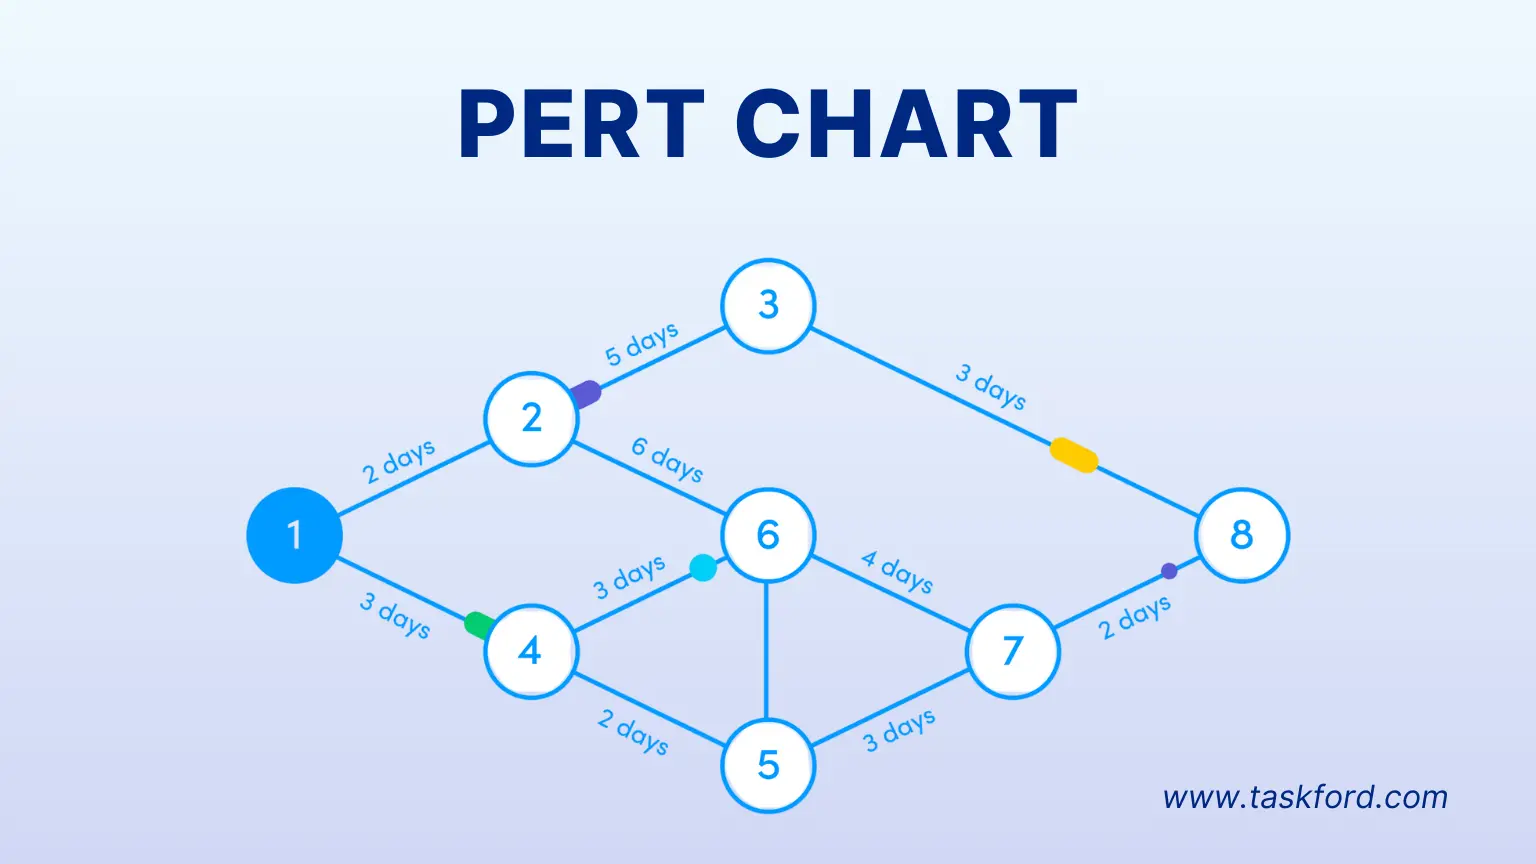
Compare the difference between the PERT Chart vs Gantt Chart & when to use each effectively.
3. Historical Timeline
A historical timeline is a type of project timeline that shows events or tasks in chronological order, typically focusing on significant milestones, achievements, or developments over a period of time. This type of timeline helps visualize the progression of events, making it easier to understand how things unfolded over time.
For projects, a historical timeline might include key phases or decisions made, showing how the project evolved from start to finish. It’s often used to reflect on the past, track progress, and analyze trends that might influence future decisions.
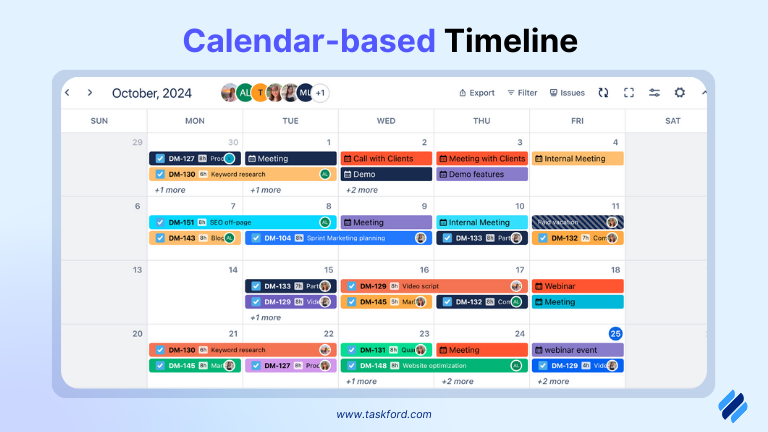
4. Calendar-based Timeline
A calendar-based timeline organizes tasks and milestones using a calendar format, showing them by days, weeks, or months. It’s useful for projects that have specific deadlines or important dates to track. This type of timeline helps you visualize when each task needs to be completed and ensures that everything is on schedule.
For example, you might see tasks assigned to specific dates on a monthly or weekly calendar, making it easy to manage time and resources. It’s ideal for projects where timing is crucial, like event planning or product launches.
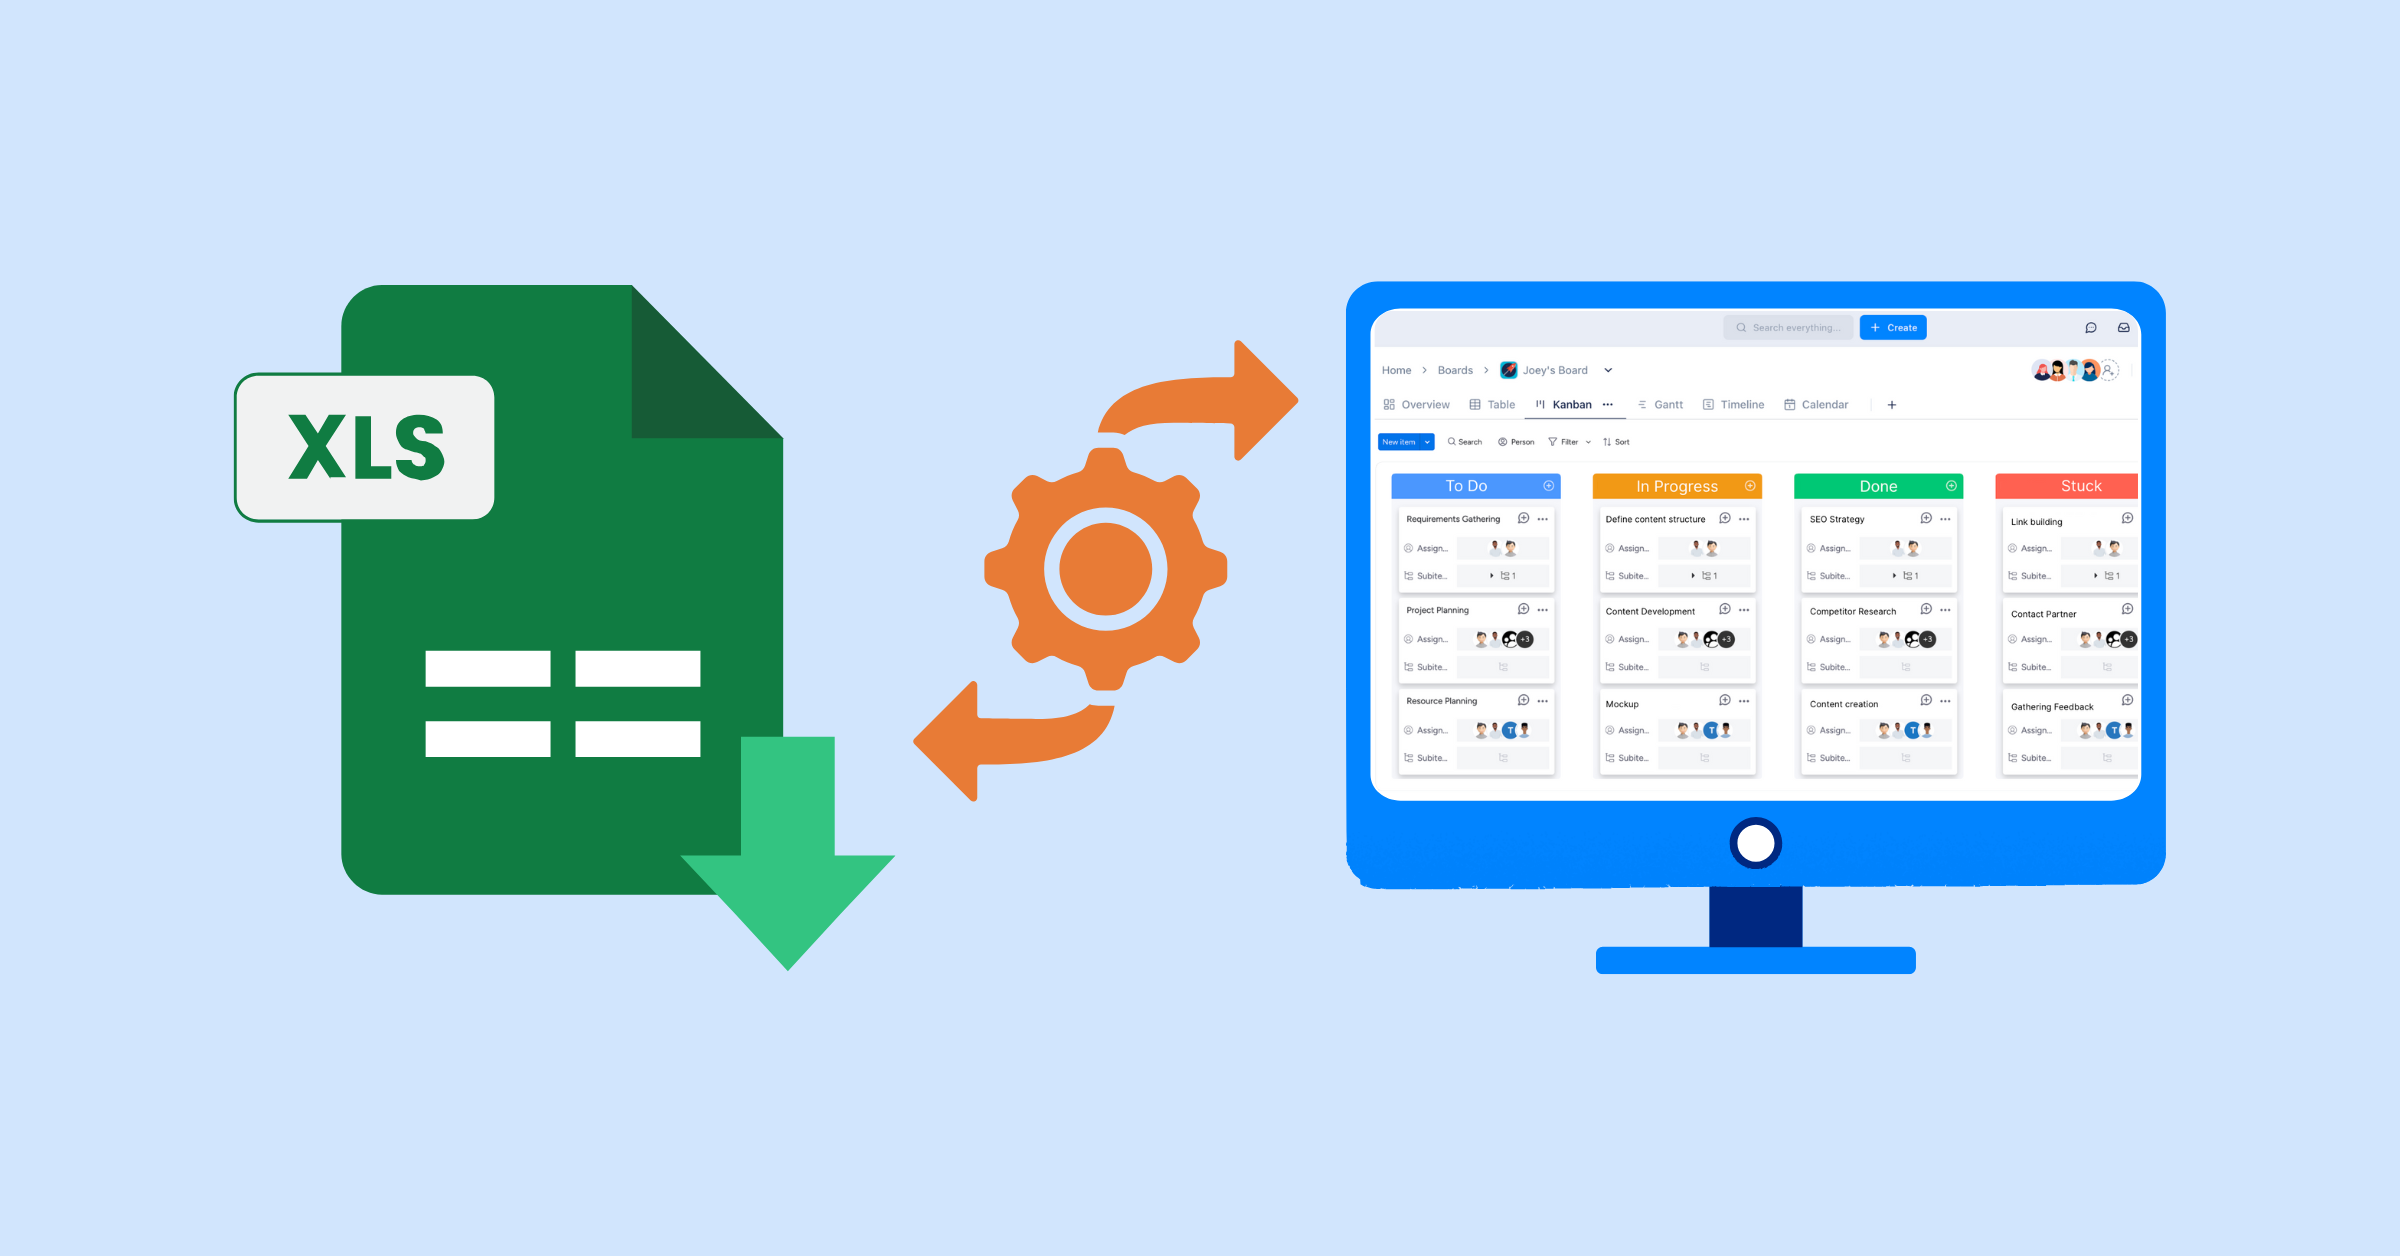
5. Kanban Timeline
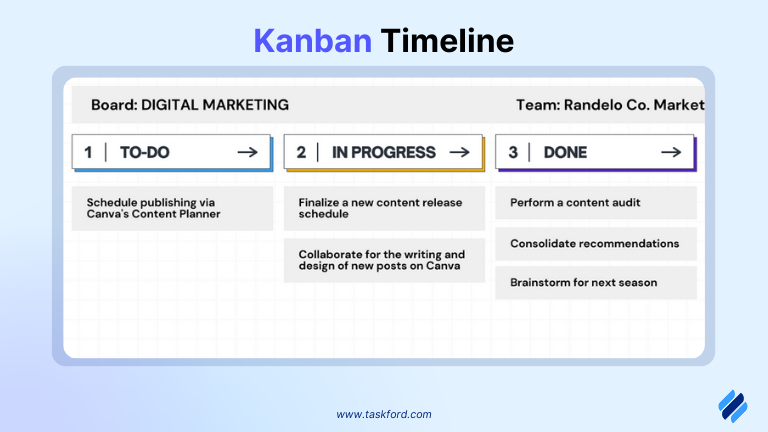
A Kanban timeline is a visual tool that helps track tasks through different stages of a project. It’s typically displayed as a board divided into columns such as “To Do,” “In Progress,” and “Completed.” It’s often used for Agile project management and iterative development.
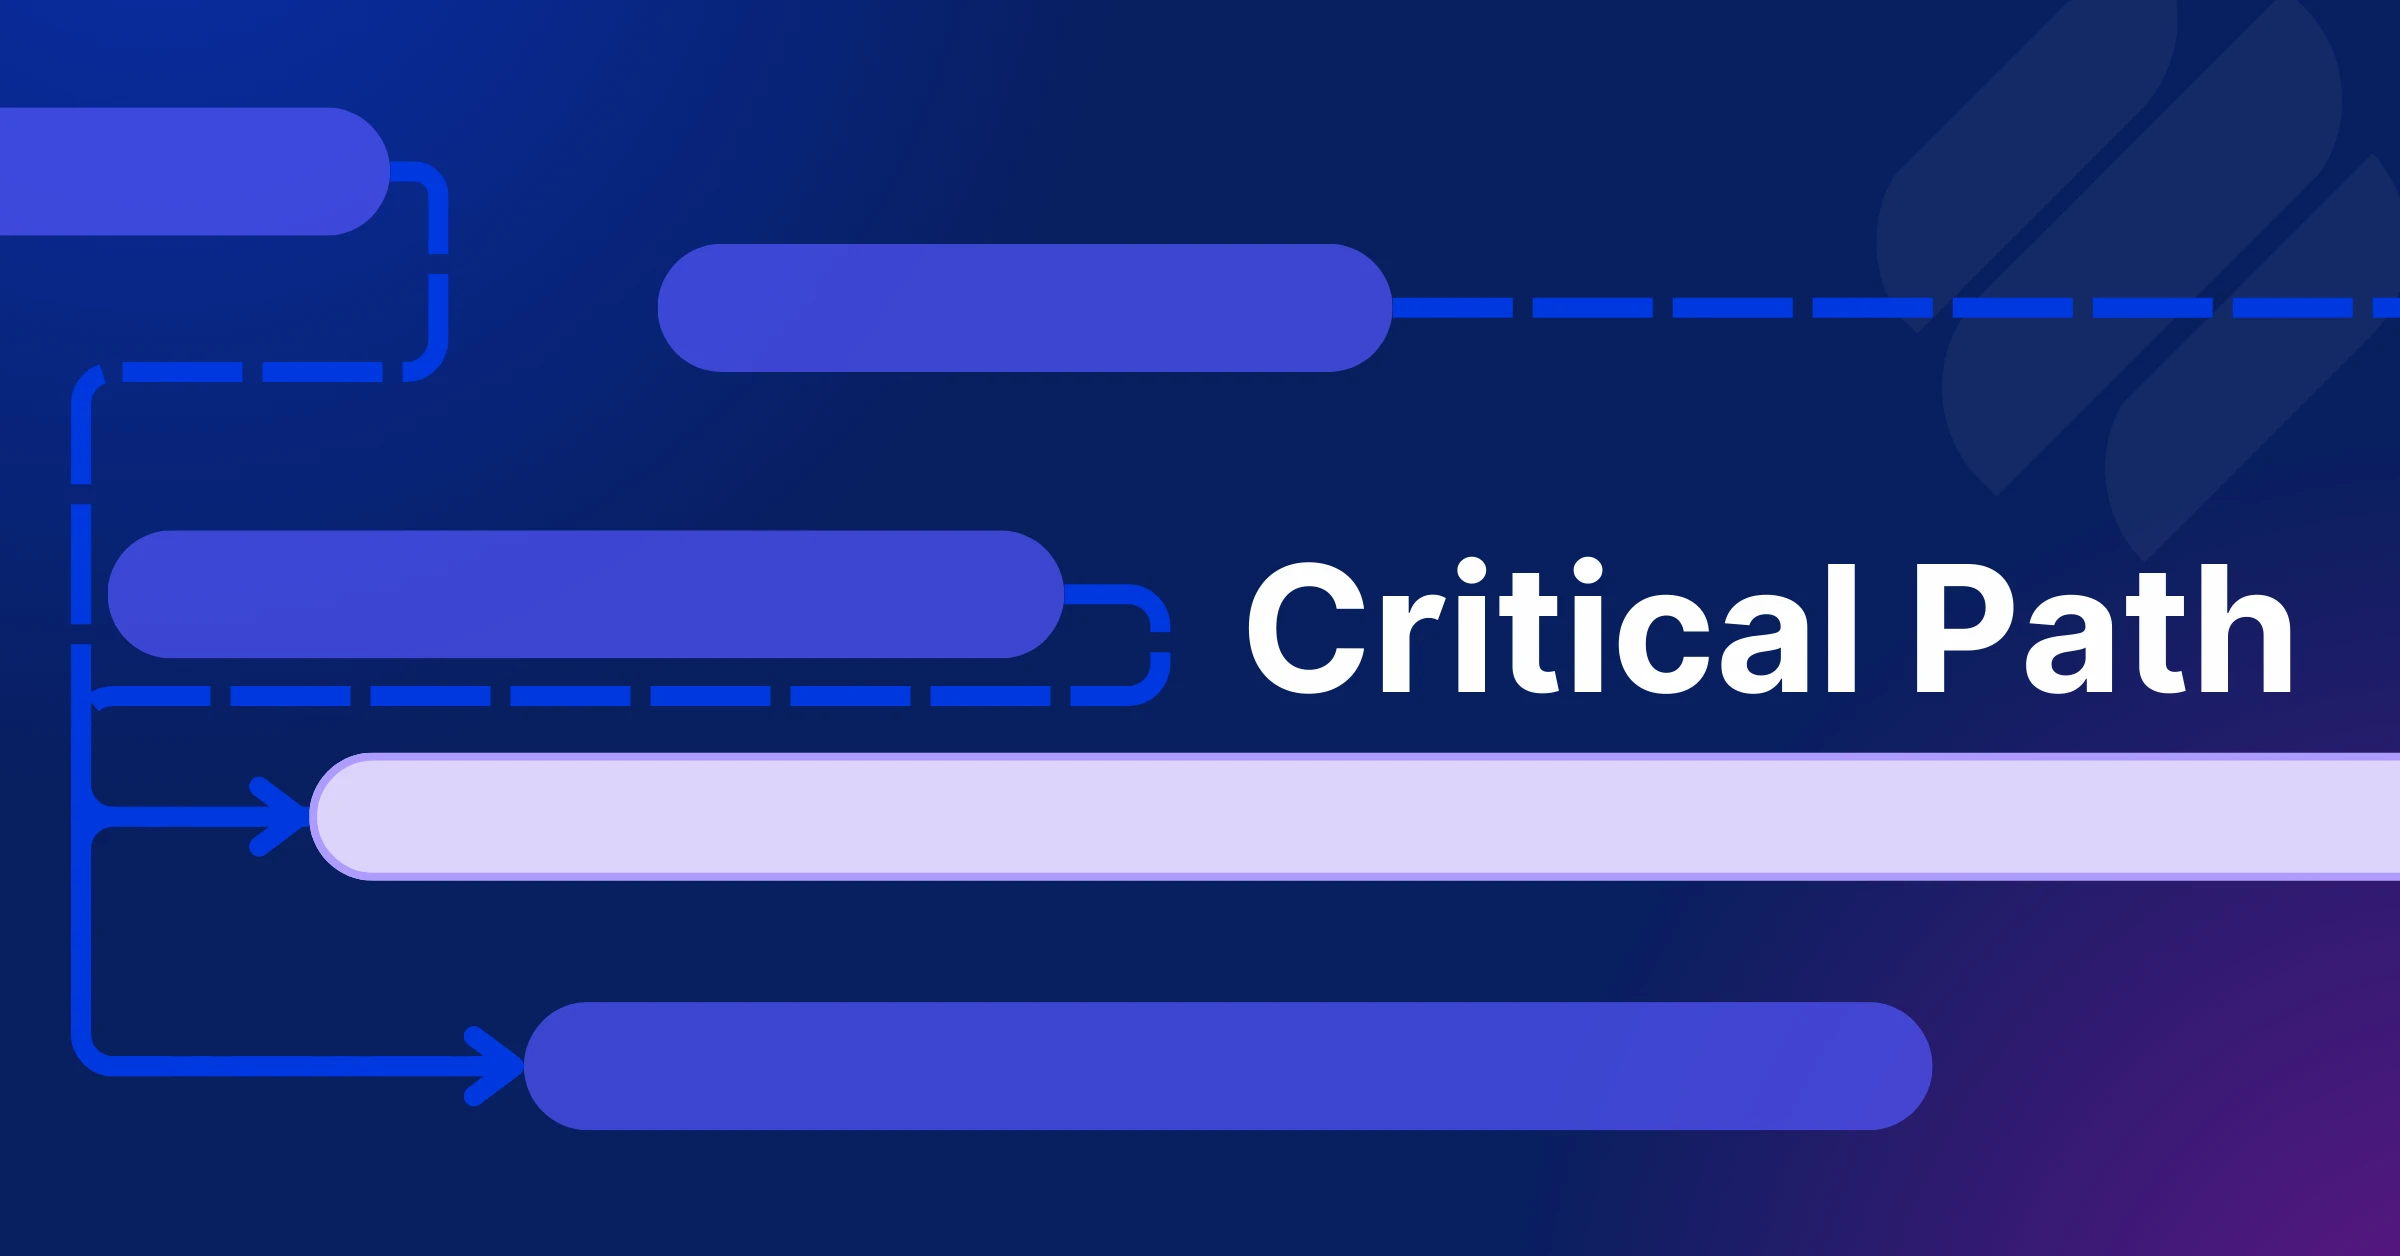
6. Critical Path Method
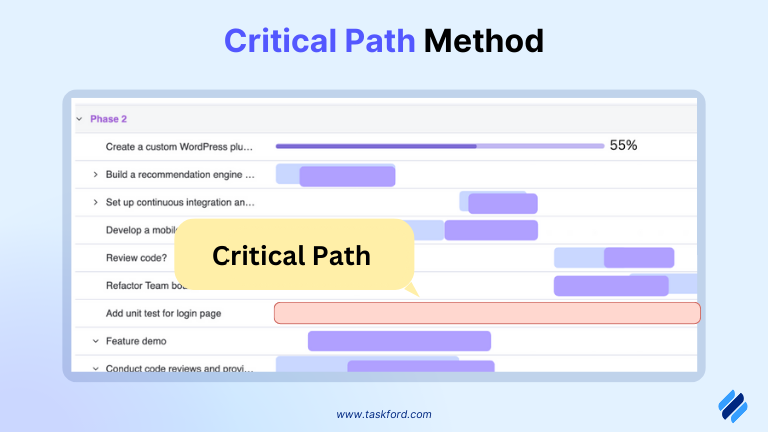
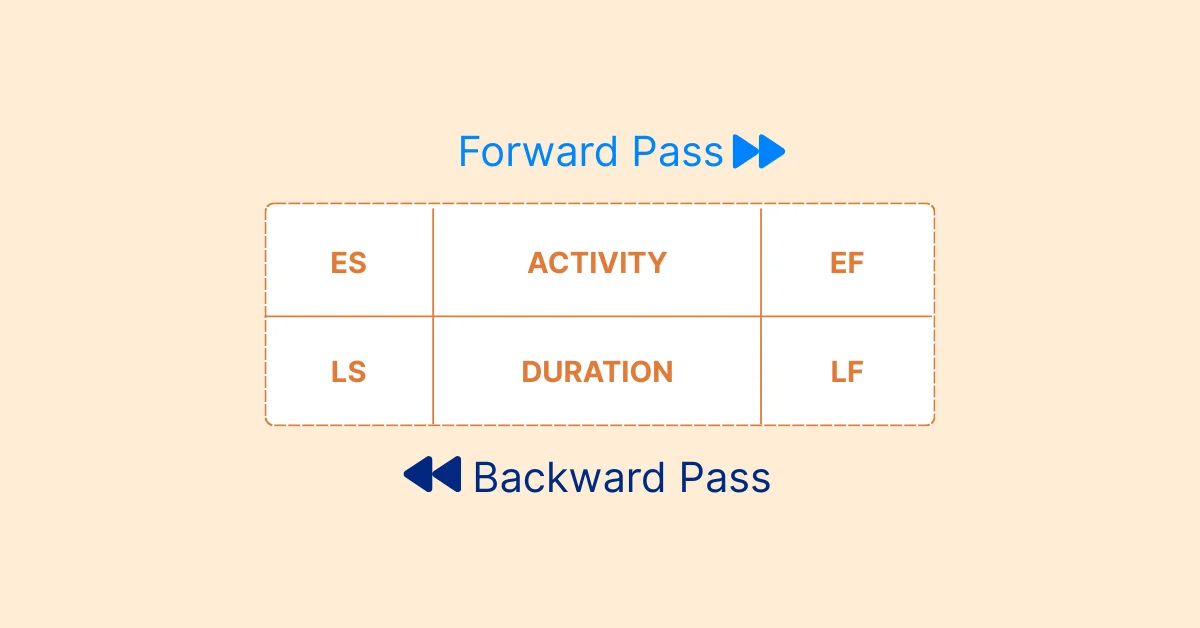
Critical Path Method (CPM) is a scheduling technique that determines the longest sequence of dependent tasks and the minimum time required to complete the project. This method helps in identifying critical tasks that, if delayed, will impact the overall project deadline.
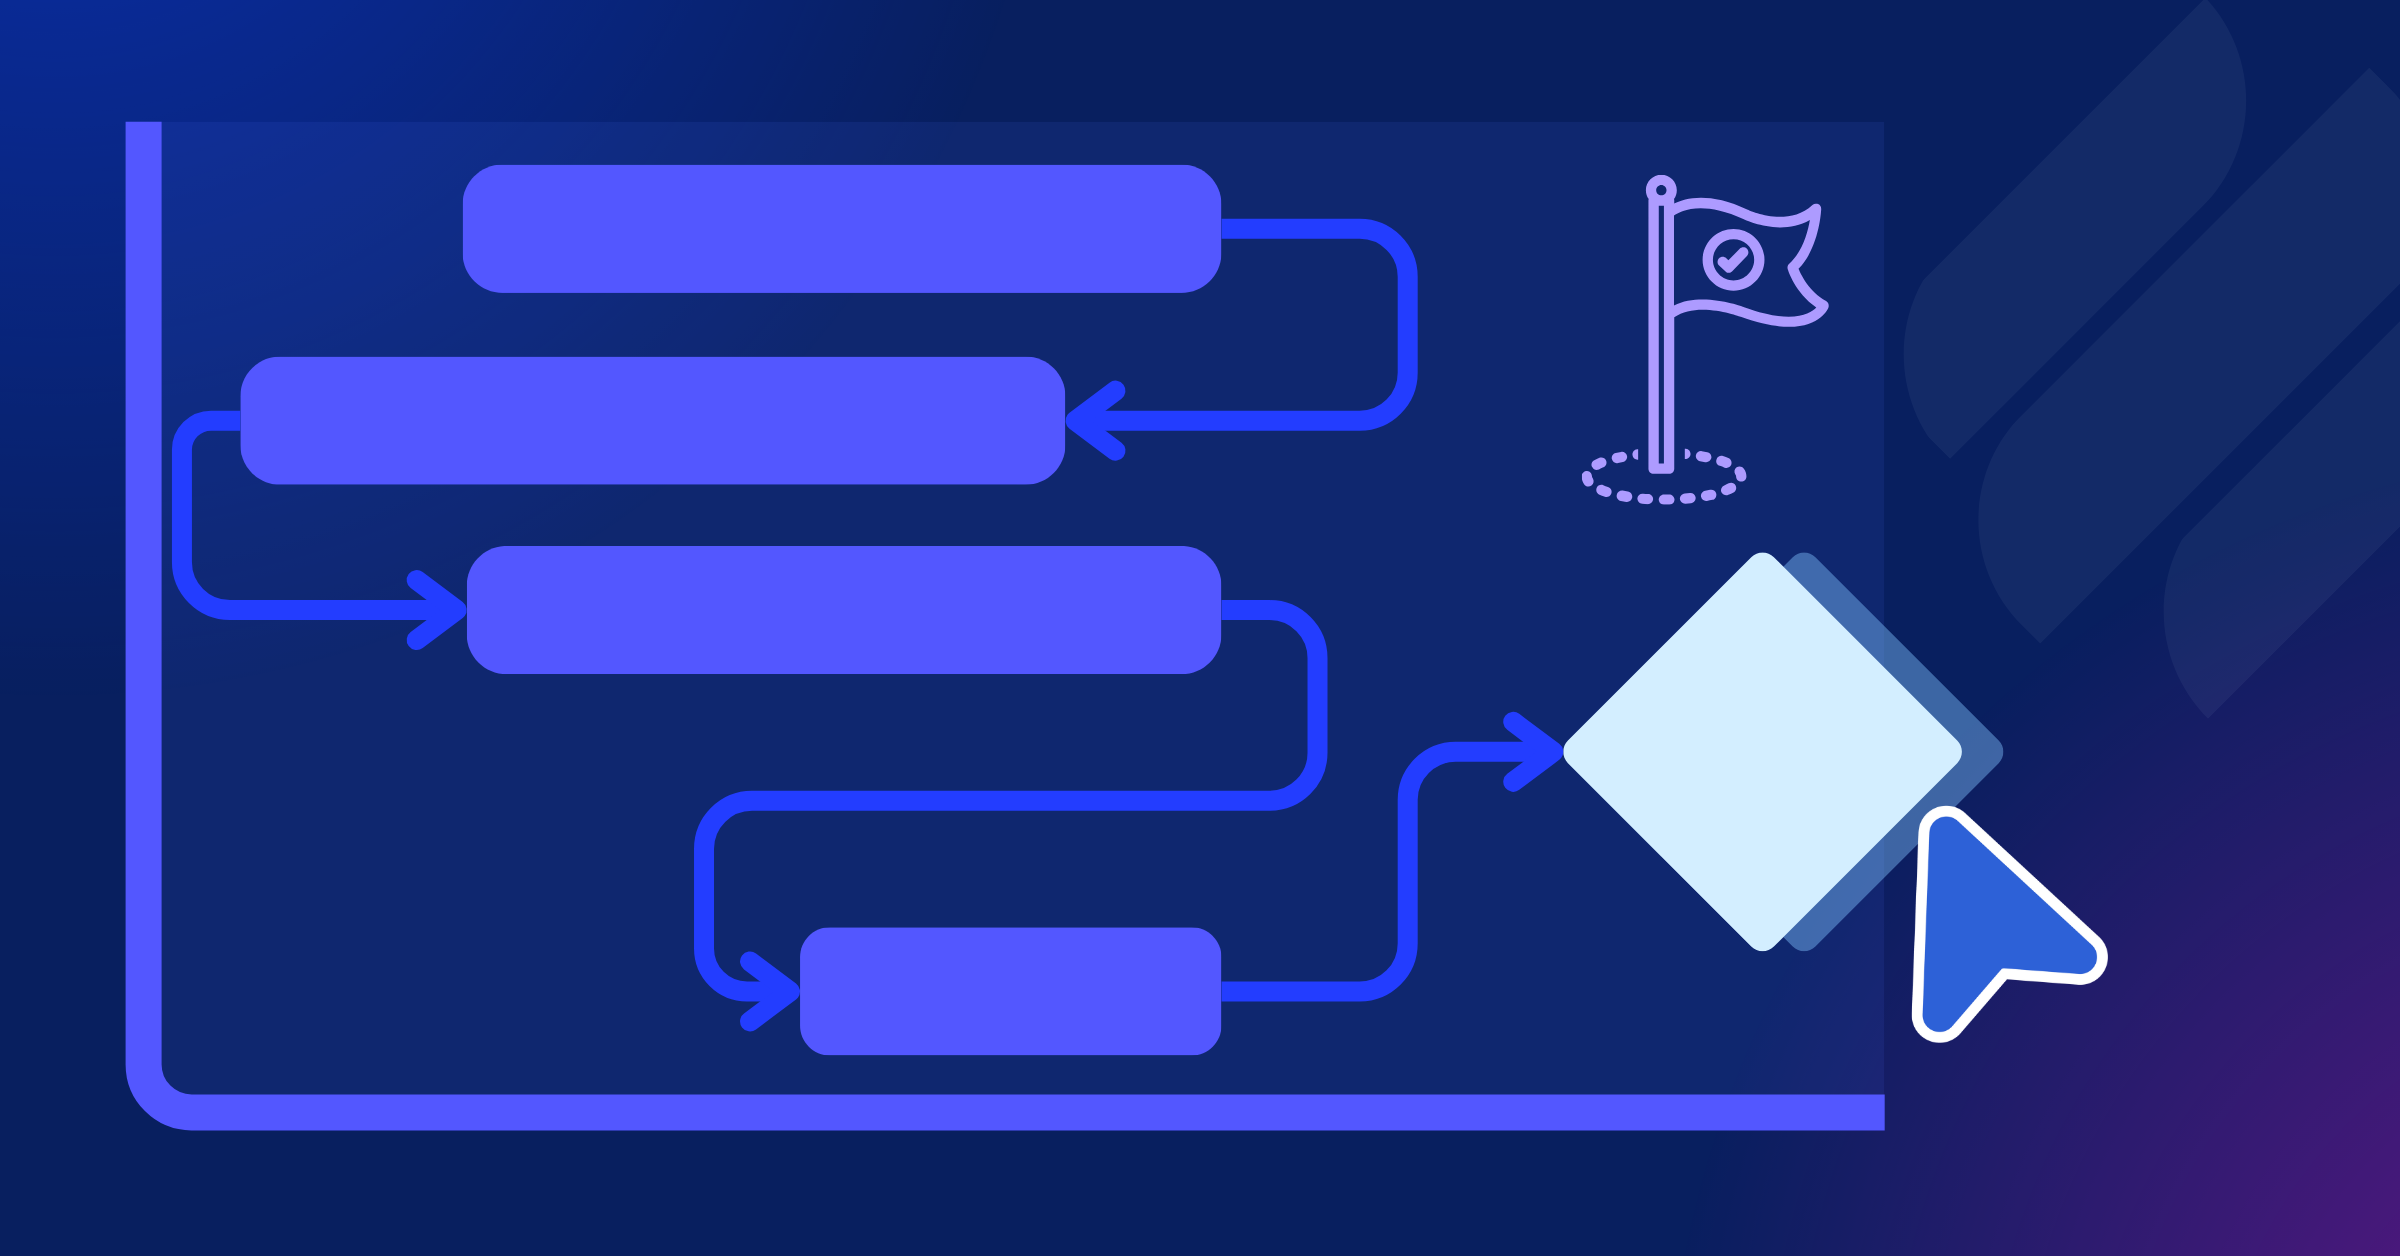
7. Milestone Charts
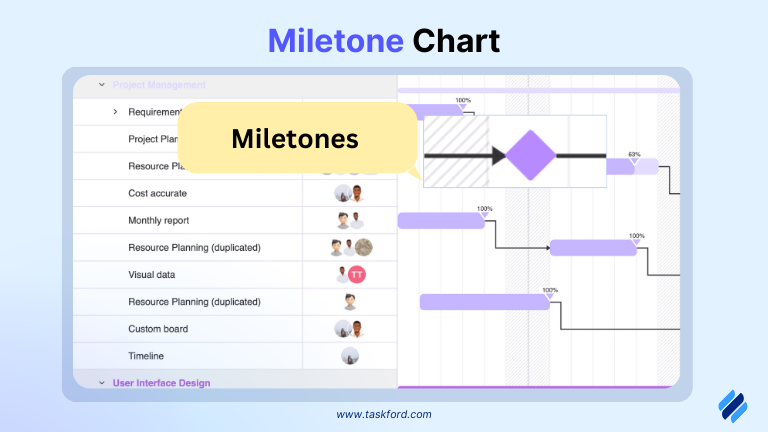
Milestone charts are timelines that highlight key milestones or significant events in a project. Unlike a traditional timeline, which shows all tasks and deadlines, a milestone chart focuses on the major achievements or turning points. These milestones could include things like completing a project phase, reaching a major decision, or launching a product.
Learn more: Project Milestones - A Detailed Guide to Effective Project Management
Choosing the right type depends on your project’s complexity, team preferences, and communication goals.
How To Create a Project Timeline
Creating project timelines doesn’t have to be daunting. Follow these seven practical steps to build one that works:
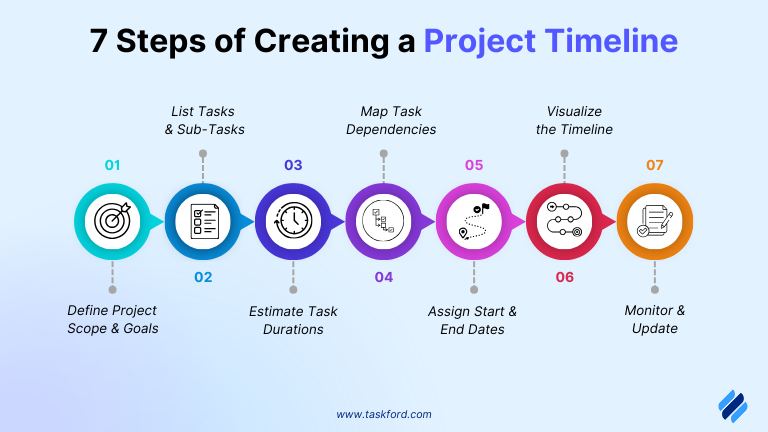
Step 1: Define Project Scope and Goals
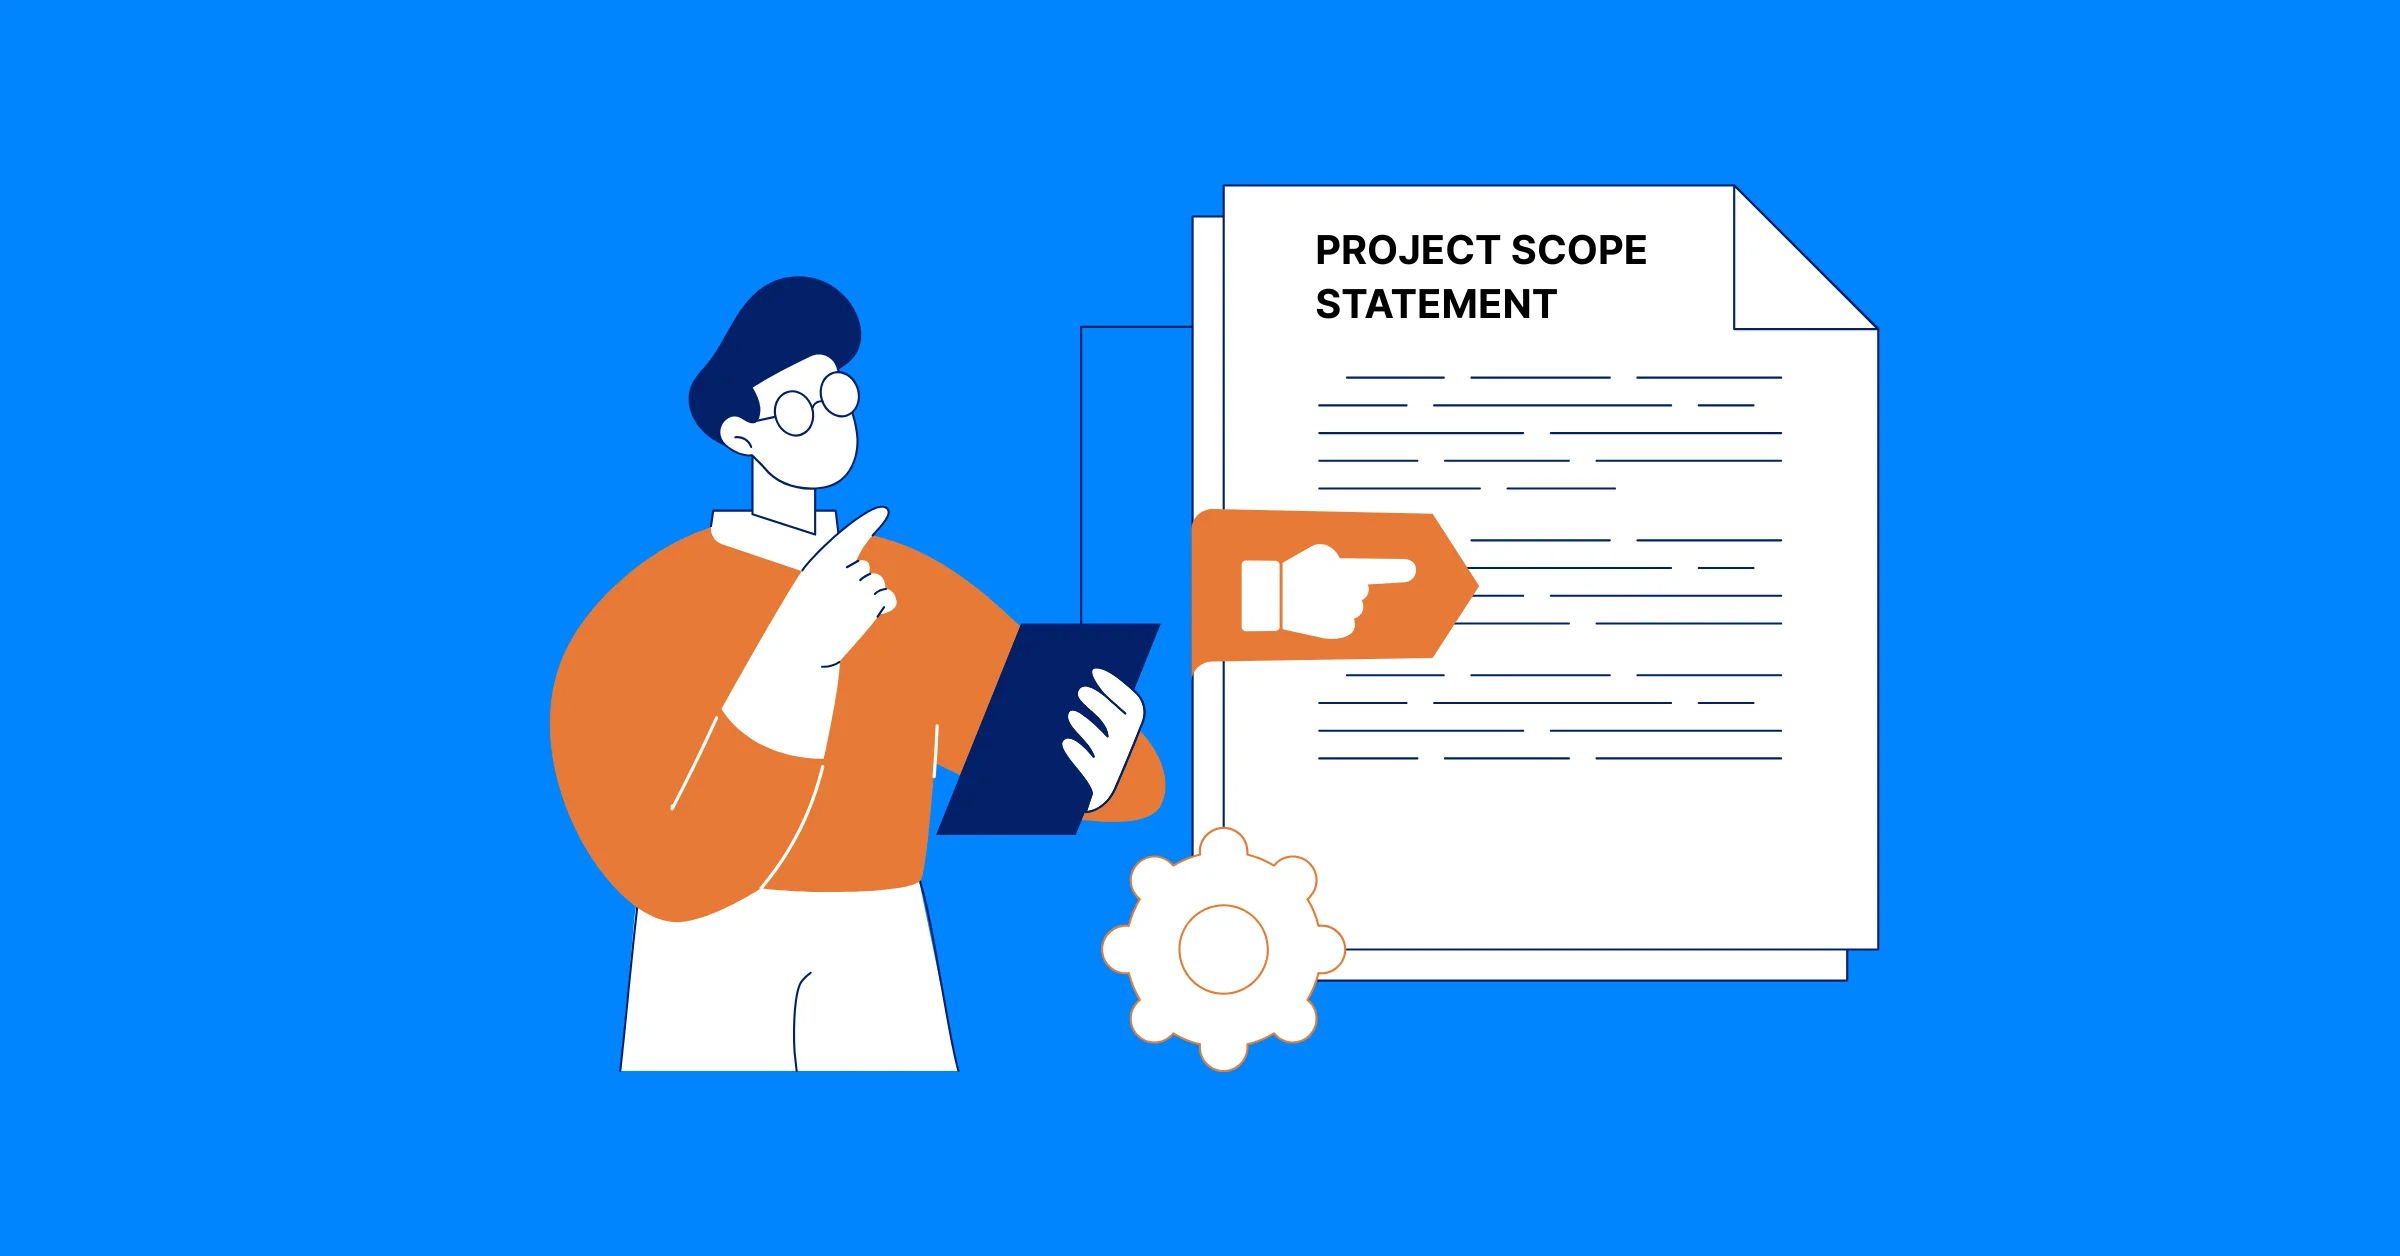
The foundation of any project timeline is a clear understanding of what the project is about. Defining the scope and goals aligns the team and stakeholders on the purpose, deliverables, and success criteria, preventing misunderstandings or scope creep later on.

- Clearly the Purpose: Outline the project objectives, expected deliverables, and key milestones.
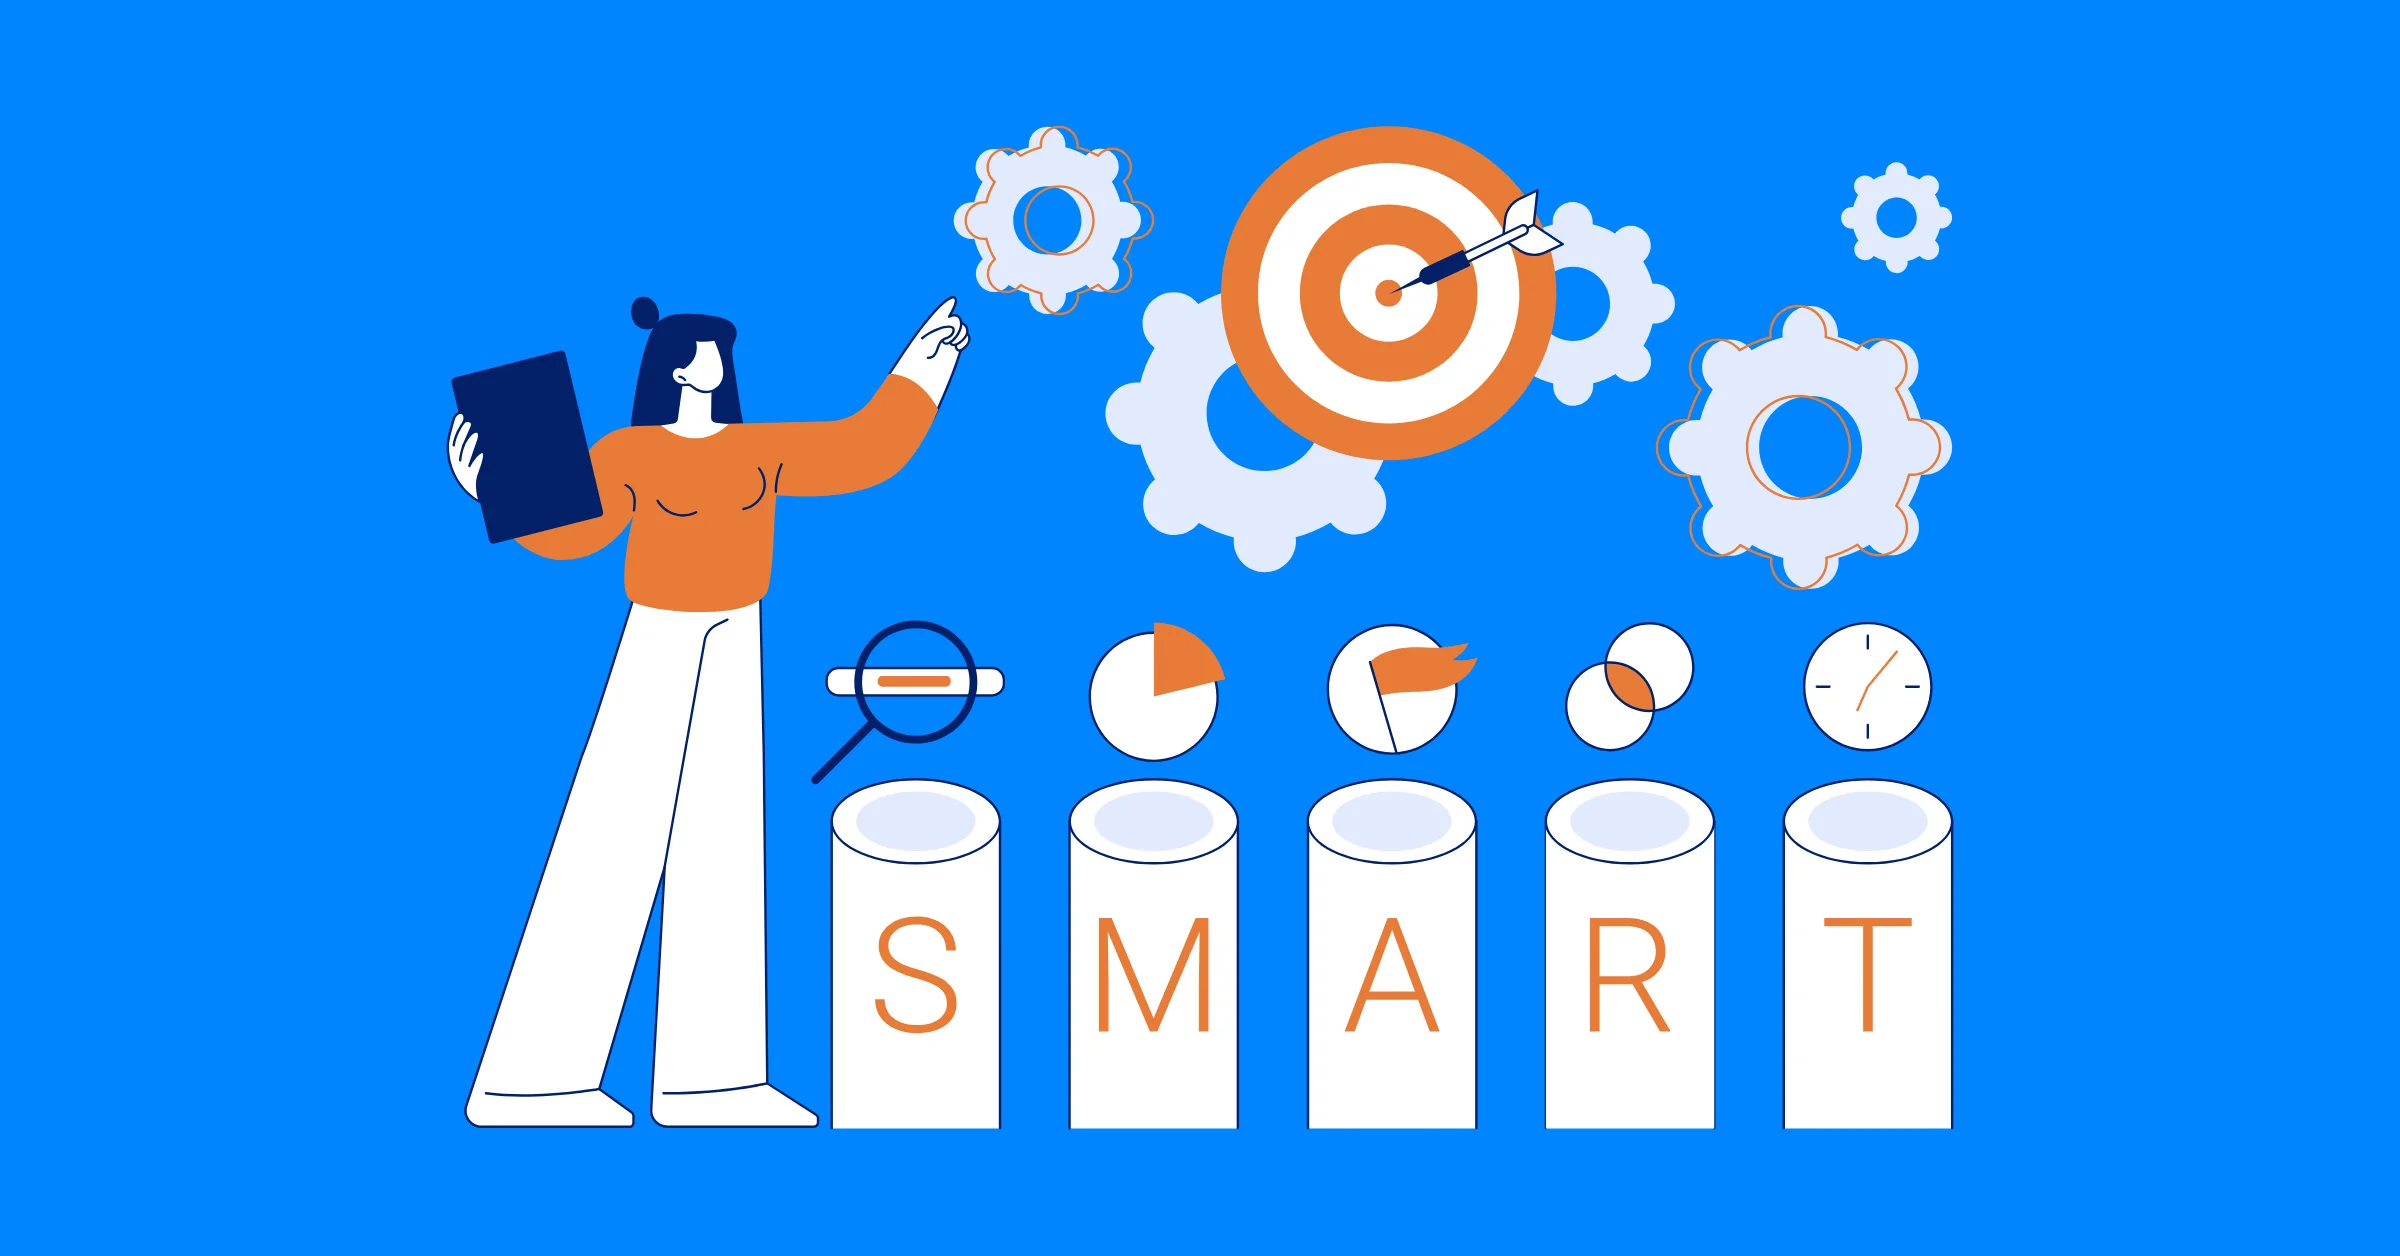
- Set SMART Goals: Make goals Specific, Measurable, Achievable, Relevant, and Time-bound.
- List Deliverables: Identify tangible outputs, like a product, report, or software feature. Be specific about what “done” looks like.
- Engage Stakeholders: Identifying stakeholders and their expectations is essential to ensure alignment.
- Document the Scope: Create a project charter or brief that outlines the purpose, goals, deliverables, and boundaries (what’s in and out of scope). This serves as your project’s north star.
For example, for a software website launching campaign, the scope of the project is to design, develop, and deploy a fully functional website by the end of Q4. The website will include key pages such as Home, About, Features, Blog, Resources, and Contact.
Related reading: What is Scope Project Management - How to Write a Scope That Works.
Step 2: List Tasks and Sub-Tasks
Breaking the project into smaller pieces makes it manageable and trackable. This step turns lofty goals into a concrete to-do list.
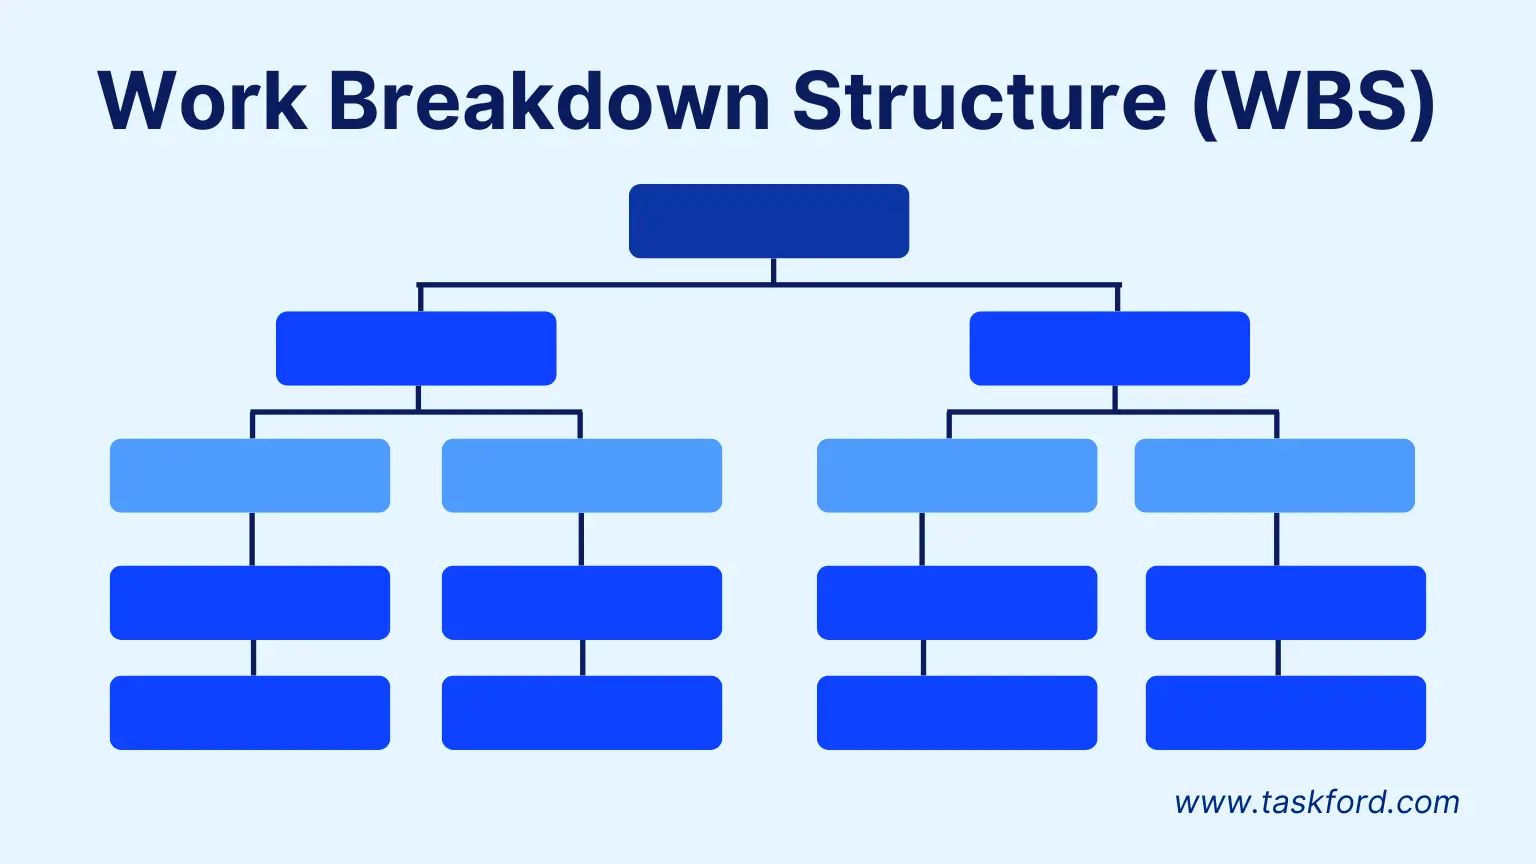
- Build a Work Breakdown Structure (WBS): Start with major phases or deliverables, then divide them into tasks and sub-tasks. A Work Breakdown Structure (WBS) organizes the project hierarchically for clarity.
- Keep Tasks Bite-Sized: Aim for tasks that take 4-40 hours—small enough to estimate but not so tiny they clutter the plan.
- Assign Owners: Note who’s responsible for each task to establish accountability early.
- Validate with the Team: Review the list with those doing the work to catch omissions or unrealistic assumptions.
Example, for a website launch at the Design Phase:
- Task 1: Create Wireframes
- Sub-task 1.1: Sketch initial layouts
- Sub-task 1.2: Get feedback
- Task 2: Finalize Visual Design
- Sub-task 2.1: Choose a color palette
- Sub-task 2.2: Design homepage mockup
Step 3: Estimate Task Durations
Accurate task duration estimates help set realistic expectations and deadlines. Misjudging the time required for tasks can throw off your entire timeline, so precision is important.
Assign realistic durations to each task by considering factors like resource availability, task complexity, and lessons from past projects. Some tasks might need extra buffer time to account for unexpected challenges.
Underestimating task durations can lead to scheduling conflicts, so it’s often safer to overestimate slightly and adjust as the project progress.
Example: For the task “Create Wireframes,” a designer initially estimates 2 days based on past experience. However, considering the part-time schedule and potential client revisions, the estimated task duration is extended to 3 days.
Step 4: Map Task Dependencies
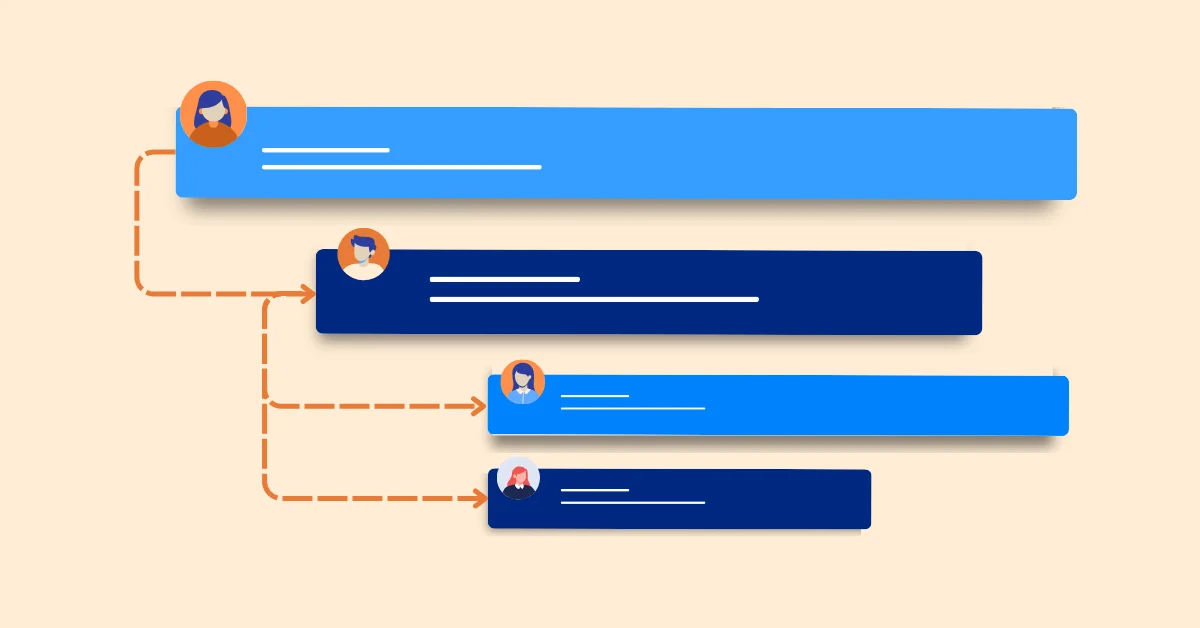
Tasks often rely on each other. Mapping dependencies in project management ensures you sequence them logically, avoiding delays where one task can’t start until another finishes.
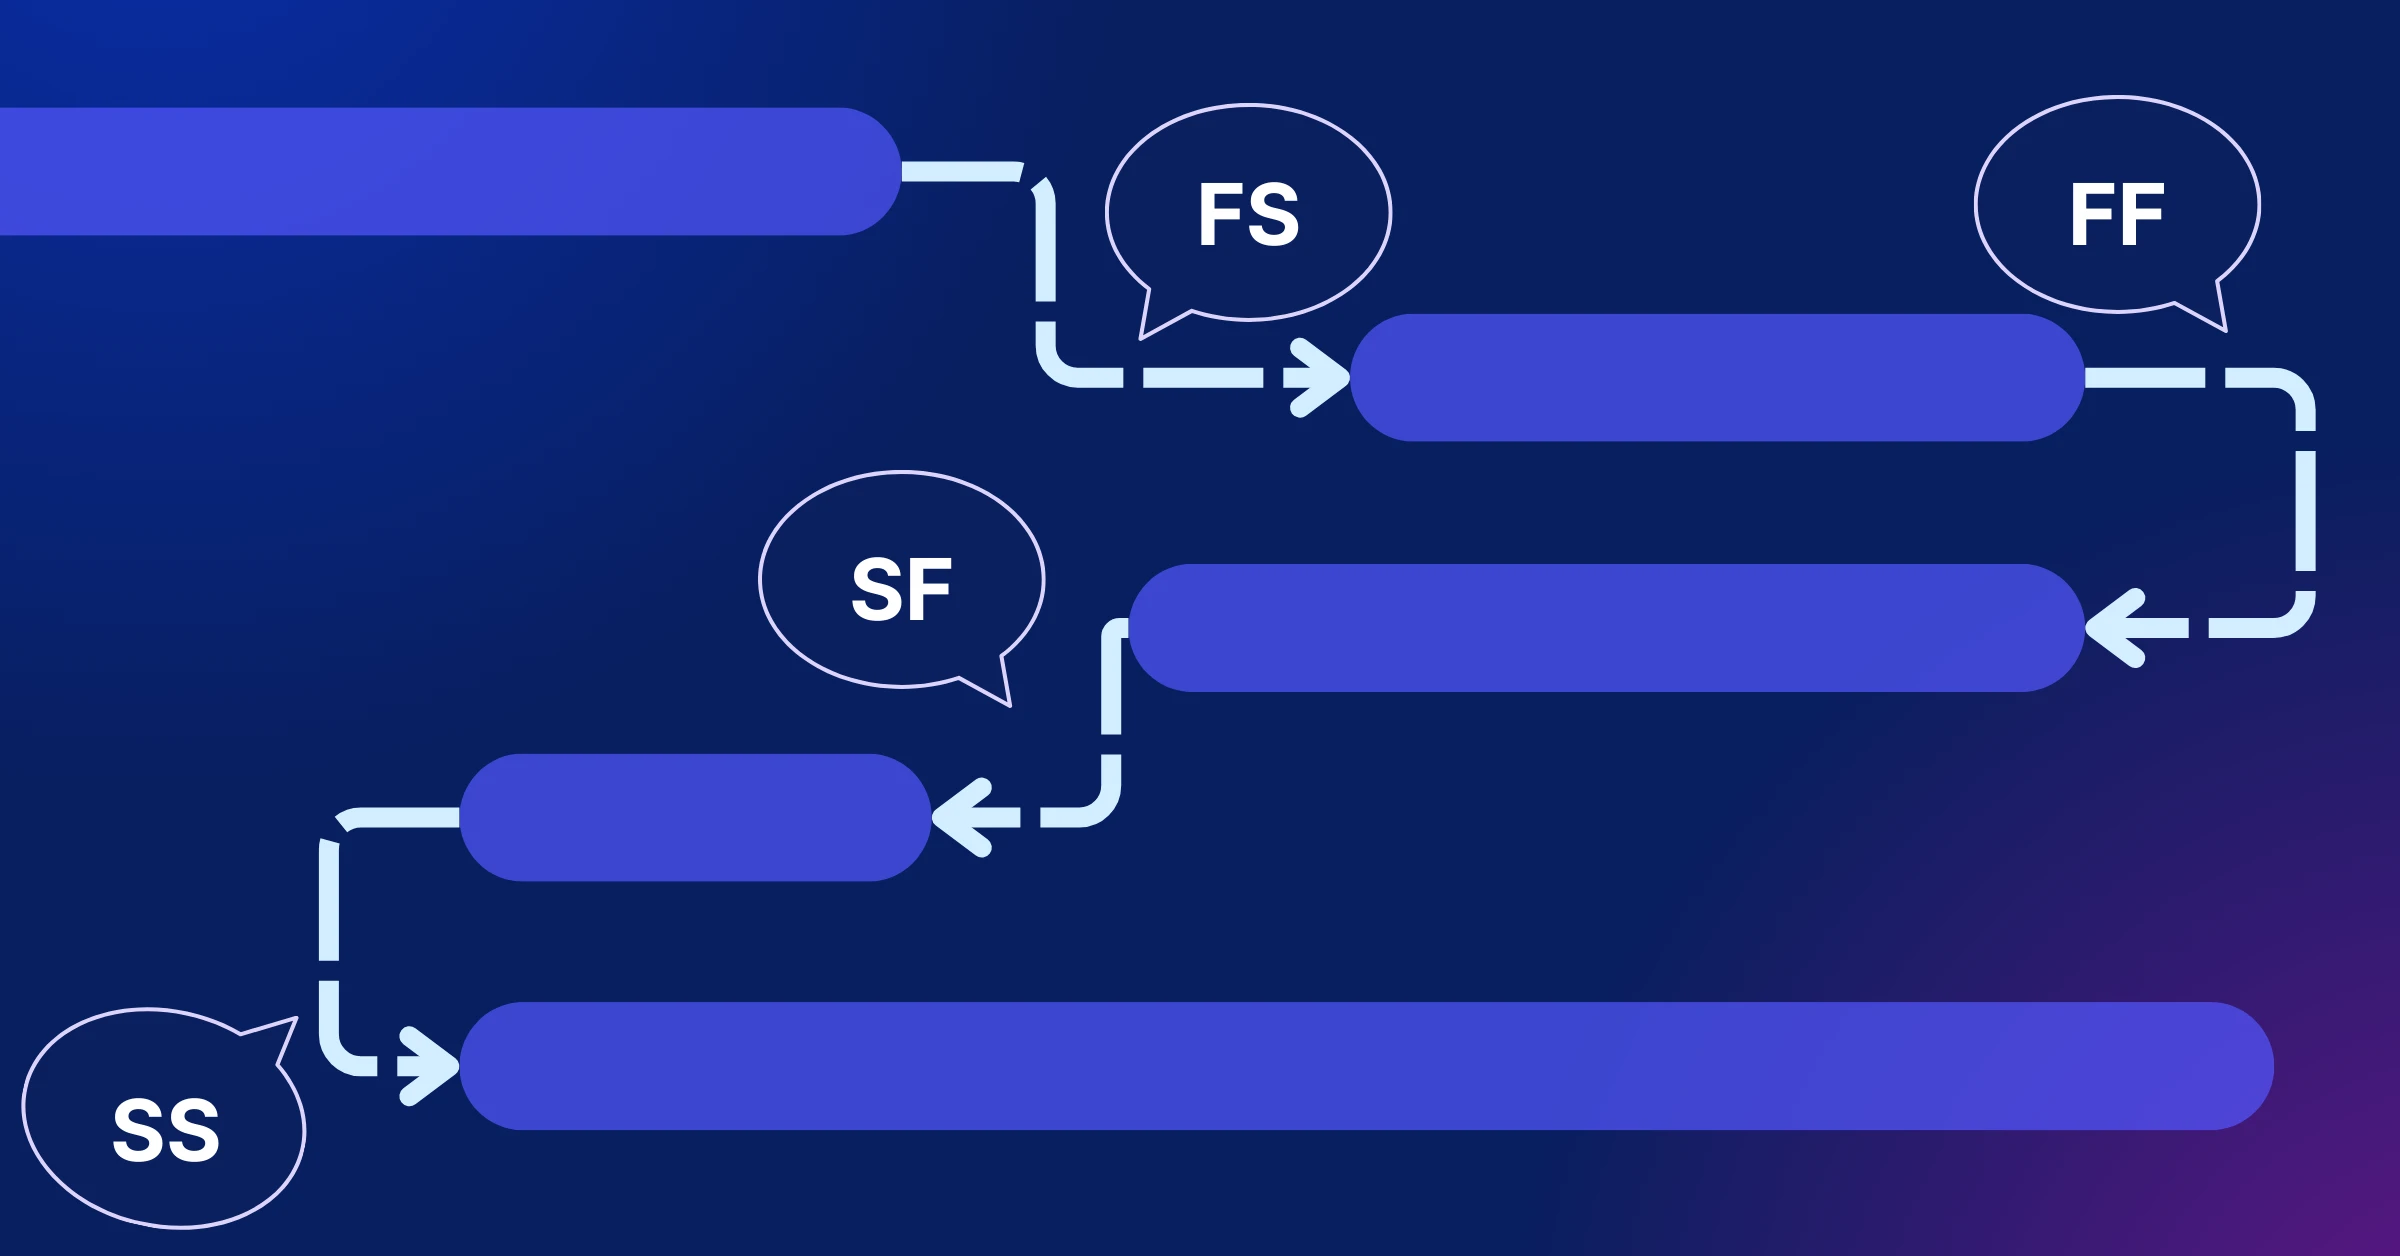
- Understand Dependency Types:
- Finish-to-Start (FS): Task B waits for Task A to finish
- Start-to-Start (SS): Task B starts after Task A begins
- Finish-to-Finish (FF): Task B finishes when Task A does
- Start-to-Finish (SF): Rare—Task B finishes when Task A starts
- List Dependencies: For each task, note what must happen first.
- Check Logic: Ensure the sequence makes sense and doesn’t create unnecessary waits.
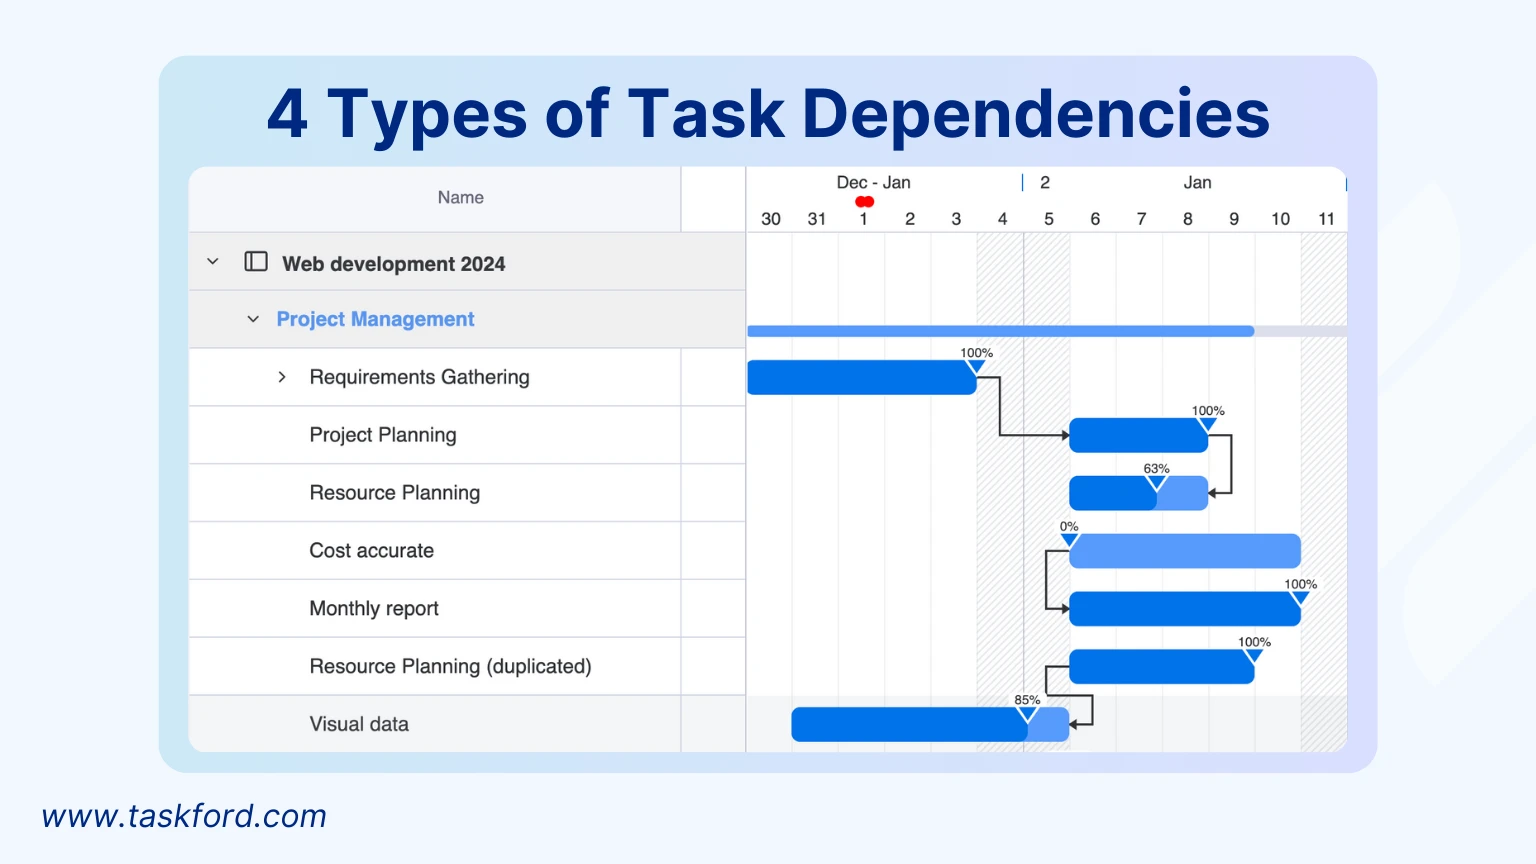
Example: “Code Website” (Task B) depends on “Approve Design” (Task A) in a finish-to-start relationship—coding can’t begin until the design is signed off.
Step 5: Assign Start and End Dates
This step turns your task list into a schedule, giving the project a clear timeframe from start to finish.
- Sequence Tasks: Start with independent tasks, then schedule dependent ones based on when prerequisites end.
- Set Dates: Use durations and dependencies to calculate start and end dates for each task.
- Find the Critical Path: Identify the longest chain of dependent tasks that dictates the project’s minimum duration. Delays here delay the whole project.
- Leverage Tools: Software like Microsoft Project or Trello can automate this and adjust dates dynamically.
Example:
If “Approve Design” ends November 5th (5-day duration from November 1st), “Code Website” (10 days) starts November 6th and ends November 15th. The critical path might run through design, coding, and testing.
Step 6: Visualize the Timeline
A visual representation makes the timeline digestible, helping everyone see the plan and track progress at a glance.
Pick a Format:
- Gantt Chart: Shows tasks, durations, and dependencies with bars and arrows.
- PERT Chart: Highlights dependencies for complex projects.
- Calendar View: Aligns tasks to dates, ideal for simple schedules.
Enhance Clarity: Use colors for phases or teams, and add milestones (e.g., “Launch Date”) as markers.
Share It: Export to a shared platform like Google Sheets or Asana for team access.
Example:
A Gantt chart might show “Design” (blue, Nov 1-5) linked to “Coding” (green, Nov 6-15), with a milestone dot on November 15th for “Client Review.”
Step 7: Monitor and Update
Projects aren’t static—delays, scope changes, or new tasks can shift the plan. Regular updates keep the timeline relevant and actionable.
- Schedule Check-Ins: Weekly or bi-weekly reviews to assess progress.
- Track Status: Mark completed tasks and flagged delays or blockers.
- Adjust as Needed: Shift dates or reassign resources if tasks run over or priorities change.
- Communicate Changes: Update the team and stakeholders to maintain alignment.
Example: If “Coding” slips by 3 days (new end date: November 18th), adjust “Testing” (originally November 16-20) to November 19-23 and notify the team.
TaskFord - The Ideal Project Timeline Tool
TaskFord - a comprehensive project management platform- stands out as a top-tier project timeline tool, offering a range of features designed to enhance project planning, execution, and tracking. Here’s how TaskFord excels:
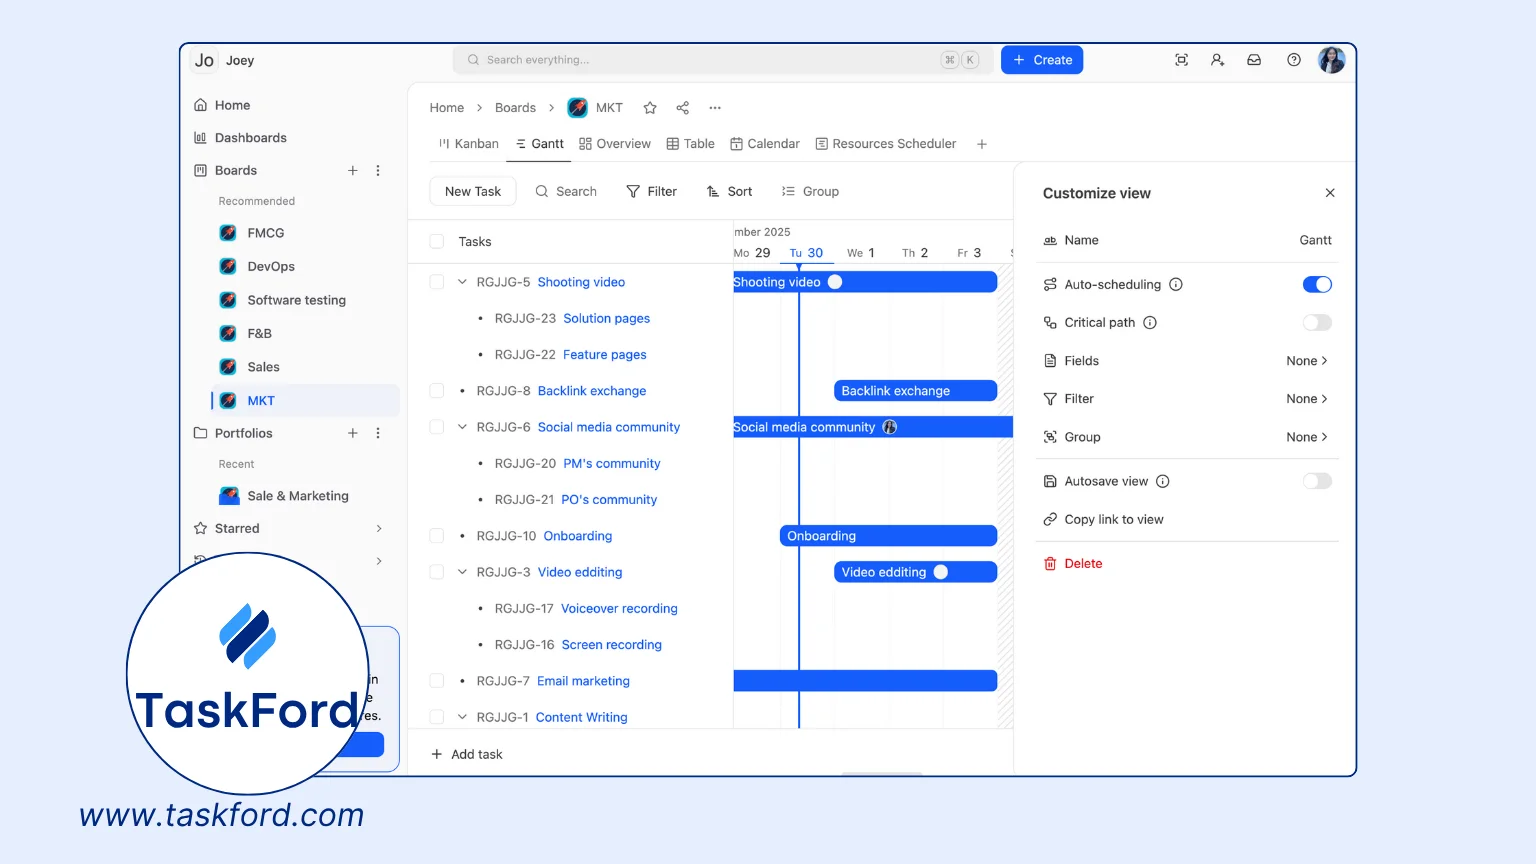
1. Interactive and Visual Timelines
TaskFord’s dynamic Gantt charts, Kanban boards, and calendar views give a clear visual representation of tasks, dependencies, and milestones. This real-time tracking ensures that project managers can monitor progress and identify any potential issues early.
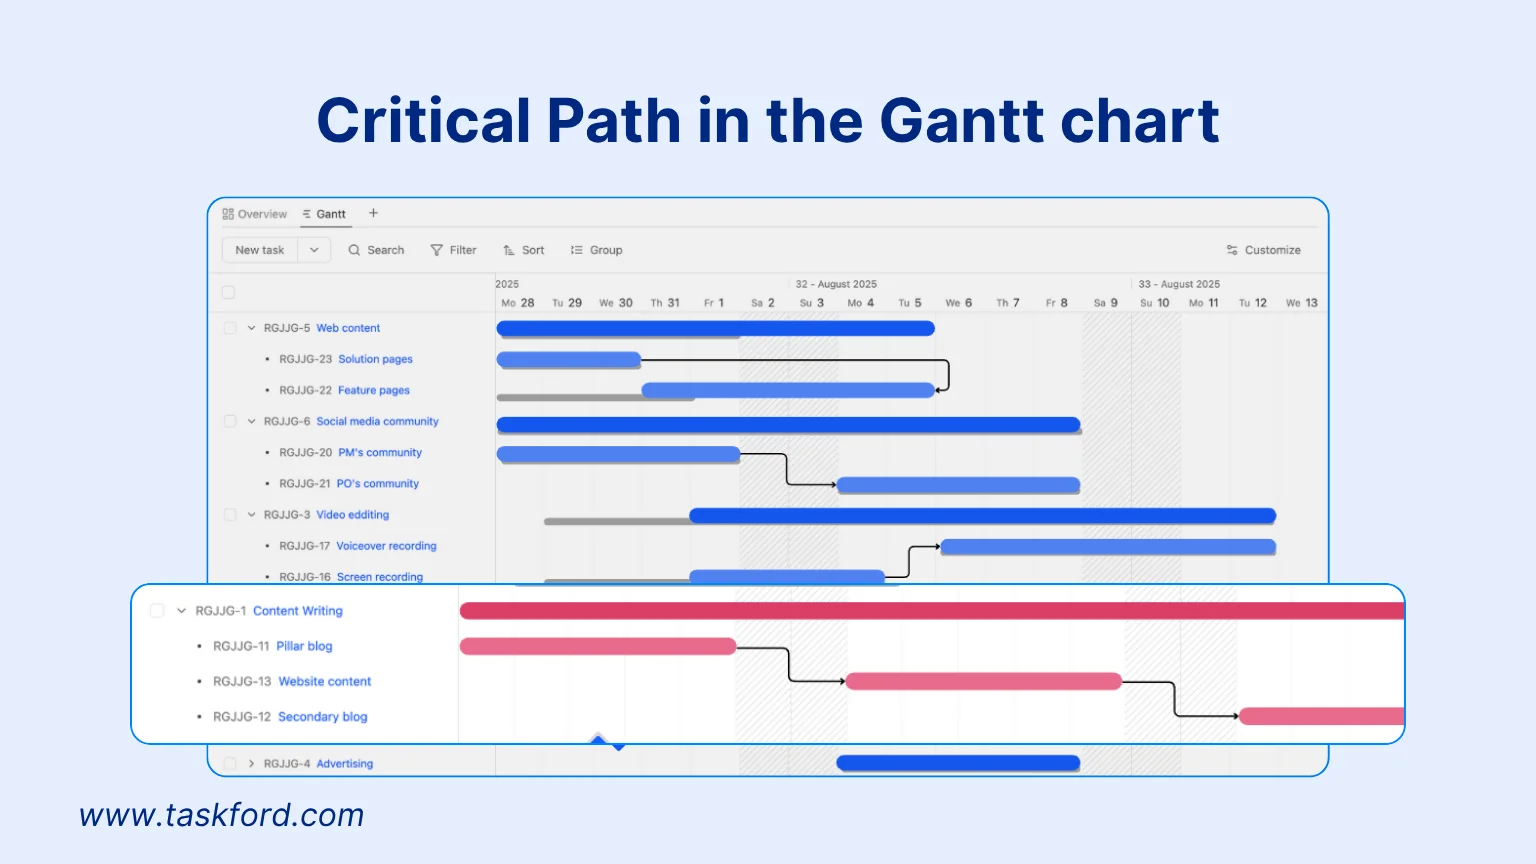
2. Task Dependencies and Critical Path Analysis
The tool enables users to set task dependencies and use the Critical Path Method (CPM). This ensures that critical tasks are completed on time, and delays are prevented by focusing on the most time-sensitive elements of the project.
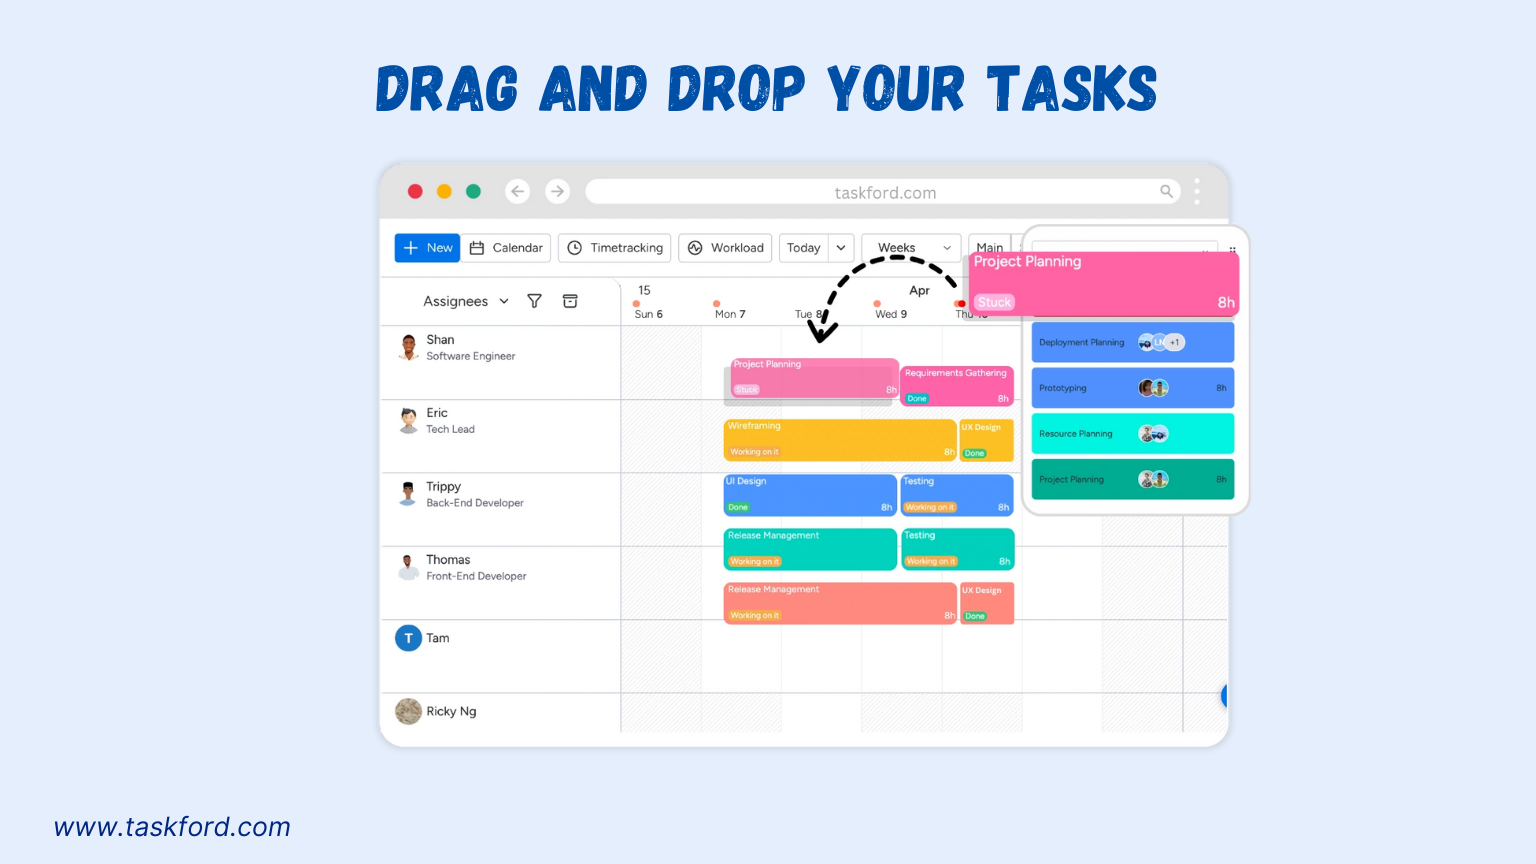
3. Drag-and-Drop Scheduling
With TaskFord’s intuitive drag-and-drop scheduling, project managers can quickly adjust timelines, reschedule tasks, and modify deadlines. This flexibility allows teams to adapt to changes without disrupting the overall project flow.
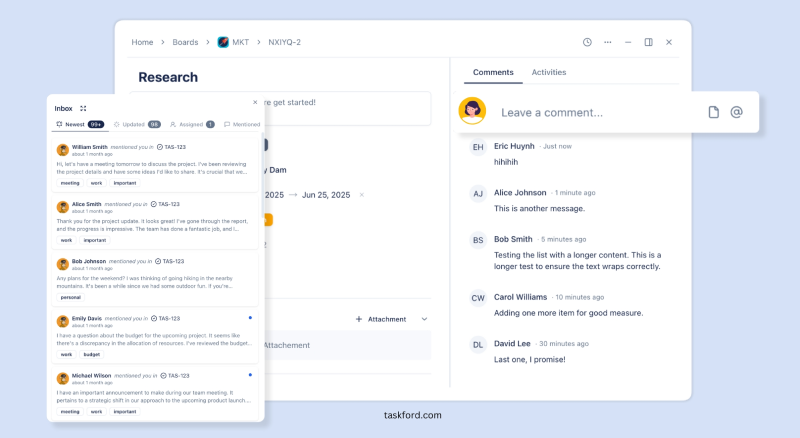
4. Collaboration and Team Communication
TaskFord promotes seamless collaboration with features like real-time updates, comments, file sharing, and notifications. This keeps teams aligned and ensures smooth communication throughout the project, reducing miscommunication and delays.
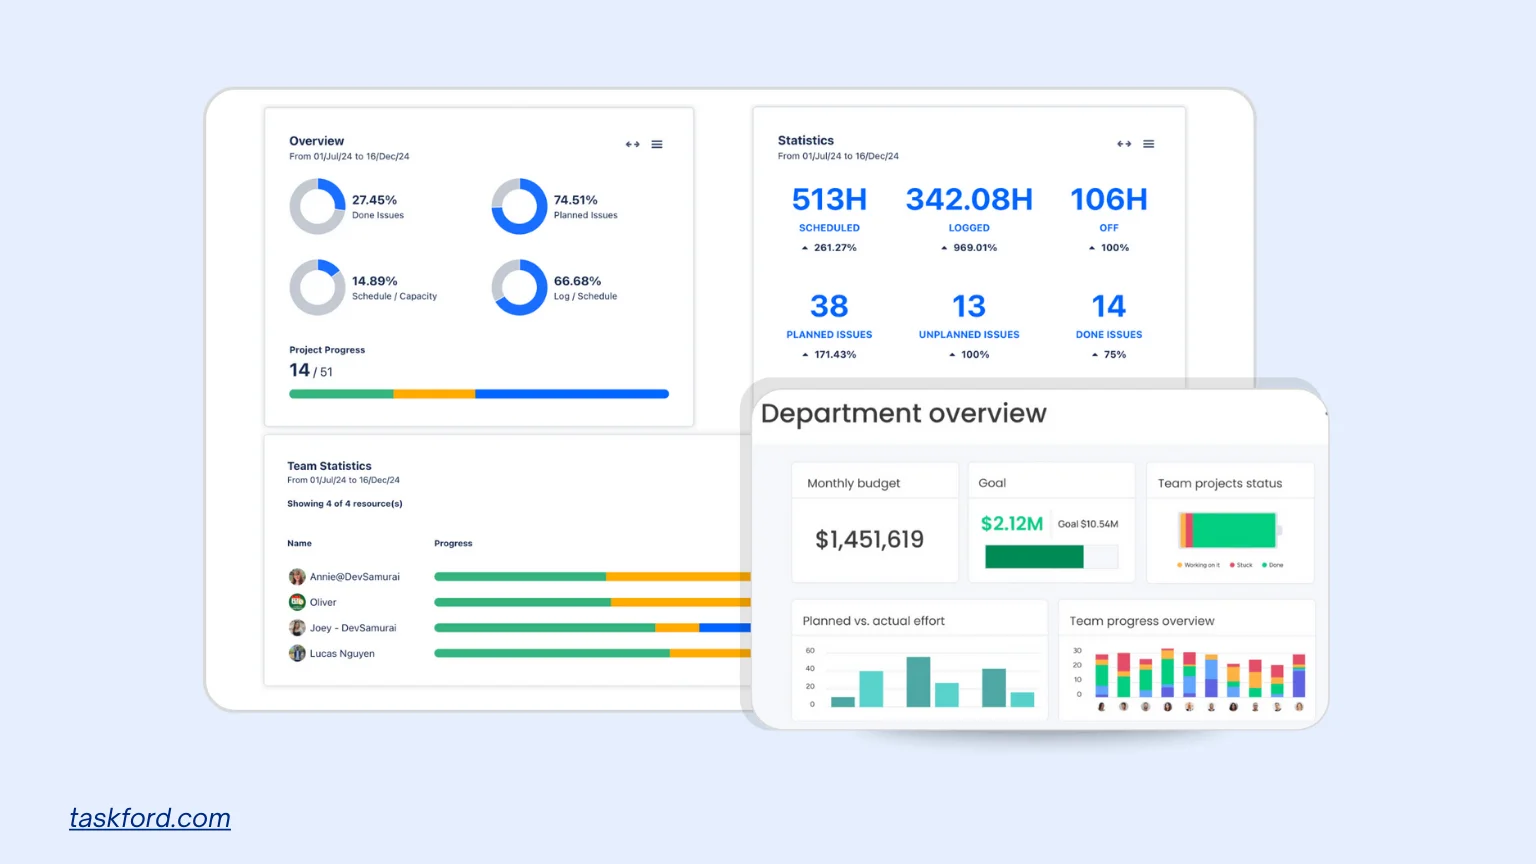
5. Automated Progress Tracking and Reporting
Features like auto-updating progress bars, completion percentages, and customizable reports in TaskFord allow managers to monitor the project’s health, identify risks, and make data-driven decisions.
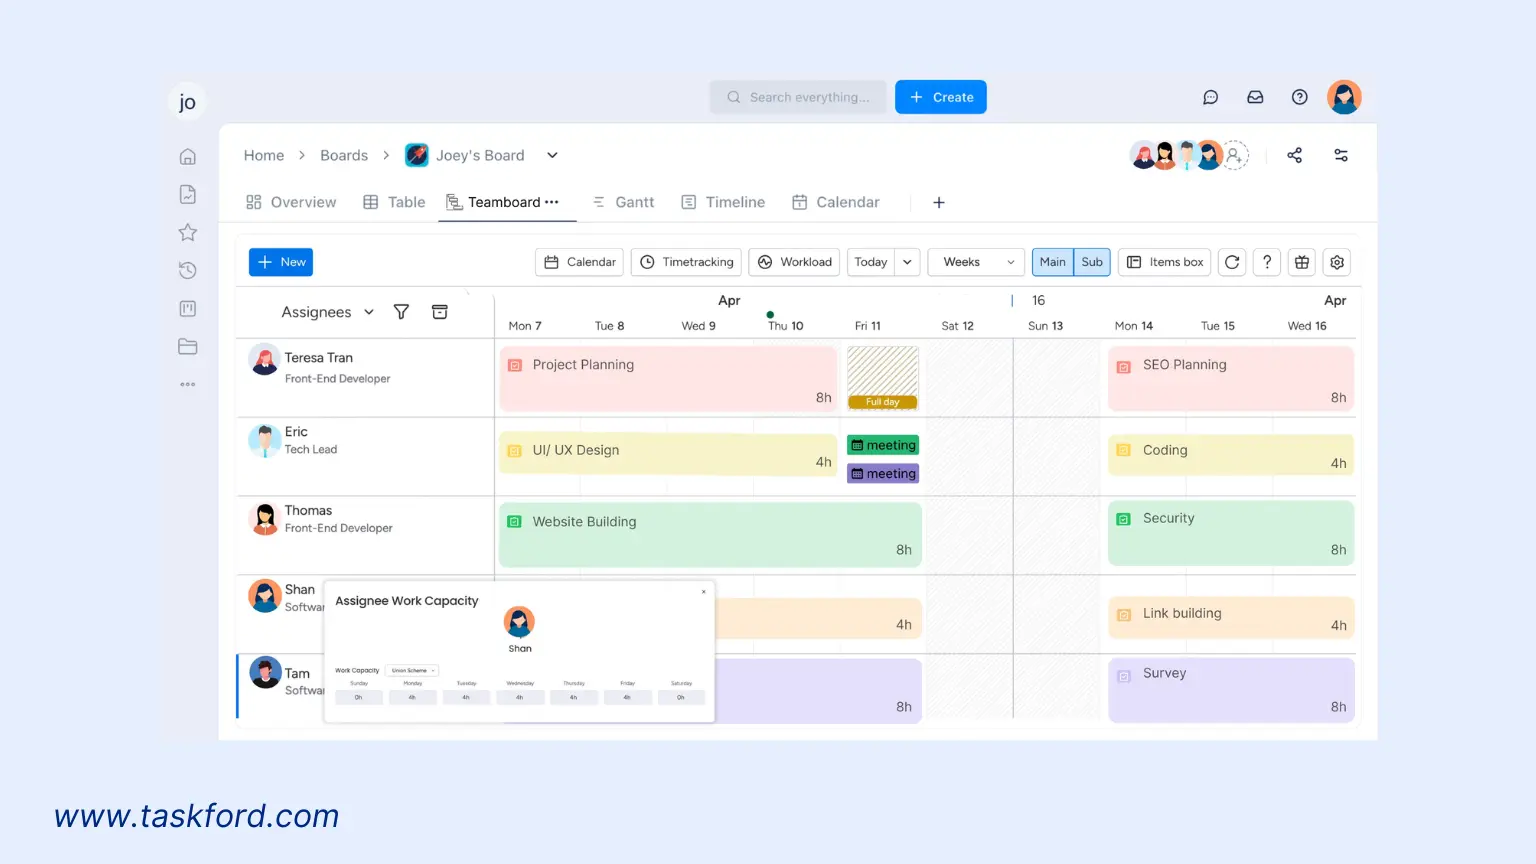
6. Resource and Budget Management
Besides, TaskFord helps prevent resource overallocation and keeps budgets under control. It tracks resource usage and project expenses, ensuring that both time and costs are efficiently managed throughout the project lifecycle.
7. Milestone and Goal Tracking
Additionally, the platform enables the setting of milestones and Smart goals to track progress against key objectives. This ensures that every phase of the project aligns with the larger goals, helping teams stay on track and deliver results.
Conclusion
A project timeline is more than just a scheduling tool; it’s a critical asset for ensuring projects run smoothly. By organizing tasks, setting clear deadlines, and enhancing communication, a well-crafted timeline helps teams stay on track and meet goals. Whether using Gantt charts, PERT charts, or milestone tracking, a solid project timeline helps manage expectations, avoid delays, and ensure project success. With the right approach and tools, a project timeline is essential for delivering results efficiently and on time.
You Also May Like:
- Project Duration: How to Set Realistic Project Duration Goals.
- How To Use A Gantt Chart for Marketing Projects & Campaigns.
- Gantt Chart for Multiple Projects: Step-by-step Guide with Examples.
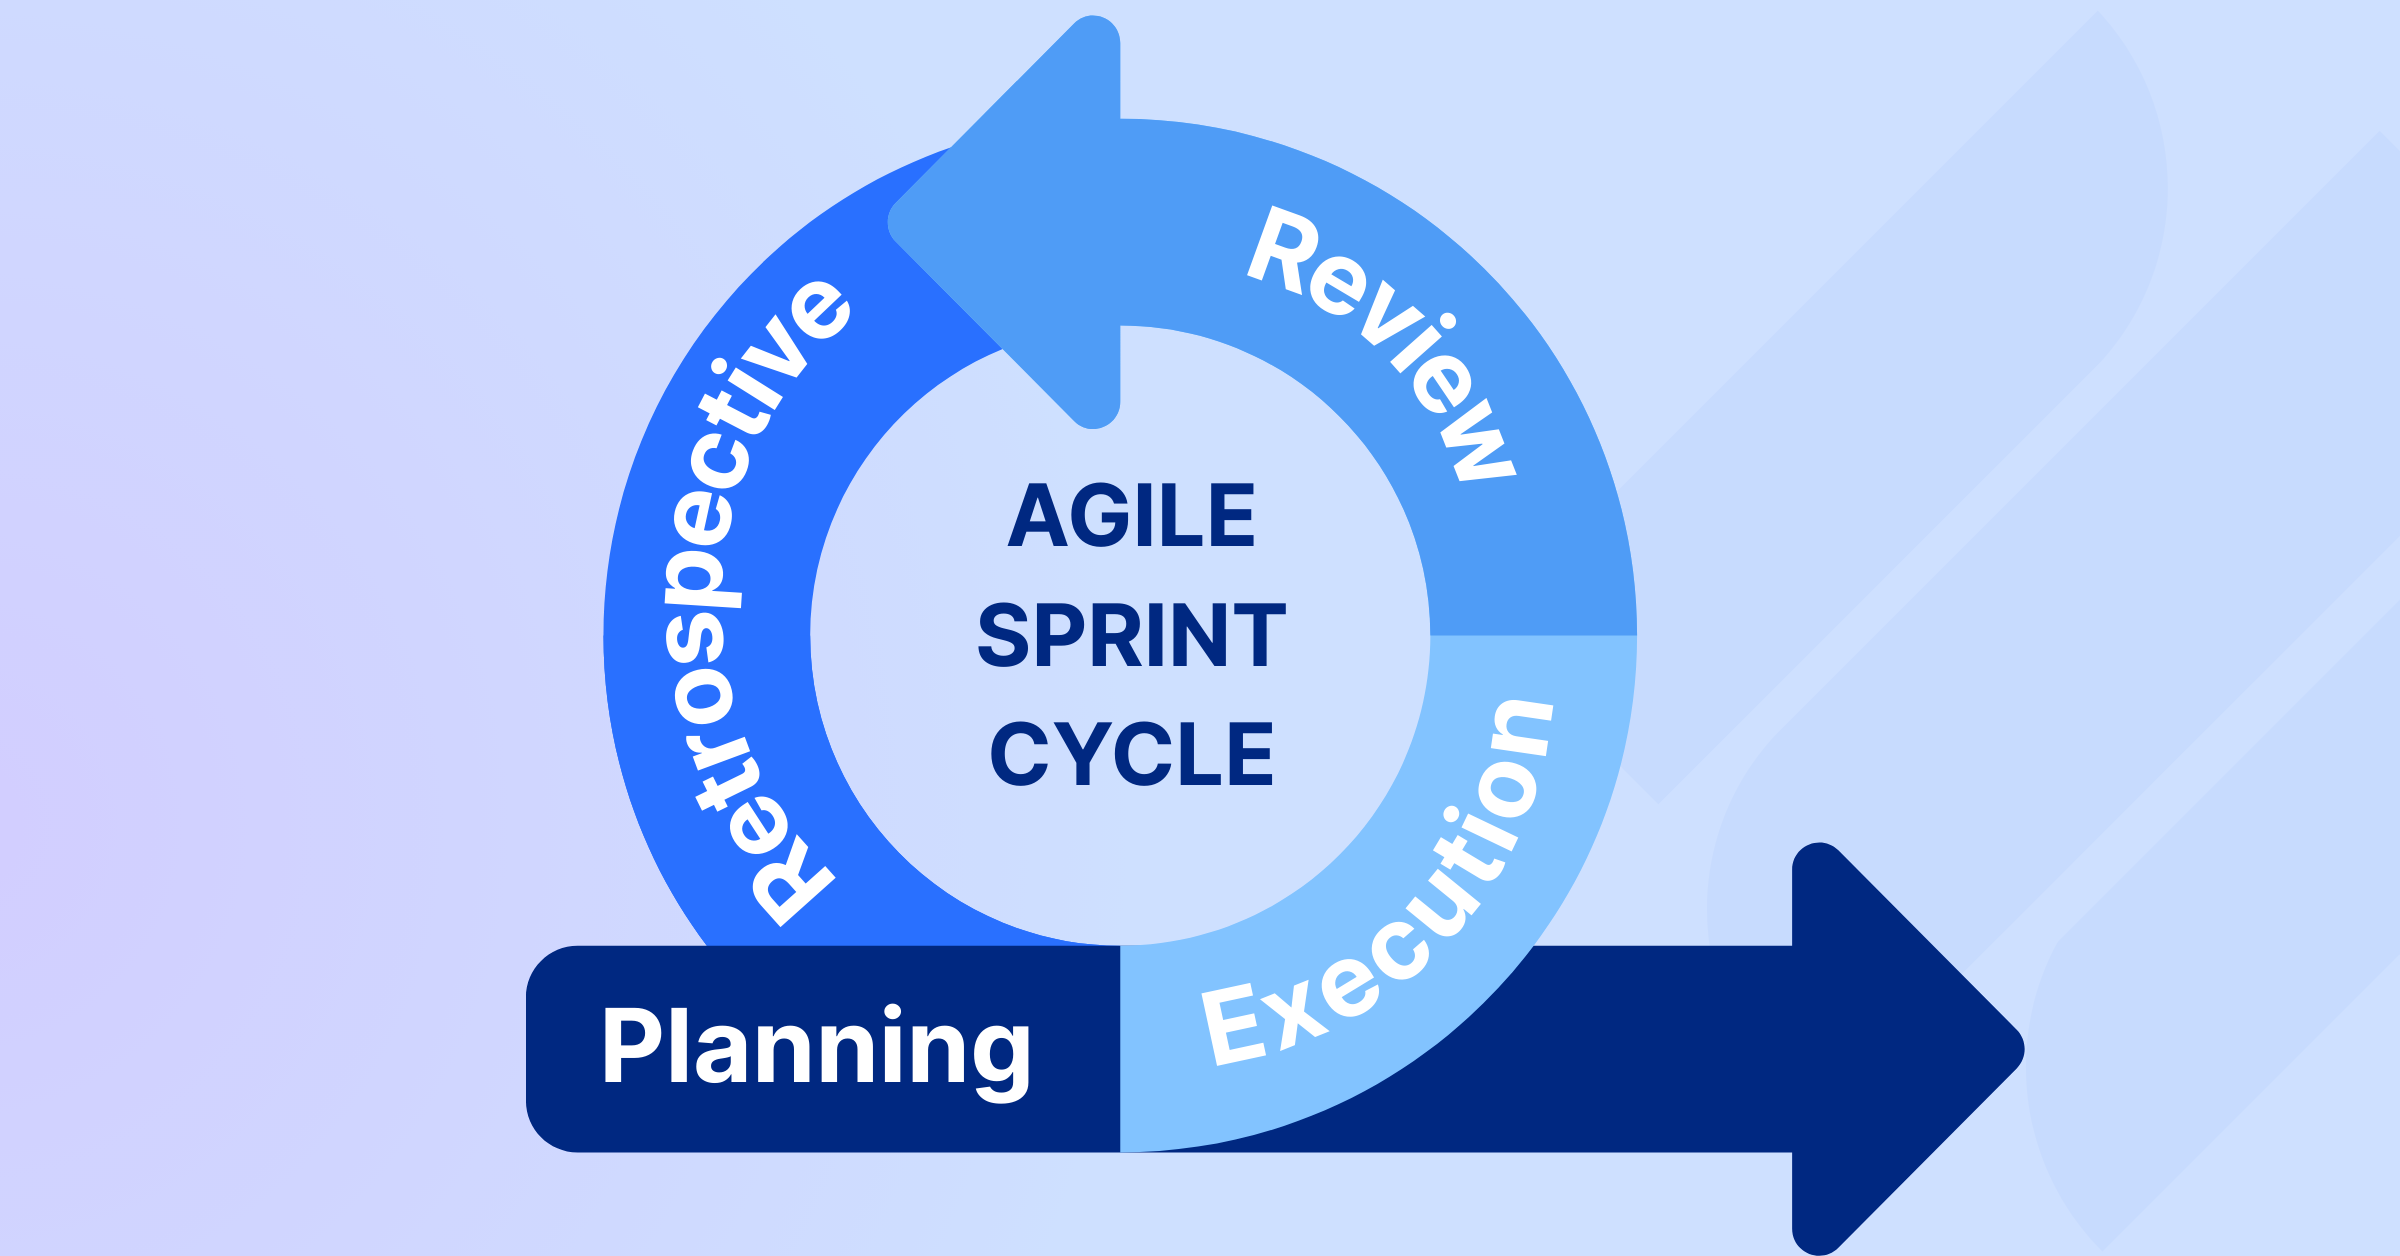
- Agile Project Management Sprint Cycle: From Planning to Retrospective.
Related Articles













How to Build and Manage a Product Roadmap with TaskFord











How to Build a Connected Project Timeline in TaskFord







What Are the Best Jira Alternatives for Scrum Teams?





















How WBS Reveals Delivery Breakdown Before It’s Too Late







![How To Conduct a Profound Stakeholder Analysis [+ Free Template]](/marketing/blog/stakeholder-analysis.webp)















What to Look for in Scrum Tools (Beyond Kanban Boards)

![Project Management Calendar for Teams and Managers [Free Templates]](/marketing/blog/project-management-calendar.webp)





How to Define Project Deliverables: A Step-by-Step Guide







![RACI Chart in Project Management: Rules & Examples [Free Download]](/marketing/blog/raci-chart.webp)












![7 Must-Have Project Management Documents Every PO Should Know [Free Templates]](/marketing/blog/project-management-documents.webp)







![How to Create a Winning Project Plan for IT Projects [10 Steps Included]](/marketing/blog/how-to-create-a-project-plan.webp)


![Daily Standup Best Practices: Apply AI to Organize Meetings Successfully [2026 Trends]](/marketing/blog/daily-standup.webp)






![How to Create a Project Communication Plan: Step-by-Step Guide [+Free Template]](/marketing/blog/project-communication-plan.png)


![Master Project Procurement Management in 5 Steps [Download a free plan template]](/marketing/blog/project-procurement-management.webp)


























Subscribe for Expert Tips
Unlock expert insights and stay ahead with TaskFord. Sign up now to receive valuable tips, strategies, and updates directly in your inbox.